
As I stood in my kitchen, the aroma of melted chocolate and warm caramel wrapped around me like a cozy embrace, I realized I was about to create something truly special: Homemade Twix Cookie Bars. This recipe blends a buttery shortbread base with a chewy caramel layer and a rich chocolate topping, transforming the beloved candy bar into a delightful treat you can make yourself. Not only do these cookie bars come together quickly with pantry-friendly ingredients, but they also guarantee smiles at any gathering, disappearing faster than you can say “sweets!” Are you ready to indulge in layers of sweet goodness? Let’s dive into the delicious world of homemade cookie bars together!
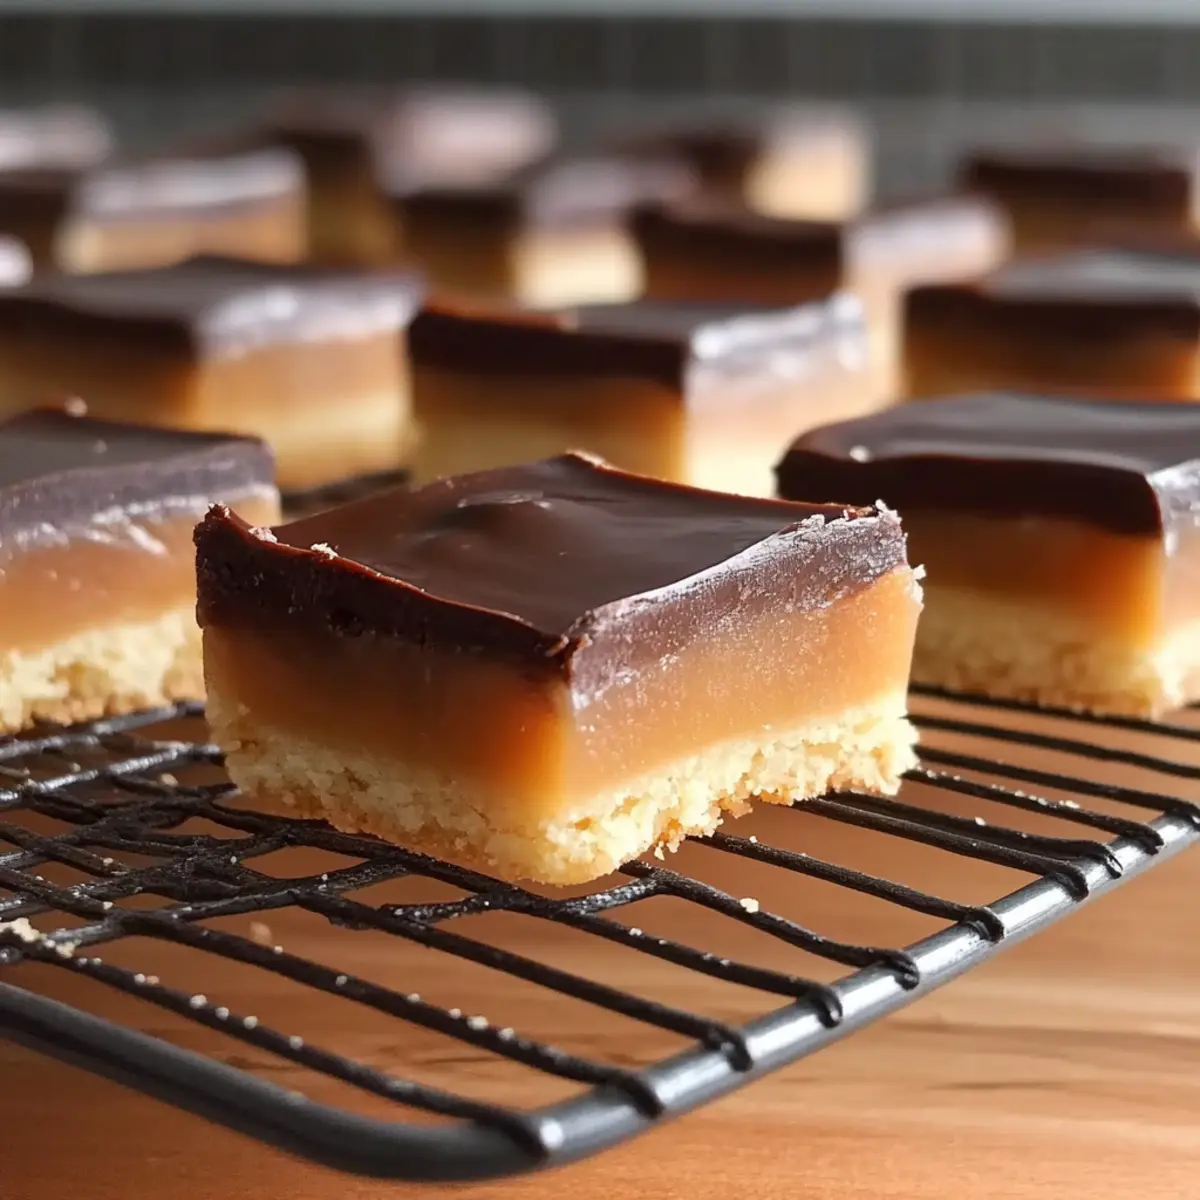
Why You’ll Adore These Twix Cookie Bars?
Irresistible Layers: Each bite offers a delightful combination of buttery shortbread, gooey caramel, and silky chocolate that’ll make your taste buds dance.
Easy Preparation: No advanced skills are needed—whip these up effortlessly with basic ingredients straight from your pantry.
Crowd-Pleasing Treat: Perfect for parties or family gatherings, these cookie bars are sure to steal the show and become everyone’s new favorite dessert!
Versatile Chocolate Option: Switch things up by using dark chocolate for a richer twist, or add crushed nuts for a delicious crunch that complements the sweetness of the caramel.
Quick Storage: Storing them is a breeze; keep them in an airtight container for effortless snacking whenever that sweet craving hits!
Dive into this delightful recipe and if you crave more cookie inspiration, check out Cinnamon Roll Cookies for another delicious treat!
Twix Cookie Bars Ingredients
• Get ready to create something sweet!
-
For the Crust:
-
Salted Butter – Provides richness and moisture for the base.
-
Powdered Sugar – Sweetens the crust while contributing to its tender texture.
-
All-Purpose Flour – Forms a sturdy structure for the buttery shortbread layer.
-
Pure Vanilla Extract – Enhances the overall flavor of the crust.
-
For the Caramel Layer:
-
Salted Butter – Adds creaminess and depth to the caramel.
-
Salt – Balances out the sweetness of the caramel.
-
Light Corn Syrup – Prevents crystallization in the caramel for a smooth texture.
-
Granulated Sugar – Serves as the primary sweetener for the luscious caramel.
-
Heavy Whipping Cream – Creates a rich, creamy consistency in the caramel.
-
Pure Vanilla Extract – Adds an extra hint of delicious flavor to the caramel layer.
-
For the Chocolate Layer:
-
Milk or Dark Chocolate – Provides a sweet, creamy topping for your Twix cookie bars—dark chocolate adds richness!
-
Heavy Whipping Cream – Ensures a smooth, silky consistency for the chocolate layer.
Embrace the joy of baking with these Twix Cookie Bars ingredients, perfect for a delightful homemade treat that’s sure to impress!
Step‑by‑Step Instructions for Homemade Twix Cookie Bars
Step 1: Prepare the Crust
Preheat your oven to 300°F (150°C) and line a 9×13-inch pan with aluminum foil for easy removal. In a mixing bowl, combine 1 cup of softened salted butter, 1 cup of powdered sugar, 2 cups of all-purpose flour, and 2 teaspoons of pure vanilla extract. Mix until crumbly, then press this mixture firmly into the prepared pan. Bake for about 40 minutes, or until the crust is golden brown and fragrant.
Step 2: Make the Caramel
While the crust bakes, prepare the caramel layer. In a medium saucepan over low heat, melt ½ cup of salted butter along with a pinch of salt, ¾ cup of light corn syrup, and 1 cup of granulated sugar. Stir gently until melted. Increase the heat to medium-low and allow it to simmer without stirring until it reaches 235°F (soft-ball stage) on a candy thermometer. Slowly stir in ½ cup of heavy whipping cream, then let it bubble back to 235°F again.
Step 3: Assemble the Bars
Once the caramel is ready, remove it from the heat and let it cool slightly. Carefully pour the warm caramel over the cooled shortbread crust, spreading it evenly with a spatula. Chill the pan in the refrigerator for about 45-60 minutes, or until the caramel is set but still slightly soft to ensure easy cutting after the final layer.
Step 4: Prepare the Chocolate Layer
Melt 2 cups of your chosen chocolate (milk or dark) with ¼ cup of heavy whipping cream in a microwave-safe bowl or using a double boiler. Heat in 30-second intervals, stirring until completely smooth. Once melted, pour the silky chocolate mixture over the set caramel layer, smoothing it out gently with a spatula until evenly coated.
Step 5: Final Chill
Place the entire pan back in the refrigerator and let it chill for 3-4 hours, or until the chocolate layer is set completely. Once set, lift the bars out of the pan using the foil edges and transfer them to a cutting board. Cut into squares or rectangles for delicious homemade Twix Cookie Bars ready to share (or enjoy yourself)!
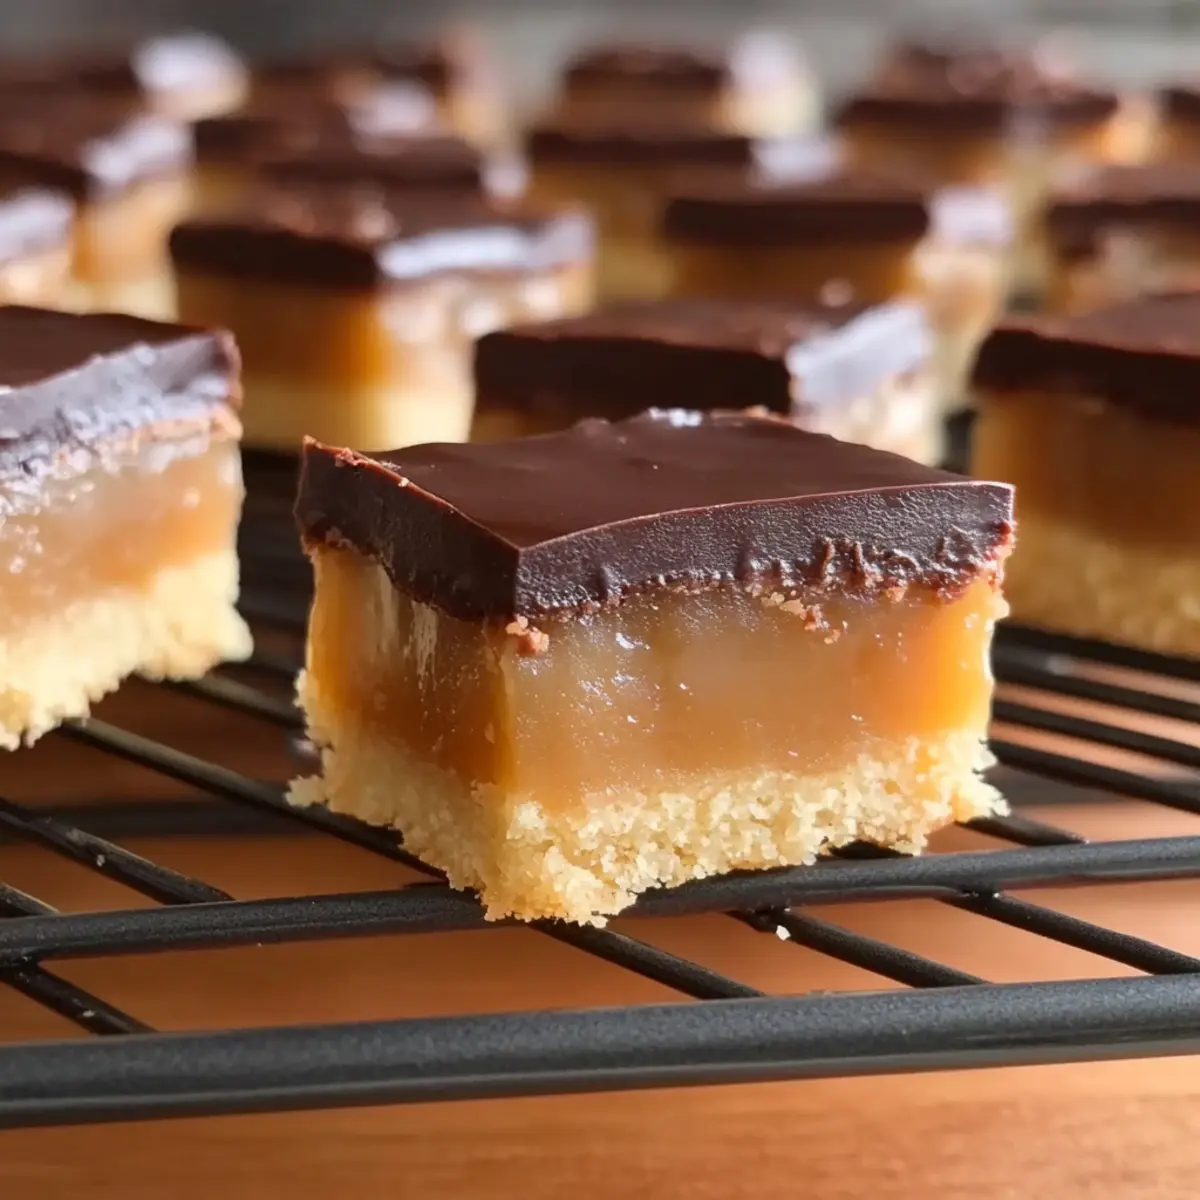
Twix Cookie Bars Variations & Substitutions
Feel free to explore and make these delightful cookie bars your own with some fun twists and swaps!
- Chocolate Type: Swap milk chocolate for dark chocolate for a deeper, richer flavor.
- Nutty Crunch: Add crushed almonds or walnuts to the chocolate layer for a delightful crunch.
- Flavor Boost: Stir in a teaspoon of espresso powder into the caramel for a sophisticated twist.
- Sea Salt Finish: Sprinkle flaked sea salt on top of the chocolate layer to elevate the flavor balance.
- Gluten-Free: Substitute all-purpose flour with a gluten-free blend for a tasty alternative without compromising texture.
- Vegan Version: Use coconut oil and a plant-based heavy cream alternative to create a vegan-friendly version of these bars.
- Fruity Addition: Consider adding a layer of raspberry jam between the caramel and chocolate for a fruity surprise in every bite.
- Decadent Caramel: Swap regular corn syrup with homemade caramel for an ultra-rich flavor and texture.
These variations open up a world of possibilities, ensuring every batch of your Twix Cookie Bars can be uniquely yours! And if you’re in the mood for more sweet inspiration, don’t miss the opportunity to whip up some Cannoli Cookies or scrumptious Cinnamon Roll Cookies for your next baking adventure!
Make Ahead Options
These Twix Cookie Bars are perfect for meal prep enthusiasts! You can prepare the crust and caramel layers up to 24 hours in advance. Simply bake the crust and allow it to cool completely before pouring the warm caramel over it. Once set, refrigerate the assembled layers, covered, to maintain their freshness. The final chocolate layer can be added right before serving for the best texture—just melt the chocolate and cream together when you’re ready to finish. If you need to, you can also freeze the baked bars for up to 2 months; just ensure they are well-wrapped. Enjoy the convenience of having these delicious Twix Cookie Bars ready to delight your friends and family!
Expert Tips for Twix Cookie Bars
Temperature Matters: Ensure your oven is accurately calibrated to achieve the perfect crust; a too-hot oven can lead to a burnt base.
Chill Time is Key: Don’t rush the chilling stages, as waiting helps each layer set properly and makes cutting easier.
Use a Candy Thermometer: For precise caramel preparation, a calibrated candy thermometer is invaluable; it helps in achieving the right consistency.
Layering Love: Allow each layer to cool slightly before adding the next to avoid mixing, ensuring distinct, flavorful layers in your Twix cookie bars.
Ingredient Quality: Opt for quality chocolate and butter for richer, creamier flavors that elevate your homemade treat to new heights.
Storage Tips for Twix Cookie Bars
Fridge: Store your Twix Cookie Bars in an airtight container in the refrigerator for up to two weeks. This keeps them fresh and maintains the delicious layers.
Freezer: For longer storage, freeze the bars for up to two months. Cut them into squares, wrap in plastic wrap, and place in a freezer-safe container or bag for optimal freshness.
Thawing: When ready to enjoy, allow the frozen Twix Cookie Bars to thaw at room temperature for about 30 minutes, or pop them in the fridge overnight for a softer caramel experience.
Reheating: If you prefer a warm treat, gently reheat a bar in the microwave for about 10-15 seconds, just enough to soften the chocolate and caramel without melting it completely.
What to Serve with Homemade Twix Cookie Bars
Imagine the sweet delight of your Homemade Twix Cookie Bars paired with irresistible sides that elevate your dessert experience.
- Vanilla Ice Cream: The creamy, cold delight of vanilla ice cream beautifully contrasts the warm, gooey bars, making each bite a rich indulgence.
- Fresh Berries: Juicy strawberries or raspberries add a refreshing tartness that balances out the sweet layers of caramel and chocolate.
- Espresso: A bold cup of espresso enhances the dessert experience, with its rich flavors complementing the sweetness of the bars perfectly.
- Chocolate Sauce Drizzle: For true chocoholics, a warm drizzle of chocolate sauce takes these cookie bars to another level of decadence.
- Whipped Cream: A dollop of fluffy whipped cream adds lightness and texture, making each bite heavenly and airy.
- Caramel Apples: Serve caramel-dipped apple slices alongside for a crunchy, fruity pairing that echoes the caramel in your bars.
- Nutty Trail Mix: A handful of nutty trail mix provides crunch and savory notes, balancing out the sweetness of your dessert.
- Milk: Classic and comforting, a glass of ice-cold milk is the perfect companion, enhancing the joy of every bite.
These delightful pairings will not only complement your Homemade Twix Cookie Bars but will also elevate your dessert experience to new heights.
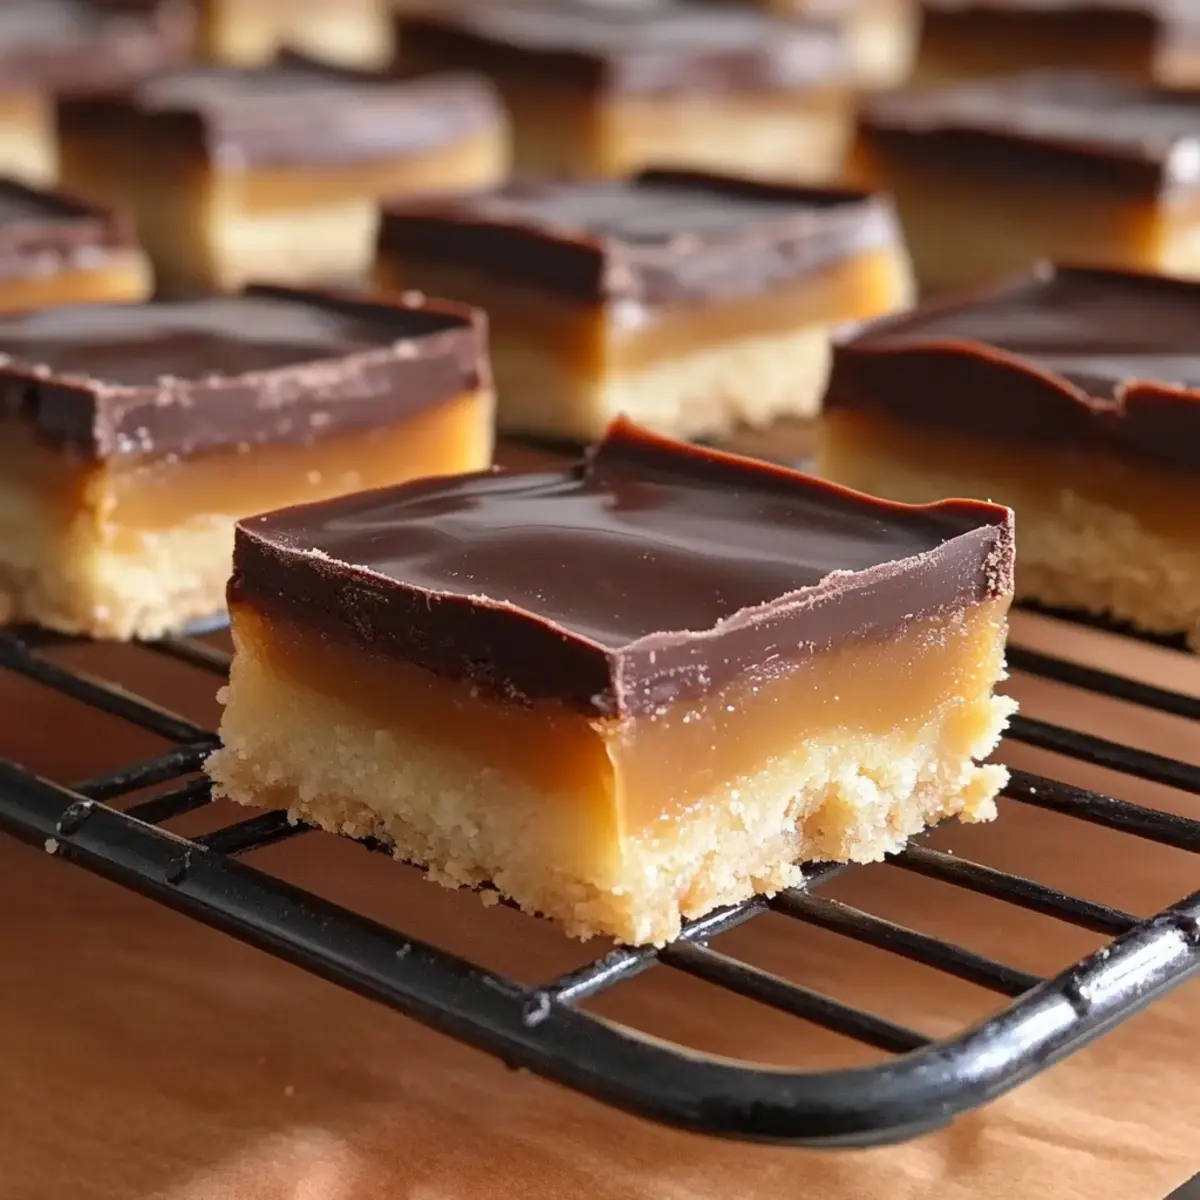
Twix Cookie Bars Recipe FAQs
How do I choose the best ingredients for Twix Cookie Bars?
Absolutely! For the crust, make sure to use high-quality salted butter, as it adds richness and flavor. The powdered sugar should be fine, ensuring a tender texture. For the caramel layer, you want to use good quality light corn syrup and granulated sugar. These ingredients will contribute to a smooth and delicious caramel. Lastly, when choosing chocolate, opt for either milk or dark chocolate with a high cocoa content for the best flavor.
How should I store my Twix Cookie Bars?
These scrumptious Twix Cookie Bars can be stored in an airtight container in the refrigerator for up to 2 weeks. This way, they will maintain their freshness and delicious layers. If they won’t be eaten within that timeframe, you can freeze them for up to 2 months. Just make sure to wrap them individually in plastic wrap and place them in a freezer-safe container. When you’re ready, let them thaw at room temperature for about 30 minutes for a perfect treat!
Can I freeze my Twix Cookie Bars?
Definitely! Freezing is a great option to prolong the life of your bars. To freeze, cut them into squares after they’ve completely set. Wrap each square in plastic wrap, then place them in a freezer-safe bag or container to avoid freezer burn. Keep them in the freezer for up to 2 months. When you crave a sweet treat, let them thaw at room temperature for about half an hour, or place them in the fridge overnight for a softer caramel experience.
How can I troubleshoot if my caramel isn’t thickening?
Very! If your caramel isn’t thickening as expected, it’s likely due to temperature issues. Make sure you’re using a calibrated candy thermometer, as achieving the right temperature (235°F) is crucial. If it doesn’t reach that stage, it might be too runny. Simply return it to the heat and let it simmer without stirring until it reaches the right temperature. If you’ve let it cool and it still hasn’t thickened, you can reset it by re-heating it gently and allowing it to simmer again.
Are these Twix Cookie Bars suitable for people with allergies?
Certainly! These bars contain common allergens such as dairy (butter, cream, chocolate) and gluten (flour) which may not be suitable for everyone. For a gluten-free option, consider using a gluten-free flour blend. If you want to make a dairy-free version, look for vegan butter, coconut cream, and dairy-free chocolate alternatives. Always check ingredient labels for hidden allergens and consult with individuals who may have sensitivities before serving.
How long does it take to prepare and set Twix Cookie Bars?
The prep time for your delightful Twix Cookie Bars is about 30 minutes, but remember to allow 3-4 hours for them to chill and set fully after assembly. This downtime is important for achieving the right texture, especially for the chocolate layer. So while the preparation is quick, ensure you allocate enough time for the bars to chill in the refrigerator before cutting them into tasty squares!
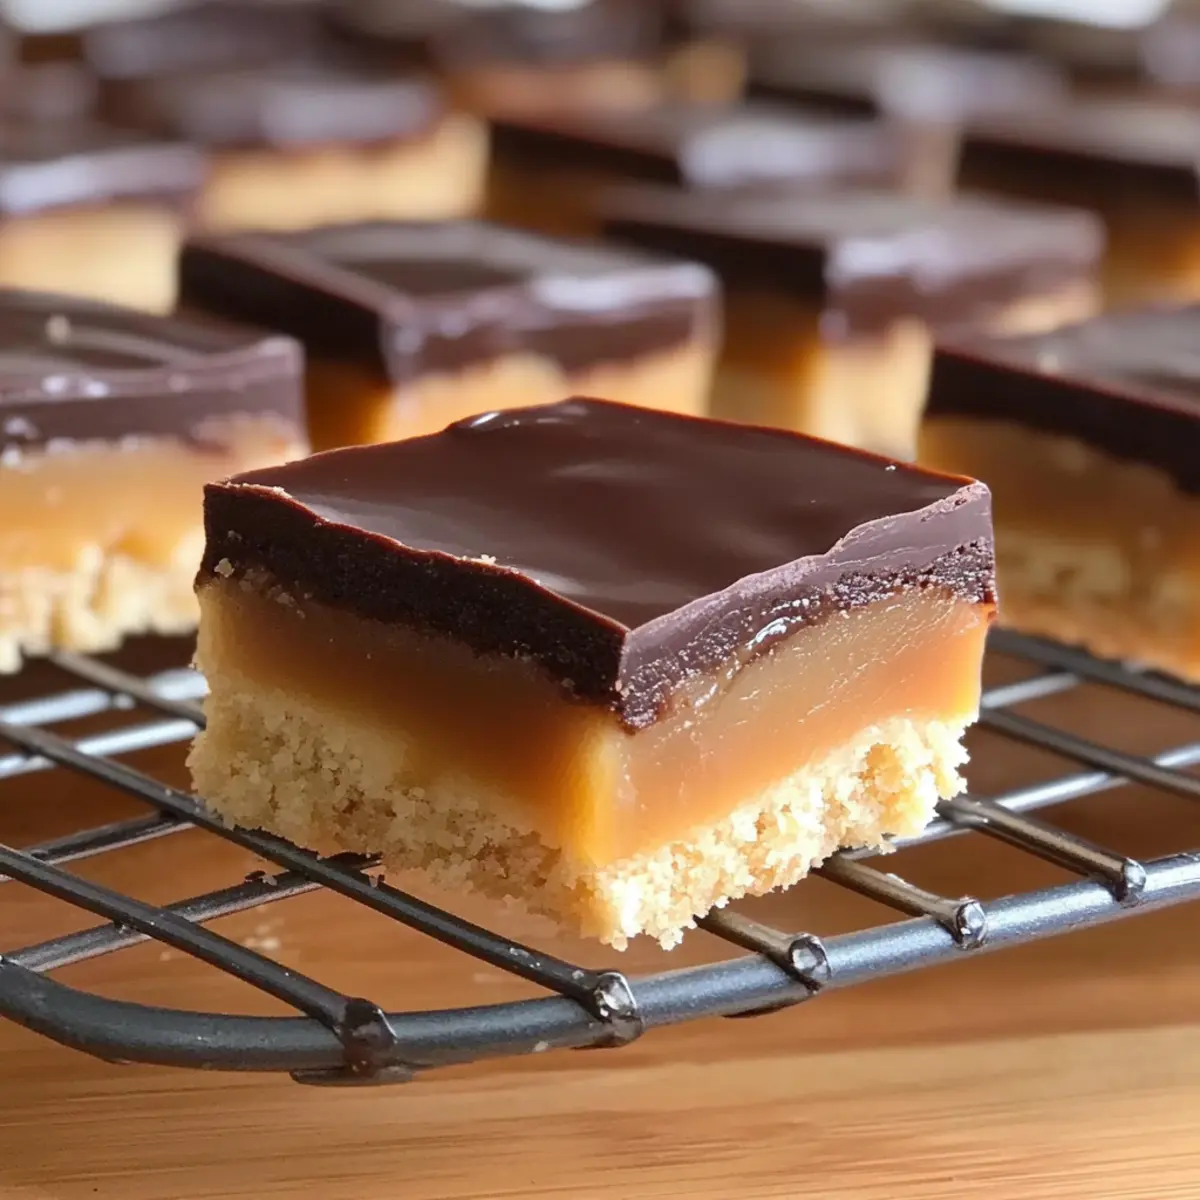
Irresistible Twix Cookie Bars That'll Sweeten Your Day
Ingredients
Equipment
Method
- Preheat your oven to 300°F (150°C) and line a 9x13-inch pan with aluminum foil for easy removal. In a mixing bowl, combine the crust ingredients and mix until crumbly, then press into the prepared pan. Bake for about 40 minutes, until golden brown.
- While the crust bakes, melt the caramel ingredients in a saucepan over low heat, then increase heat to medium-low and simmer until it reaches 235°F. Stir in heavy whipping cream and heat back to 235°F.
- Once the caramel is ready, remove from heat, cool slightly, and pour over the cooled crust, spreading evenly. Chill in the refrigerator for 45-60 minutes until set.
- Melt the chocolate with heavy whipping cream in a microwave-safe bowl, stirring until smooth. Pour over the caramel layer and smooth it out evenly.
- Refrigerate for 3-4 hours until the chocolate layer is set. Lift out using the foil edges, cut into bars, and serve.
Leave a Reply