
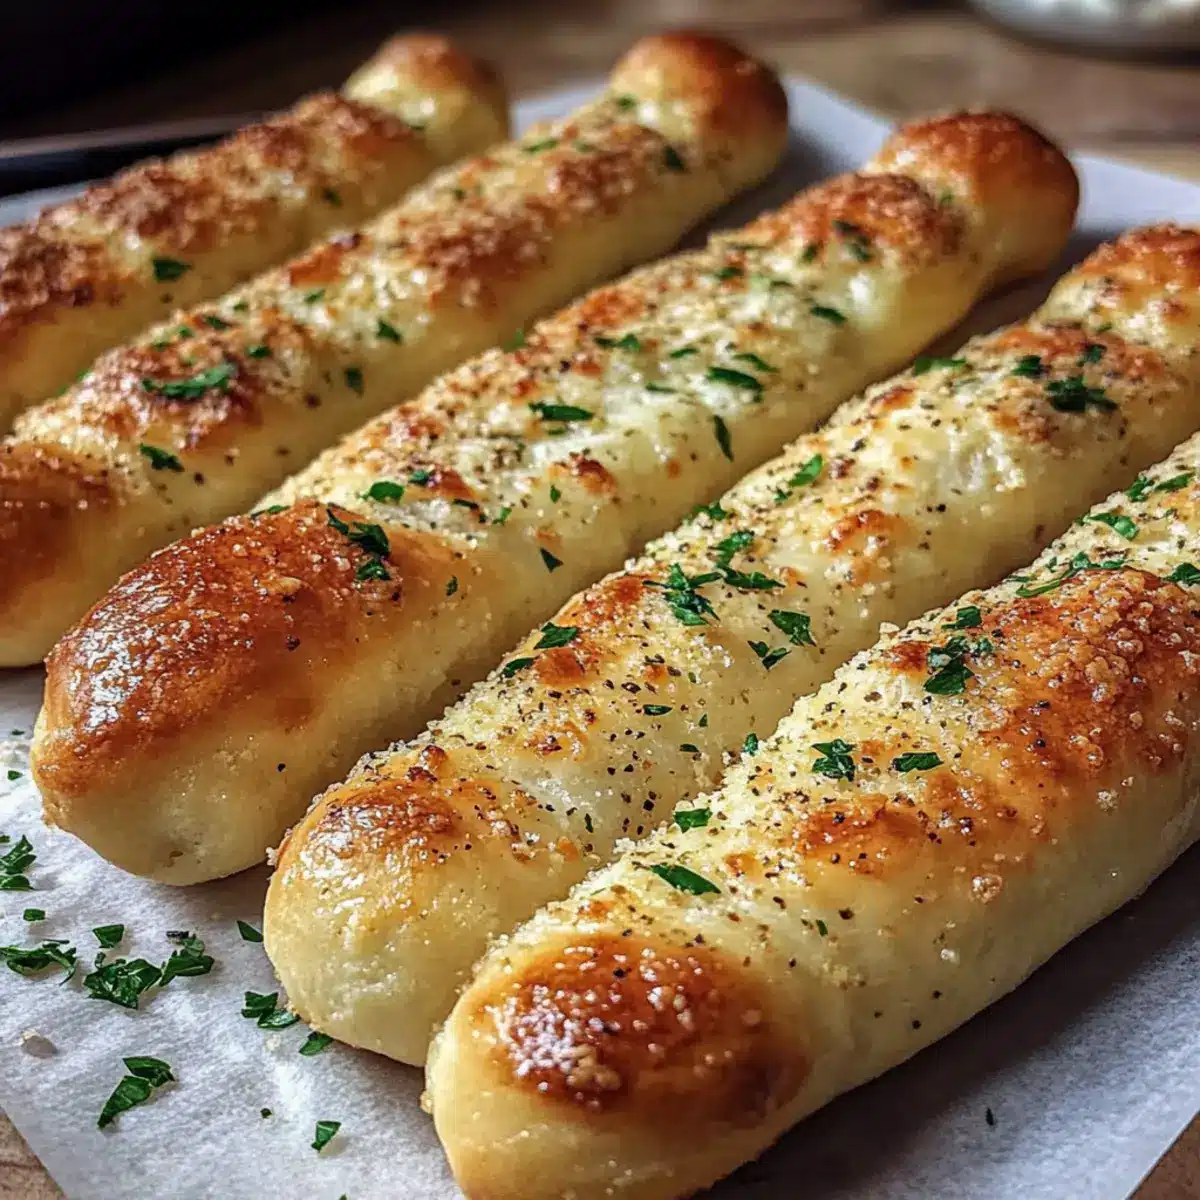
The aroma of freshly baked bread has a magical way of transporting me right to the heart of an Italian kitchen. Today, I’m excited to share my recipe for Buttery Garlic Breadsticks with Italian Seasoning, a delightful twist on a classic favorite. These little wonders boast a soft, pillowy texture, while the golden, crispy exterior gets a generous dousing of garlic-infused butter and fragrant herbs. Not only are they incredibly easy to whip up, making them perfect for anyone from seasoned chefs to budding bakers, but they also elevate any meal into a cozy occasion. Serve them alongside pasta dishes or as a stand-alone appetizer that will impress your guests. Are you ready to turn your kitchen into an aromatic haven? Let’s dive in!
Why Are These Breadsticks So Irresistible?
Soft, Pillowy Texture: Each bite is delightfully fluffy, providing a satisfying contrast to the crispy outer layer.
Garlic-Butter Bliss: This rich topping enhances the breadsticks, making them a standout side for any meal or a perfect appetizer.
Quick and Easy Prep: With simple ingredients and easy steps, you’ll have these breadsticks ready in no time—even on a busy weeknight!
Versatile Pairing Options: They complement dishes like Garlic Parmesan Chicken beautifully or can be enjoyed solo for a cozy snack.
Crowd-Pleasing Treat: These breadsticks are sure to impress friends and family, making them a popular choice for gatherings or dinners.
Once you try these, you’ll understand why they’re the ultimate homemade delight!
Buttery Garlic Breadstick Ingredients
-
For the Dough
-
All-Purpose Flour – Provides structure; substitute with bread flour for added chewiness.
-
Active Dry Yeast – Leavens the dough; replace one packet with 2¼ tsp of instant yeast if needed.
-
Warm Water – Activates yeast; ensure temperature is between 105–115°F/40–46°C for optimal fermentation.
-
Granulated Sugar – Feeds yeast and adds subtle sweetness; consider using brown sugar for a richer flavor.
-
Unsalted Butter – Adds moisture and richness; you can use salted butter, just reduce the added salt.
-
Salt – Enhances flavor; it’s essential and cannot be substituted.
-
For the Topping
-
Garlic Cloves – The star ingredient for flavor; can swap with garlic powder (2 tsp) if fresh isn’t available.
-
Italian Seasoning – Provides fragrant herbal notes; blend oregano, basil, thyme, and rosemary for a homemade mix.
-
Parmesan Cheese (Optional) – Adds savory depth; feel free to omit or replace with another hard cheese.
-
Fresh Parsley (Optional) – Offers a pop of color and fresh flavor; dried parsley works too if that’s what you have.
These Buttery Garlic Breadsticks will surely be the highlight of your meal, enveloping you with their fragrant charm and inviting you to take just one more bite!
Step‑by‑Step Instructions for Buttery Garlic Breadsticks
Step 1: Proof the Yeast
In a mixing bowl, combine warm water and granulated sugar. Sprinkle the active dry yeast over the top and let it sit undisturbed for 5-10 minutes, or until bubbly and frothy. This ensures that the yeast is alive and ready to help your Buttery Garlic Breadsticks rise beautifully.
Step 2: Make the Dough
Once the yeast mixture is frothy, stir in the softened unsalted butter and half of the all-purpose flour. Mix until smooth, then gradually add the remaining flour, mixing until fully combined. Knead the dough on a lightly floured surface for 6-8 minutes by hand or 4-5 minutes in a stand mixer until it becomes smooth and elastic.
Step 3: First Rise
Lightly oil a clean bowl and place the kneaded dough inside, turning it to coat with oil. Cover the bowl with a kitchen towel or plastic wrap and let it rise in a warm place for about 60 minutes. The dough should double in size, which you can visually gauge as it swells and looks puffy.
Step 4: Shape the Breadsticks
Once the dough has risen, gently punch it down to release the air. Divide the dough into 8-12 equal pieces and roll each piece into a rope shape, measuring about 8-10 inches long. Arrange the shaped ropes on a parchment-lined baking sheet, leaving space between each for expansion.
Step 5: Second Rise (Optional)
Cover the shaped breadsticks with a clean towel and let them rest for an additional 15 minutes. This step is optional but recommended for even fluffier Buttery Garlic Breadsticks, allowing them time to rise slightly before baking.
Step 6: Prepare Garlic-Butter Mixture
In a separate bowl, whisk together melted unsalted butter, minced garlic, Italian seasoning, and a pinch of salt. This aromatic mixture will be brushed over your breadsticks to impart that irresistible garlicky flavor and enrich them with buttery goodness, setting the stage for fantastic taste.
Step 7: Bake & Brush
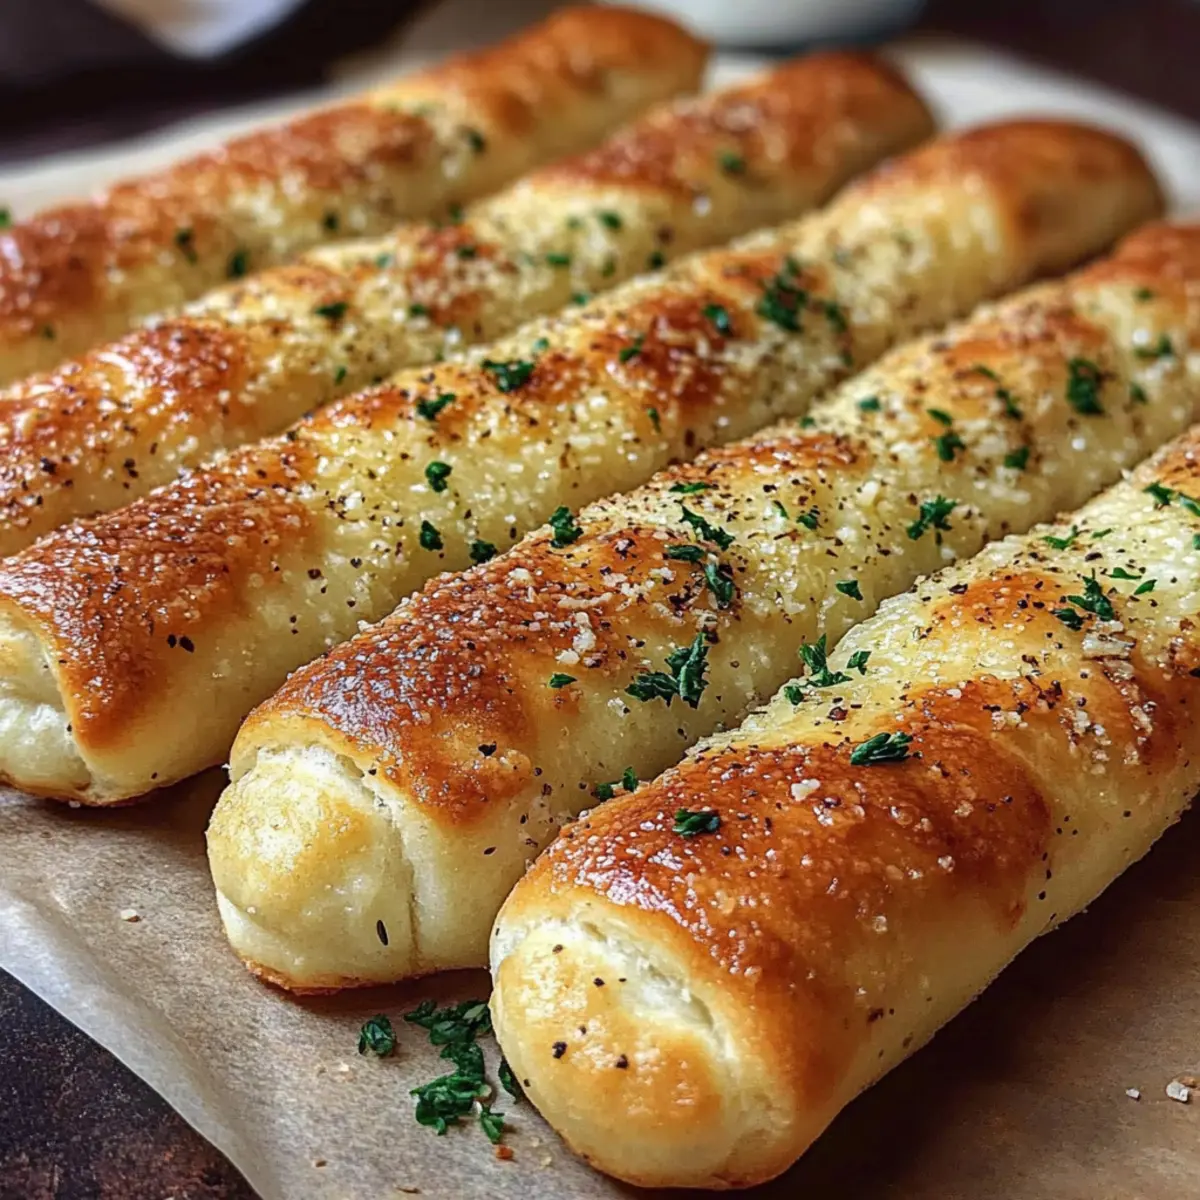
Preheat your oven to 400°F (200°C). Brush the tops of each breadstick generously with the garlic-butter mixture. Bake in the preheated oven for 12-15 minutes, or until they are golden brown and have a crisp exterior. Once out of the oven, brush them again with the remaining garlic-butter for extra flavor, and sprinkle with fresh parsley if desired.
What to Serve with Buttery Garlic Breadsticks
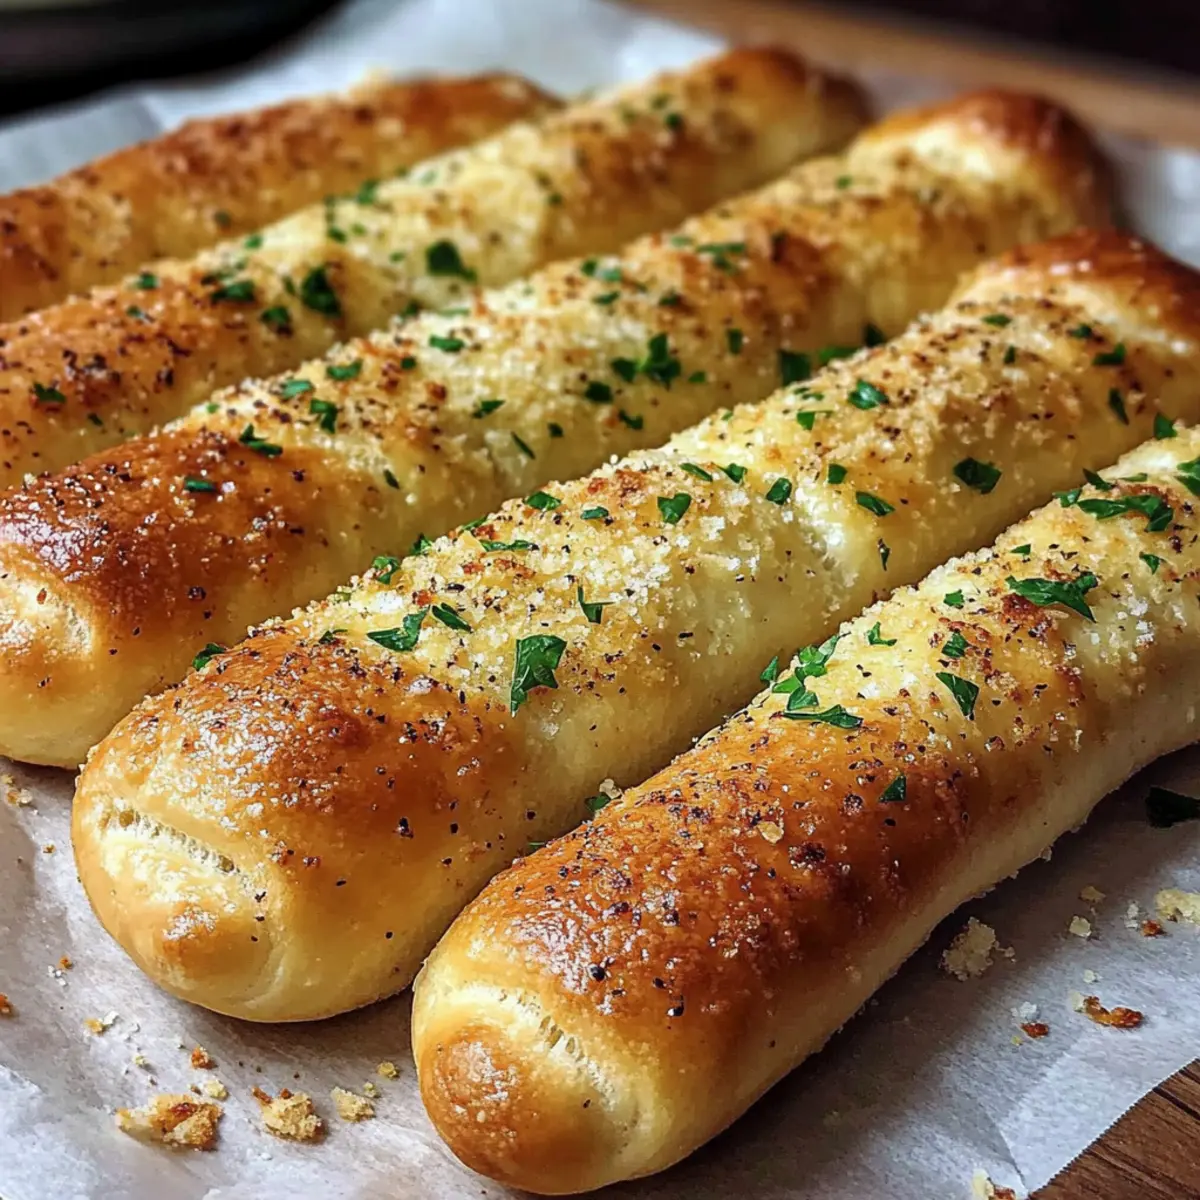
Imagine the comforting aroma filling your home as you pull a batch of warm, buttery garlic breadsticks from the oven, ready to steal the show on your dinner table.
- Creamy Tomato Soup: The tangy flavors of tomato soup create a perfect balance with the rich garlic-butter taste, making it a cozy duo for chilly evenings.
- Classic Spaghetti and Marinara: These breadsticks are an iconic pairing with spaghetti, as they can soak up the delicious marinara sauce while providing a delightful textural contrast.
- Caesar Salad: Crisp romaine pieces tossed with dressing enhance the richness of the breadsticks, offering a fresh and crunchy element to your meal.
- Chili: The spicy, hearty flavors of chili complement the softness of the breadsticks, creating a satisfying meal that’s perfect for game day or family gatherings.
- Garlic Parmesan Chicken: This dish mirrors the garlic theme, while its crispy skin pairs beautifully with the soft texture of the breadsticks for a well-rounded experience.
- Stuffed Bell Peppers: Filled with tasty ingredients, these colorful peppers make a hearty side that matches wonderfully with the lightness of your garlic breadsticks.
- Herbed Olive Oil Dip: A warm concoction of olive oil with fresh herbs provides a zesty delight for dipping, enhancing the breadsticks’ flavors in every bite.
- Sparkling Italian Lemonade: This refreshing drink adds a zesty touch to your meal, brightening the flavors of the breadsticks with its citrusy notes.
- Chocolate Fondue: For a sweet conclusion, serve your meal with a chocolate fondue, where the breadsticks, once cooled, can be drizzled in warm chocolate for a delightful dessert twist.
- Fresh Fruit Salad: A vibrant mix of seasonal fruits brings a refreshing sweetness that contrasts nicely with the savory garlic tones, making for an appealing end to your meal.
Expert Tips for Buttery Garlic Breadsticks
-
Warm Water Check: Ensure the water temperature is between 105–115°F to properly activate the yeast without killing it.
-
Kneading Matters: Knead until the dough is smooth and elastic. Over-kneading can toughen the breadsticks, while under-kneading will result in a dense texture.
-
Flour Caution: Be mindful of how much flour you add during kneading. Too much can lead to dry, crumbly Buttery Garlic Breadsticks.
-
Flavor Boost: For an extra kick of flavor, add a pinch of red pepper flakes to the garlic-butter mixture before brushing it on the breadsticks.
-
Cheesy Delight: If you love cheese, sprinkle mozzarella or grated Parmesan on top during the final minutes of baking for a gooey, cheesy version of your breadsticks.
-
Storage Tips: To keep your freshly baked breadsticks soft, store them in an airtight container at room temperature, and reheat in the oven for best results.
How to Store and Freeze Buttery Garlic Breadsticks
Room Temperature: Store leftover breadsticks in an airtight container at room temperature for up to 2 days to maintain their soft texture.
Fridge: If you need to store them longer, place the breadsticks in the refrigerator, where they’ll last for about 4-5 days—just make sure they’re well-wrapped to avoid dryness.
Freezer: For long-term storage, freeze the breadsticks in a freezer-safe bag or container for up to 3 months. Thaw them in the fridge before reheating.
Reheating: To reheat, wrap the breadsticks in foil and place them in a preheated oven at 350°F (175°C) for 5-7 minutes. This keeps them warm without losing that beloved buttery texture!
Buttery Garlic Breadsticks Variations
Feel free to customize these breadsticks to suit your taste preferences or dietary needs—delicious aromas await!
-
Herb Infusion:
Swap out the Italian seasoning for fresh herbs like rosemary or thyme for a unique flavor twist. -
Cheesy Delight:
Add 1 cup of shredded cheese, like mozzarella or cheddar, directly into the dough for gooey, cheesy breadsticks. -
Whole Wheat:
Replace half of the all-purpose flour with whole wheat flour for a healthier, nutty flavor without sacrificing texture. -
Spicy Kick:
Stir in a pinch of red pepper flakes to the garlic-butter mixture for an extra layer of heat that will make your taste buds dance. -
Garlic Powder:
If fresh garlic isn’t on hand, substitute 2 teaspoons of garlic powder in the butter mix; the flavor remains robust and inviting. -
Basil Twist:
Add torn fresh basil leaves into the garlic-butter for a fragrant, summery twist that will enhance the overall aroma and taste. -
Parmesan Topping:
For added depth, sprinkle grated Parmesan cheese over the breadsticks before baking to encapsulate a savory flavor that elevates your dish. -
Dipping Sauce:
Pair these breadsticks with a homemade marinara sauce for dipping; it complements the buttery, garlicky goodness perfectly!
Feeling adventurous? Try serving your buttery garlic breadsticks alongside some luscious Bourbon Garlic Cream for a delightful dip or with Garlic Parmesan Sweet potato wedges for a well-rounded meal!
Make Ahead Options
These Buttery Garlic Breadsticks are perfect for busy home cooks looking to save time during the week! You can prepare the dough up to 24 hours in advance. Simply follow steps 1 through 4, then shape the breadsticks and place them on a baking sheet lined with parchment. Cover and refrigerate for up to 24 hours. When you’re ready to bake, allow them to sit at room temperature for about 30 minutes, then continue with steps 6 and 7. The key to maintaining quality is to prevent over-proofing, so make sure to check the dough’s rise before baking. This way, you’ll have warm and freshly baked breadsticks with minimal effort!
Buttery Garlic Breadsticks with Italian Seasoning Recipe FAQs
What is the best way to select garlic for this recipe?
Absolutely! Look for garlic bulbs that are firm and dry, avoiding any that feel soft or have dark spots. The cloves should be plump and not sprouting. Fresh garlic will provide the best flavor for your buttery garlic breadsticks.
How should I store leftover breadsticks?
After enjoying your delicious breadsticks, store any leftovers in an airtight container at room temperature for up to 2 days. To keep them nice and soft, avoid refrigerating them, as this can dry them out. If you want them to last a bit longer, refrigerate for 4-5 days, but be sure to wrap them well.
Can I freeze these breadsticks?
Very! To freeze your buttery garlic breadsticks, wrap them tightly in plastic wrap and then place them in a freezer-safe bag or container. They can last for up to 3 months in the freezer. To enjoy them, simply thaw them in the fridge overnight, then reheat as directed.
What if my dough doesn’t rise properly?
Sometimes it happens! If your dough doesn’t rise, it may be due to old yeast or the water being too hot. Always ensure your water is warm—between 105-115°F (40-46°C)—to properly activate the yeast. If the dough feels too stiff, try adding a tiny bit of water, one tablespoon at a time.
Are there any dietary considerations for these breadsticks?
Yes! These buttery garlic breadsticks contain gluten from the flour and dairy from the butter. If you have gluten allergies, you can substitute the all-purpose flour with a gluten-free flour blend. Dairy-free alternatives can work too; use olive oil instead of butter and nutritional yeast for a cheesy flavor.
How do I achieve the best texture in my breadsticks?
For irresistibly soft, fluffy buttery garlic breadsticks, knead your dough carefully until it’s smooth and elastic—usually about 6-8 minutes by hand. If you’re using a mixer, about 4-5 minutes should do. Also, avoid adding too much flour during kneading; that can lead to dense breadsticks. Resting the dough during the second rise also helps them become airier!
Buttery Garlic Breadsticks: Irresistibly Soft & Flavorful
Ingredients
Equipment
Method
- In a mixing bowl, combine warm water and granulated sugar. Sprinkle the active dry yeast over the top and let it sit undisturbed for 5-10 minutes, or until bubbly and frothy.
- Once the yeast mixture is frothy, stir in the softened unsalted butter and half of the all-purpose flour. Mix until smooth, then gradually add the remaining flour, mixing until fully combined.
- Knead the dough on a lightly floured surface for 6-8 minutes by hand or 4-5 minutes in a stand mixer until it becomes smooth and elastic.
- Lightly oil a clean bowl and place the kneaded dough inside, turning it to coat with oil. Cover the bowl with a kitchen towel or plastic wrap and let it rise in a warm place for about 60 minutes.
- Once the dough has risen, gently punch it down to release the air. Divide the dough into 8-12 equal pieces and roll each piece into a rope shape, measuring about 8-10 inches long.
- Cover the shaped breadsticks with a clean towel and let them rest for an additional 15 minutes.
- In a separate bowl, whisk together melted unsalted butter, minced garlic, Italian seasoning, and a pinch of salt.
- Preheat your oven to 400°F (200°C). Brush the tops of each breadstick generously with the garlic-butter mixture. Bake for 12-15 minutes, or until golden brown.
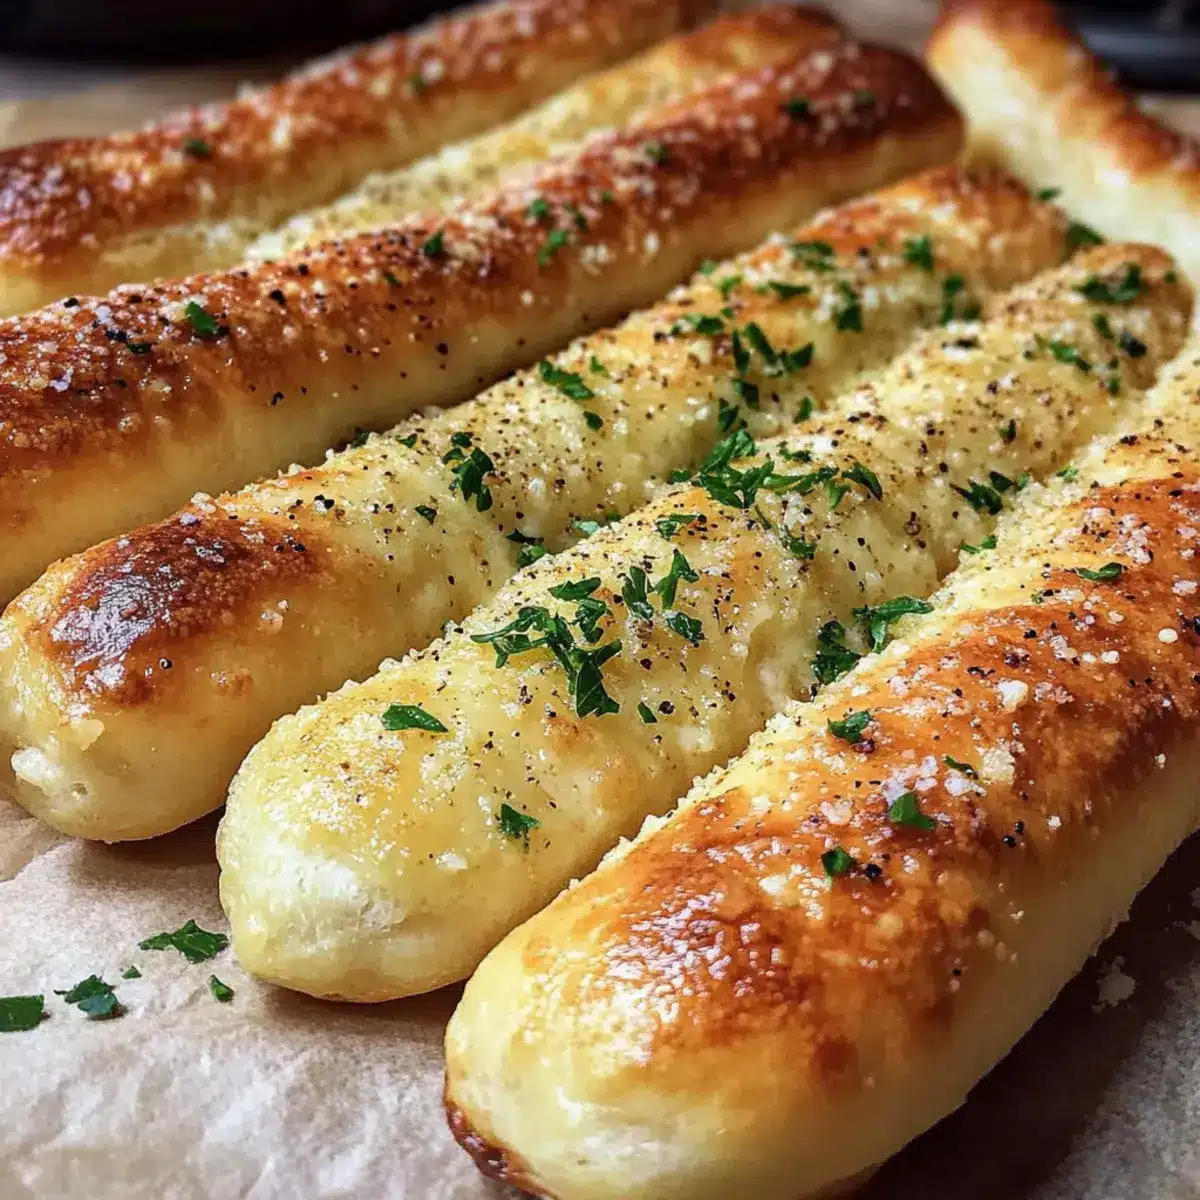
- Once out of the oven, brush them again with the remaining garlic-butter for extra flavor, and sprinkle with fresh parsley if desired.
Leave a Reply