
As I walked through the local market, the air filled with the sweet scent of cinnamon and apples, my imagination sparked with the idea of transforming these seasonal delights into something whimsical. Enter the Pumpkin Shaped Mini Apple Pies—a charming twist on a classic dessert that not only captivates the eye but delivers an explosion of deliciousness with every bite. With their tender, flaky crust and a wonderfully gooey cinnamon-apple filling, these kid-friendly treats come together in about an hour, making them perfect for those busy fall afternoons. Imagine delighting your loved ones with these adorable little pies, fit for any gathering or cozy night in. Who wouldn’t want to indulge in such a playful yet comforting dessert? Let’s get started on making some autumn magic!
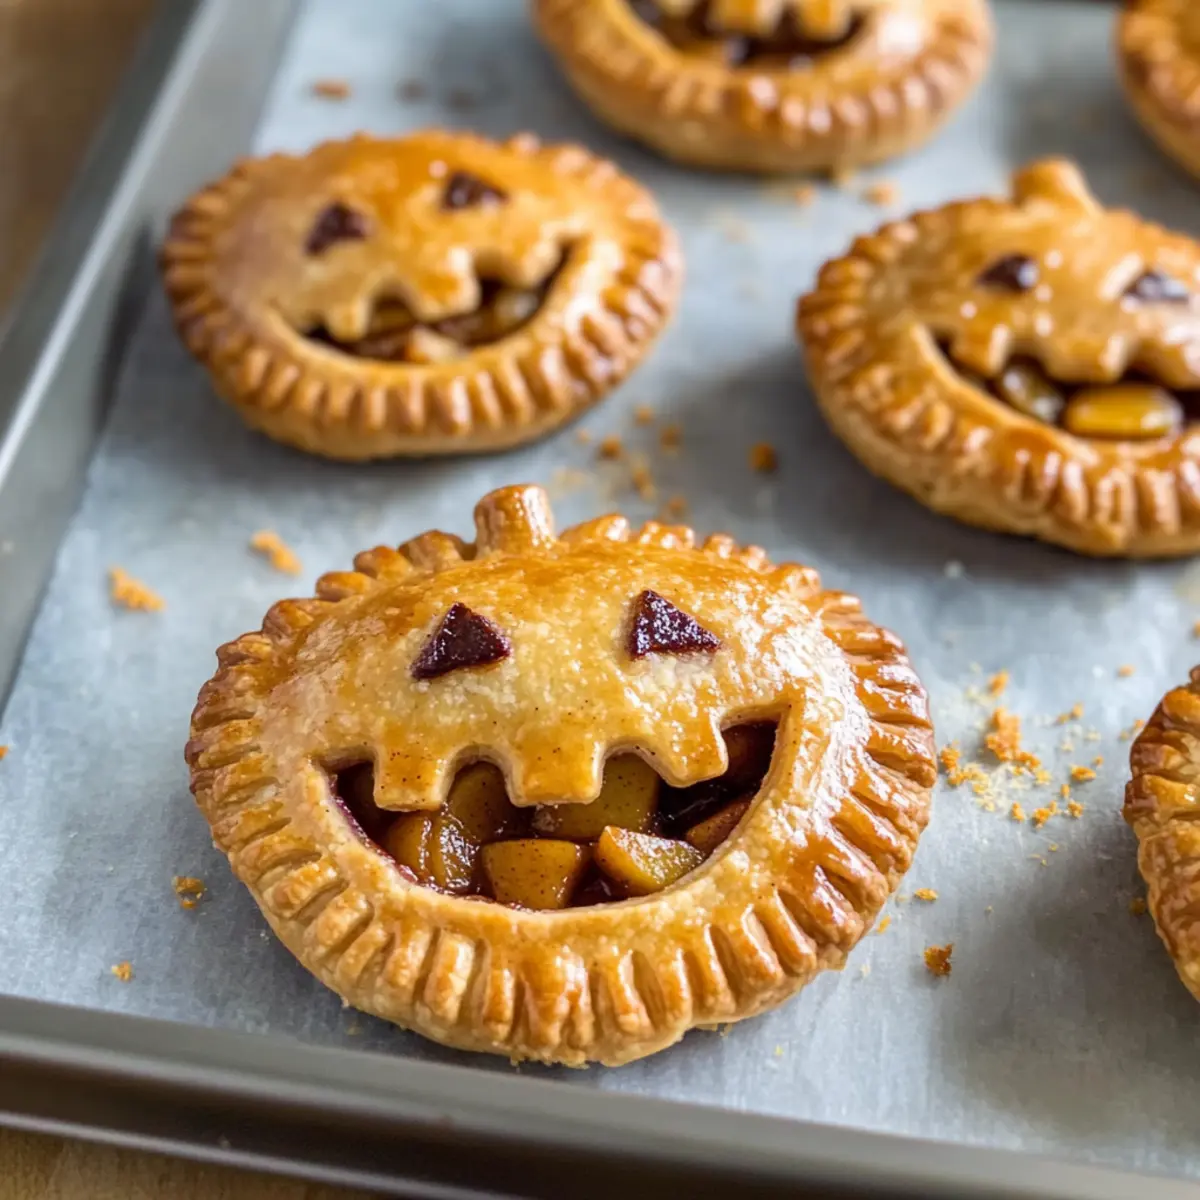
Why are Pumpkin Shaped Mini Apple Pies special?
Whimsical Appeal: These delightful little treats are perfect for adding charm to any fall gathering.
Kid-Friendly Fun: Their playful pumpkin shape makes dessert exciting and approachable for kids.
Quick to Prepare: Made in about an hour, they fit into even the busiest schedules.
Multiple Pairing Options: Enjoy them alone or with a scoop of ice cream or a warm drink like apple cider for a cozy experience.
Seasonal Flavors: The gooey cinnamon-apple filling encapsulates the essence of fall flavors that everyone loves.
Indulge in these treats as a fun centerpiece at your next gathering, and watch as they disappear in no time!
Pumpkin Shaped Mini Apple Pie Ingredients
• Get ready to bake!
-
For the Crust
-
Refrigerated Pie Crusts – Pre-made crusts provide convenience and ease; substitute with homemade dough for a fresher taste.
-
All-Purpose Flour – Used for dusting and to thicken the apple filling; no substitutions needed.
-
Large Egg (beaten with milk/cream) – Serves as an egg wash for a golden, glossy finish.
-
For the Filling
-
Medium Apples (peeled, cored, and diced) – Key ingredient for filling; choose firm varieties to prevent mushiness.
-
Granulated Sugar – Adds sweetness to the apple filling.
-
Light Brown Sugar – Enriches flavor with a hint of caramel undertone.
-
All-Purpose Flour (for filling) – Helps bind the filling; can substitute with cornstarch for a gluten-free option.
-
Ground Cinnamon, Nutmeg, Allspice – Provides classic fall flavors; adjust quantities based on spice preferences.
-
Lemon Juice – Brightens the apple flavor and prevents browning; fresh or bottled juice can be used.
-
Vanilla Extract – Enhances the flavor profile; quality matters for the best taste.
-
For the Topping
-
Coarse Sugar or Turbinado Sugar – For sprinkling on the tops to add crunch and shine.
-
Ground Cinnamon (for sprinkling) – Optional, for extra spice.
Now you’re all set to whip up these delightful Pumpkin Shaped Mini Apple Pies that will charm everyone at your gathering! Enjoy the baking adventure!
Step‑by‑Step Instructions for Pumpkin Shaped Mini Apple Pies
Step 1: Prepare the Apple Filling
Start by peeling, coring, and finely dicing about 3 medium apples—choose firm varieties for best results. In a mixing bowl, combine the diced apples with granulated sugar, light brown sugar, ground cinnamon, nutmeg, allspice, lemon juice, and vanilla extract. Toss until evenly coated, then set aside to let the flavors meld while you preheat the oven.
Step 2: Preheat Your Oven
Preheat your oven to 375°F (190°C) to ensure it’s hot and ready for baking. As the oven heats up, line a baking sheet with parchment paper to prevent the pies from sticking. This simple step allows your Pumpkin Shaped Mini Apple Pies to bake evenly and achieve that perfect golden brown crust.
Step 3: Roll Out the Crust
Unroll the refrigerated pie crusts and place them on a lightly floured surface. Use a rolling pin to roll each crust out to about 1/8 inch thick. Once rolled, take a pumpkin-shaped cookie cutter and cut out shapes, ensuring you have enough for both tops and bottoms of the pies. Gather any scraps and reroll as necessary.
Step 4: Form the Pie Bottoms
Transfer half of the pumpkin cutouts onto the prepared baking sheet, positioning them to serve as the pie bottoms. Make sure they are spaced apart to allow room for expansion while baking. This step gives your Pumpkin Shaped Mini Apple Pies a sturdy base for the delicious filling you prepared earlier.
Step 5: Add the Apple Filling
Spoon the prepared apple filling onto the centers of the pumpkin cutouts on the baking sheet. Be careful to leave about a 1/4-inch border around the edges, as this will help the crust seal properly. This generous amount of filling ensures each bite is packed with that wonderful gooey cinnamon-apple goodness.
Step 6: Assemble the Pies
Lightly brush the edges of each crust bottom with the beaten egg wash, which helps seal the pie shut. Carefully place the remaining pumpkin cutouts on top of the filled bottoms, aligning the edges. Gently press down and crimp the edges with a fork to ensure a tight seal, preventing any filling from leaking out during baking.
Step 7: Decorate the Tops
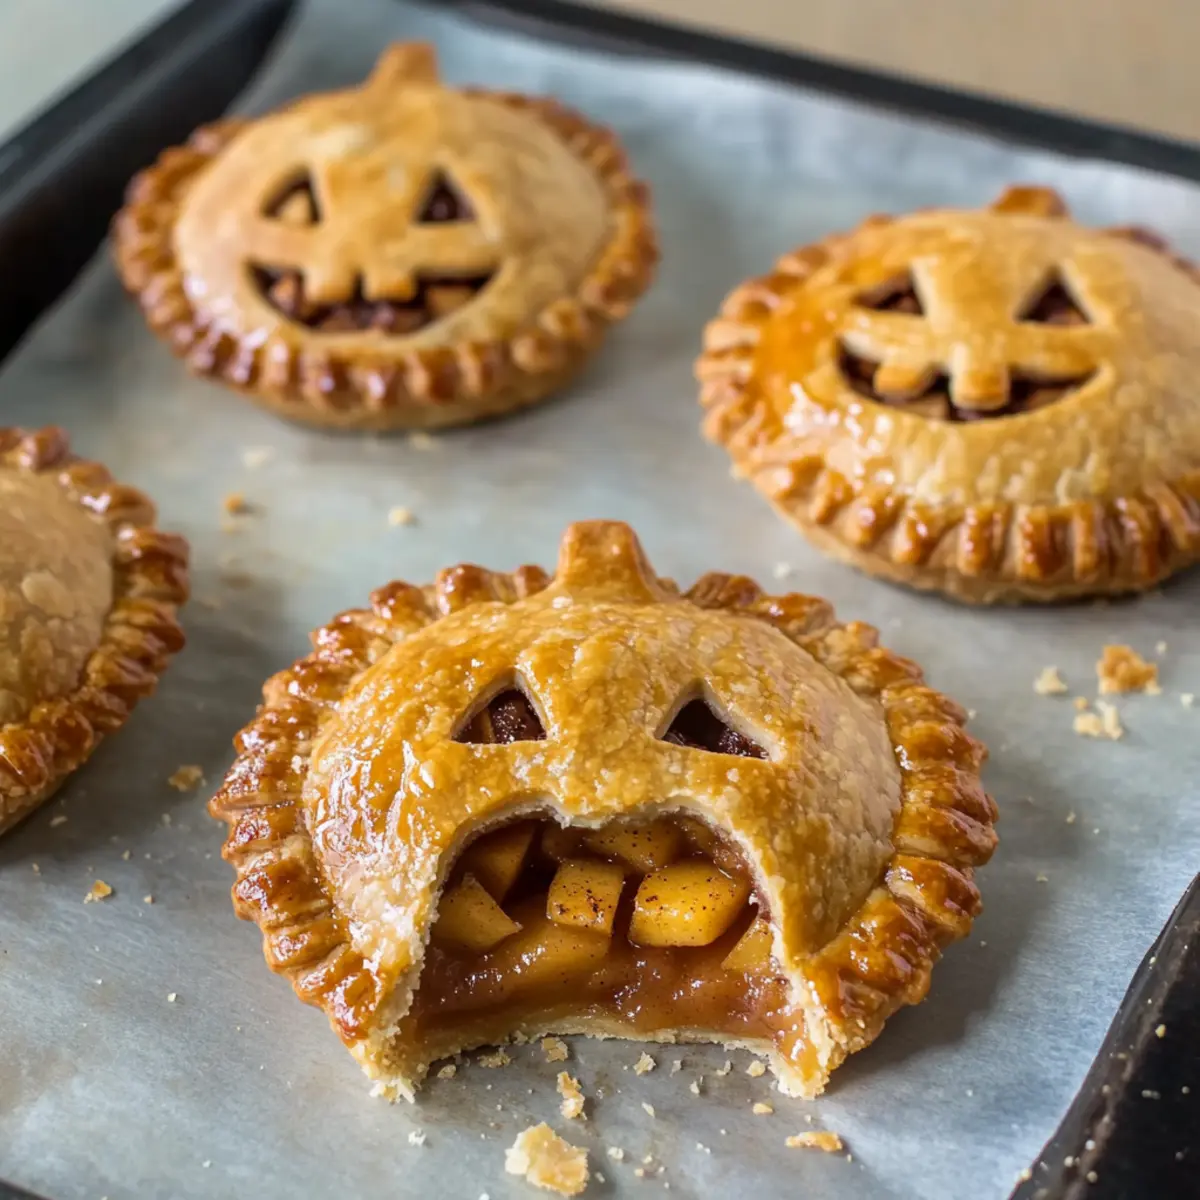
Using a small sharp knife, score designs in the tops of each pumpkin cutout to create decorative ridges and allow steam to escape while baking. This adds a whimsical touch to your Pumpkin Shaped Mini Apple Pies and ensures they bake evenly.
Step 8: Final Touches
Brush the tops of the assembled pies with the egg wash for a beautiful golden finish. To add a delightful crunch, sprinkle the tops with coarse sugar and a hint of ground cinnamon if desired. This extra touch elevates their appearance and adds to the fall flavor profile.
Step 9: Bake the Pies
Place the baking sheet in your preheated oven and bake for 18-22 minutes. Rotate the baking sheet halfway through the cooking time to ensure even browning. Keep an eye on your Pumpkin Shaped Mini Apple Pies; they should be golden brown and bubbling when done.
Step 10: Cool and Serve
Once baked, remove the pumpkin mini pies from the oven and allow them to cool on the baking sheet for 10-15 minutes before serving. This brief cooling period helps them set and makes them easier to handle. Enjoy them warm or at room temperature for a delightful fall treat!
Expert Tips for Pumpkin Shaped Mini Apple Pies
-
Chill the Dough: A chilled dough prevents shrinkage and helps achieve that perfectly flaky crust you’re aiming for in your pumpkin shaped mini apple pies.
-
Avoid Overfilling: Be cautious not to load too much filling; overfilling can cause the pies to burst while baking, losing that gooey goodness you want inside.
-
Check for Doneness: Every oven is different; keep an eye on your pies during the last few minutes of baking to prevent over-browning.
-
Use Quality Ingredients: Fresh apples and pure vanilla extract make a noticeable difference in flavor—don’t cut corners here!
-
Score with Care: When scoring the tops, make gentle cuts to avoid tearing the dough; this allows steam to escape while keeping the integrity of your pumpkin shaped mini apple pies.
How to Store and Freeze Pumpkin Shaped Mini Apple Pies
-
Room Temperature: Allow baked pies to cool completely before storing. They can stay at room temperature for up to 2 days, covered with a clean kitchen towel or stored in an airtight container to prevent drying out.
-
Fridge: For longer storage, keep your pies in the refrigerator for up to 5 days in a sealed container. Reheat in the oven or microwave before serving to enjoy the gooey filling again.
-
Freezer: If you want to preserve your pumpkin shaped mini apple pies, freeze them! Place the baked pies in a single layer on a baking sheet until solid, then transfer to a freezer-safe bag or airtight container. They can be frozen for up to 2 months.
-
Reheating: When you’re ready to enjoy the frozen pies, reheat them in an oven preheated to 325°F (163°C) for about 15-20 minutes or until warmed through, ensuring that each delightful bite is filled with that cozy apple goodness.
Make Ahead Options
These Pumpkin Shaped Mini Apple Pies are perfect for meal prep enthusiasts! You can prepare the apple filling up to 3 days in advance and store it in an airtight container in the refrigerator. For the pie crusts, you can cut out the pumpkin shapes and refrigerate them for up to 24 hours. Just be sure to cover them with plastic wrap to prevent drying. When you’re ready to bake, simply assemble the pies with the chilled filling, brush with egg wash, sprinkle with sugar, and pop them in the oven. This way, you can enjoy delightful, freshly baked mini pies with minimal effort, perfect for busy fall evenings!
What to Serve with Pumpkin Shaped Mini Apple Pies
Indulging in pumpkin-shaped mini apple pies invites all the warmth of fall into your home, creating a moment for joyful gatherings and cherished memories.
-
Vanilla Ice Cream: A scoop of creamy vanilla ice cream adds a rich contrast to the warm, spiced filling, creating an irresistible dessert experience. The combination of cold and warm in every bite is simply heavenly.
-
Whipped Cream: Light and airy whipped cream complements the pies’ sweetness while adding a touch of elegance to your dessert presentation. It elevates every bite, making it feel extra special.
-
Caramel Sauce: Drizzling warm caramel sauce over the mini pies enhances their richness, offering a delightful blend of flavors that will leave everyone reaching for seconds. It’s the ultimate sweet touch!
-
Apple Cider: Enjoying these treats with a cup of warm apple cider brings out the fall flavors and warms the heart. This pairing is like a comforting hug in a glass.
-
Warm Chai Tea: The aromatic spices in chai tea perfectly complement the cinnamon-apple filling, creating a cozy, inviting atmosphere at your gathering. It’s a delightful way to enjoy the season.
-
Chocolate Sauce: For those who love a bit of indulgence, a drizzle of chocolate sauce pairs surprisingly well with the pies. The rich cocoa flavor mingles beautifully with the apples, creating a unique taste sensation.
-
Ginger Snap Cookies: A crunchy ginger snap served alongside adds a zesty contrast, making for a delightful textural experience. The combination of flavors will have your guests swooning.
-
Pumpkin Spice Latte: This quintessential fall drink works harmoniously with the pies, reminding everyone of the cozy season and making each bite feel like a celebration.
-
Nutmeg-Infused Hot Chocolate: A warm drink like nutmeg-infused hot chocolate is both comforting and indulgent, ensuring you bask in the joy of this delicious dessert.
These pairings will not only enhance your pumpkin-shaped mini apple pies but also create an immersive fall experience for family and friends!
Pumpkin Shaped Mini Apple Pies Variations
Feel the creative spark as you customize these delightful treats to suit your taste!
-
Fruit Swap: Try using diced pears or peaches instead of apples for a fresh twist. Each fruit brings its own unique aroma, enhancing the overall experience.
-
Crumble Topping: Instead of a traditional top crust, sprinkle a brown sugar and oat crumble on top for a crunchy texture that beautifully contrasts the gooey filling.
-
Nutty Surprise: Add chopped walnuts or pecans to the apple filling for an enjoyable crunch and a nutty flavor that complements the spices perfectly.
-
Spice It Up: Incorporate ground ginger or cayenne pepper into the filling for additional warmth and depth. A little heat goes a long way in highlighting the sweetness of apples.
-
Vegan Version: Substitute the egg wash with a mixture of plant-based milk and maple syrup, and use a dairy-free butter or coconut oil in your crust for a delicious vegan option that everyone will love.
-
Caramel Drizzle: Once your pies are baked and cooled, drizzle some melted caramel over the tops for an extra luxurious touch, perfect for those special gatherings.
-
Theme Fillings: For a fun twist during holidays, try filling pies with a mix of pumpkin puree and spices for a mini pumpkin pie experience. Who says mini pies can’t wear many hats?
With these variations, your Pumpkin Shaped Mini Apple Pies will become an even bigger hit! You can also enjoy pairing them with a delightful scoop of vanilla ice cream or a warm drink like apple cider to create an unforgettable autumn dessert experience.
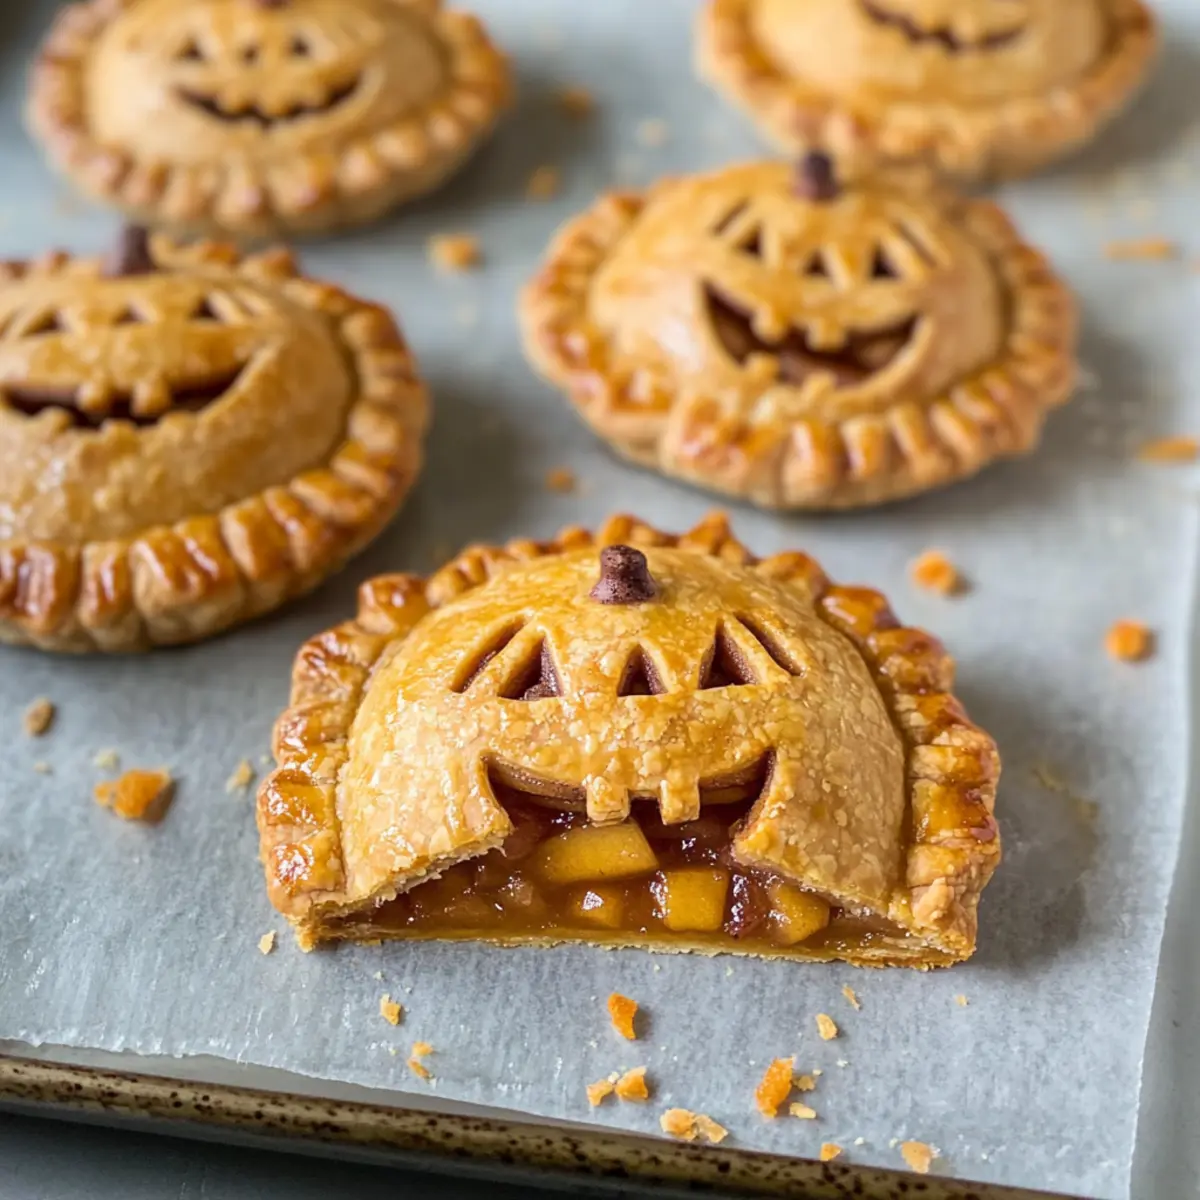
Pumpkin Shaped Mini Apple Pies Recipe FAQs
What type of apples should I use for the filling?
Choose firm apple varieties like Granny Smith, Honeycrisp, or Fuji for your filling. These types hold up well during baking and provide a nice balance of sweetness and tartness. Avoid overly ripe apples, as they can turn mushy and watery.
How should I store my Pumpkin Shaped Mini Apple Pies?
Baked pies can be stored at room temperature for up to 2 days, covered with a clean kitchen towel or in an airtight container. For extended freshness, refrigerate them in a sealed container for up to 5 days. Be sure to reheat before serving for that fresh-baked taste!
Can I freeze the Pumpkin Shaped Mini Apple Pies?
Absolutely! To freeze, place your baked pies in a single layer on a baking sheet and freeze until solid. Once frozen, transfer them to a freezer-safe bag or airtight container, ensuring they’re tightly sealed. They can be stored in the freezer for up to 2 months without losing their delightful flavor.
What if my crust gets too brown while baking?
If you notice your crust browning too quickly, you can cover the edges with strips of aluminum foil to prevent further browning, while allowing the filling to cook thoroughly. Always keep an eye on your pies during the last few minutes of baking so that they come out just right!
Are there any allergy considerations with this recipe?
This recipe contains common allergens such as gluten (from the pie crust) and eggs (from the egg wash). You may substitute gluten-free pie crusts and use an egg replacer for those with dietary restrictions. Always check labels to ensure safe consumption for those with allergies.
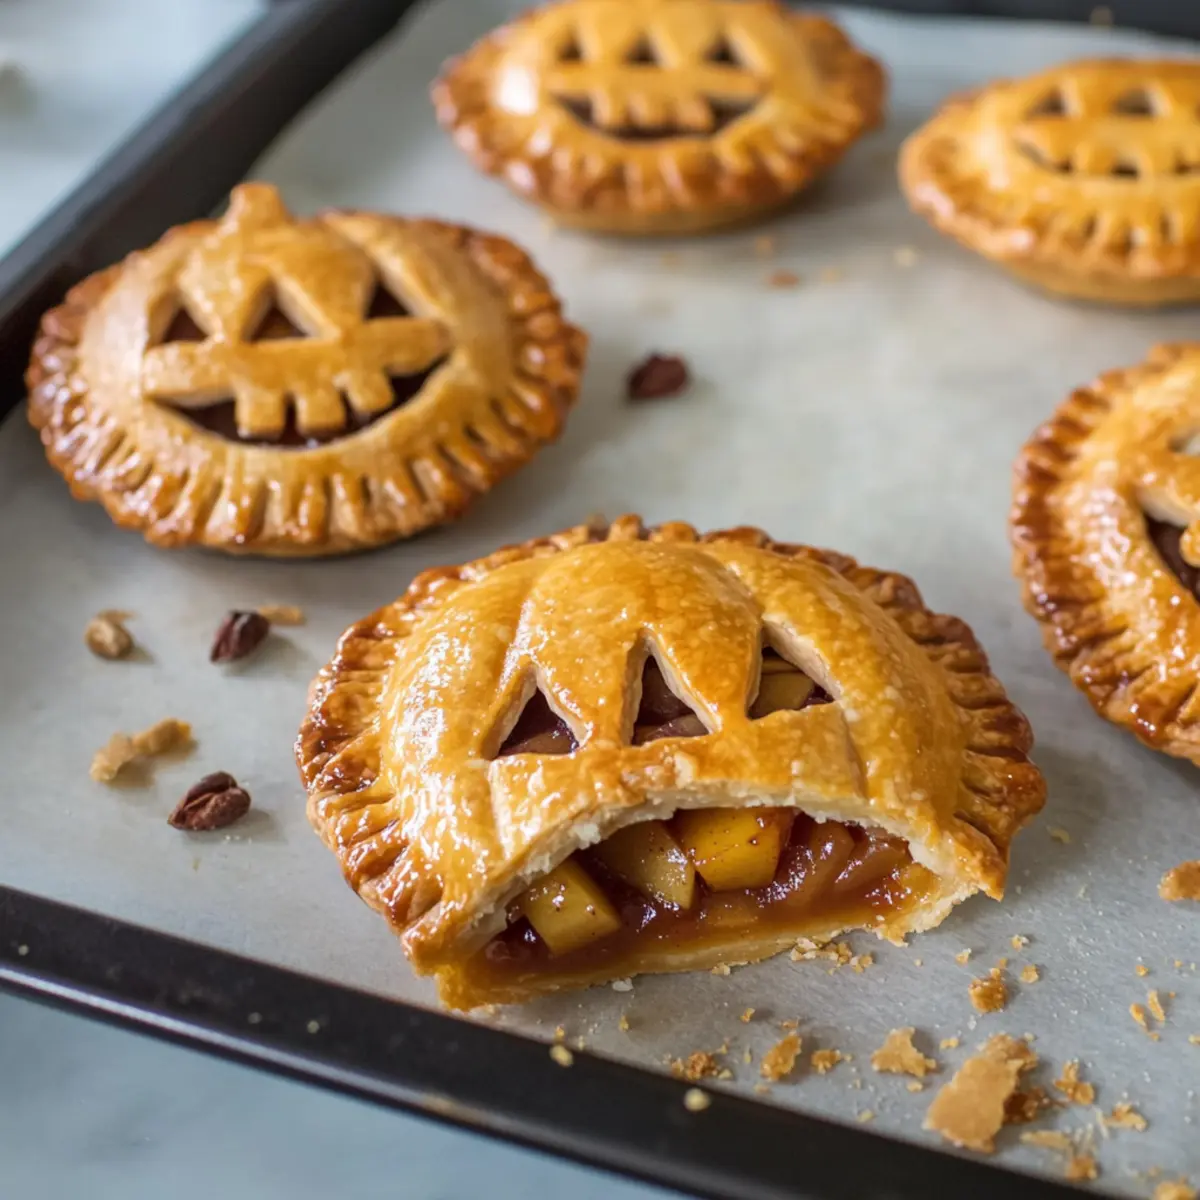
Pumpkin Shaped Mini Apple Pies for Cozy Fall Gatherings
Ingredients
Equipment
Method
- Prepare the apple filling by peeling, coring, and dicing about 3 medium apples. Combine apples with granulated sugar, light brown sugar, ground cinnamon, nutmeg, allspice, lemon juice, and vanilla extract in a bowl and toss until evenly coated.
- Preheat your oven to 375°F (190°C) and line a baking sheet with parchment paper.
- Unroll the refrigerated pie crusts and roll out to 1/8 inch thick. Use a pumpkin-shaped cookie cutter to cut out shapes.
- Transfer half of the pumpkin cutouts onto the baking sheet for the pie bottoms.
- Spoon the apple filling onto the pumpkin cutouts on the baking sheet, leaving a 1/4-inch border.
- Brush the edges of each crust bottom with the beaten egg wash and place the remaining pumpkin cutouts on top.
- Score designs in the tops of each pumpkin cutout using a small sharp knife.
- Brush the tops of the pies with the egg wash and sprinkle with coarse sugar and ground cinnamon.
- Bake for 18-22 minutes, rotating the baking sheet halfway through.
- Allow the pies to cool on the baking sheet for 10-15 minutes before serving.
Leave a Reply