
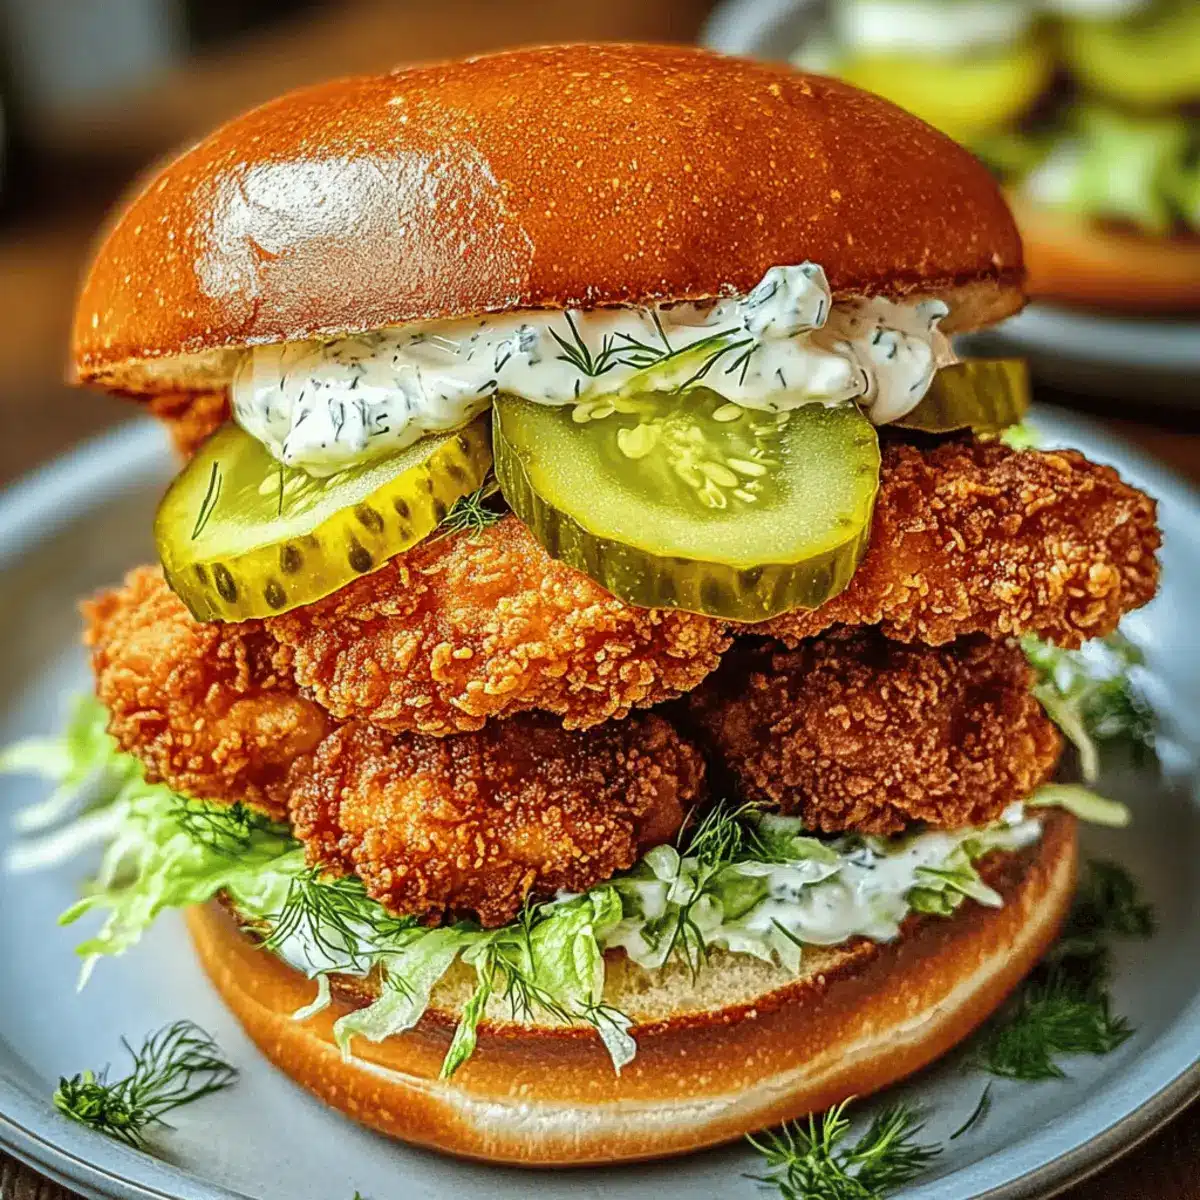
As I walked through the local farmer’s market, the vibrant scent of fresh herbs caught my attention. It was there that inspiration struck for my latest recipe: the Crispy Dill Chicken Sandwich! Imagine biting into tender chicken, encased in a golden, panko-crusted shell, paired with a zesty dill mayo that elevates each bite to gourmet levels. This easy lunch recipe not only delivers restaurant-quality flavor without the hefty price tag but also comes together in under an hour—perfect for those busy weekdays or a relaxed weekend meal. Ready to transform your lunch game? Let’s dive into making this delightful sandwich that will have everyone asking for seconds!
Why is this sandwich a must-try?
Irresistible Flavor: This Crispy Dill Chicken Sandwich boasts a perfect balance of flavors with zesty dill mayo and juicy fried chicken.
Crispy Texture: The panko breadcrumbs create an addictively crunchy coating that contrasts beautifully with the tender chicken inside.
Quick Preparation: With a total time of only 50 minutes, this recipe fits seamlessly into your busy schedule, making it an ideal mid-week meal.
Customizable: Change it up by adding fresh veggies or experimenting with spices to suit your taste. For a lighter option, explore our Garlic Parmesan Chicken recipe!
Crowd-Pleasing Appeal: Whether it’s a family dinner or a gathering with friends, this sandwich is sure to impress and satisfy.
Crispy Dill Chicken Sandwich Ingredients
For the Chicken
• Chicken Breasts – The main protein; provides tender and juicy texture.
• All-Purpose Flour – Creates a base for the coating; ensures the egg wash adheres.
• Salt – Enhances overall flavor; essential for seasoning.
• Black Pepper – Adds mild heat for flavor; can substitute with cayenne for more spice.
• Garlic Powder – Provides a deep, savory note; replaces fresh garlic if preferred.
• Onion Powder – Adds aromatic depth to the crust; complementary to chicken flavors.
• Dried Dill – Introduces herbal brightness in the breading; can substitute with fresh dill for a stronger flavor.
• Eggs – Helps bind the coating; can substitute with a flax egg for a vegan alternative.
• Milk – Lightens the egg wash; can substitute with any dairy-free milk.
• Panko Breadcrumbs – Gives an extra crunchy texture; can use regular breadcrumbs for a softer coating.
• Vegetable Oil – For frying; can substitute with canola or peanut oil for similar results.
For the Sandwich
• Brioche Buns – Soft base for the sandwich; can use whole grain or gluten-free buns.
• Mayonnaise – Forms the base of the dill mayo; plain yogurt can be a healthy alternative.
• Fresh Dill – Enhances flavor of the mayo; can substitute with tarragon for a different herbal taste.
• Lemon Juice – Adds tangy zing to mayo; can replace with vinegar for acidity.
• Shredded Lettuce – Fresh crunch in the sandwich; use spinach or arugula for a different veggie mix.
• Dill Pickle Slices – Offers briny tang; can substitute with jalapeños for a spicy kick.
Embrace the deliciousness of the Crispy Dill Chicken Sandwich and bring gourmet-quality flavor into your home with these simple ingredients!
Step‑by‑Step Instructions for Crispy Dill Chicken Sandwich
Step 1: Prepare Chicken
Start by slicing the chicken breasts in half horizontally, ensuring they are even for uniform cooking. Then, use a meat mallet to pound each piece to about ½ inch thick, which will help achieve that tender texture inside. This preparation lays the foundation for a delicious Crispy Dill Chicken Sandwich.
Step 2: Mix Flour
In a shallow dish, combine all-purpose flour, salt, black pepper, garlic powder, onion powder, and dried dill. Whisk these dry ingredients together until evenly blended. This flavorful mixture will create a solid base for the crispy coating that makes our Crispy Dill Chicken Sandwich so satisfying.
Step 3: Whisk Eggs
In a separate bowl, crack the eggs and add the milk, whisking until smooth and well mixed. This egg wash is essential for helping the panko breadcrumbs stick to the chicken. This step adds a lovely, rich coating to each chicken piece as we build the layers of flavor in our sandwich.
Step 4: Prepare Breadcrumbs
Place the panko breadcrumbs in a third dish, spreading them out for easy access. These breadcrumbs will form the crunchy exterior that contrasts beautifully with the tender chicken. The texture of the panko is key to achieving the crispy finish we desire in the Crispy Dill Chicken Sandwich.
Step 5: Coat Chicken
Take each chicken piece and first dip it into the flour mixture, ensuring it’s fully coated. Next, move it to the egg wash, allowing any excess to drip off. Finally, press the chicken into the panko breadcrumbs, making sure the coating adheres well on all sides. This triple-layering technique guarantees maximum crunch!
Step 6: Fry Chicken
In a large skillet, heat vegetable oil over medium-high heat until it reaches about 350°F. Carefully add the coated chicken pieces to the pan, frying for 4-5 minutes on each side until they are golden brown and cooked through, which means they should reach an internal temperature of 165°F.
Step 7: Make Dill Mayo
While the chicken is frying, prepare the dill mayo by mixing mayonnaise, fresh dill, and lemon juice in a small bowl. Stir until well combined. This homemade sauce adds a zesty, flavorful kick to each bite of your Crispy Dill Chicken Sandwich, elevating the dish beyond ordinary.
Step 8: Toast Buns
Once the chicken is nearly finished frying, lightly toast brioche buns in a separate skillet or under a broiler until golden brown. This step adds a nice crunch and warmth, providing the perfect vessel for the delicious toppings of your Crispy Dill Chicken Sandwich.
Step 9: Assemble Sandwiches
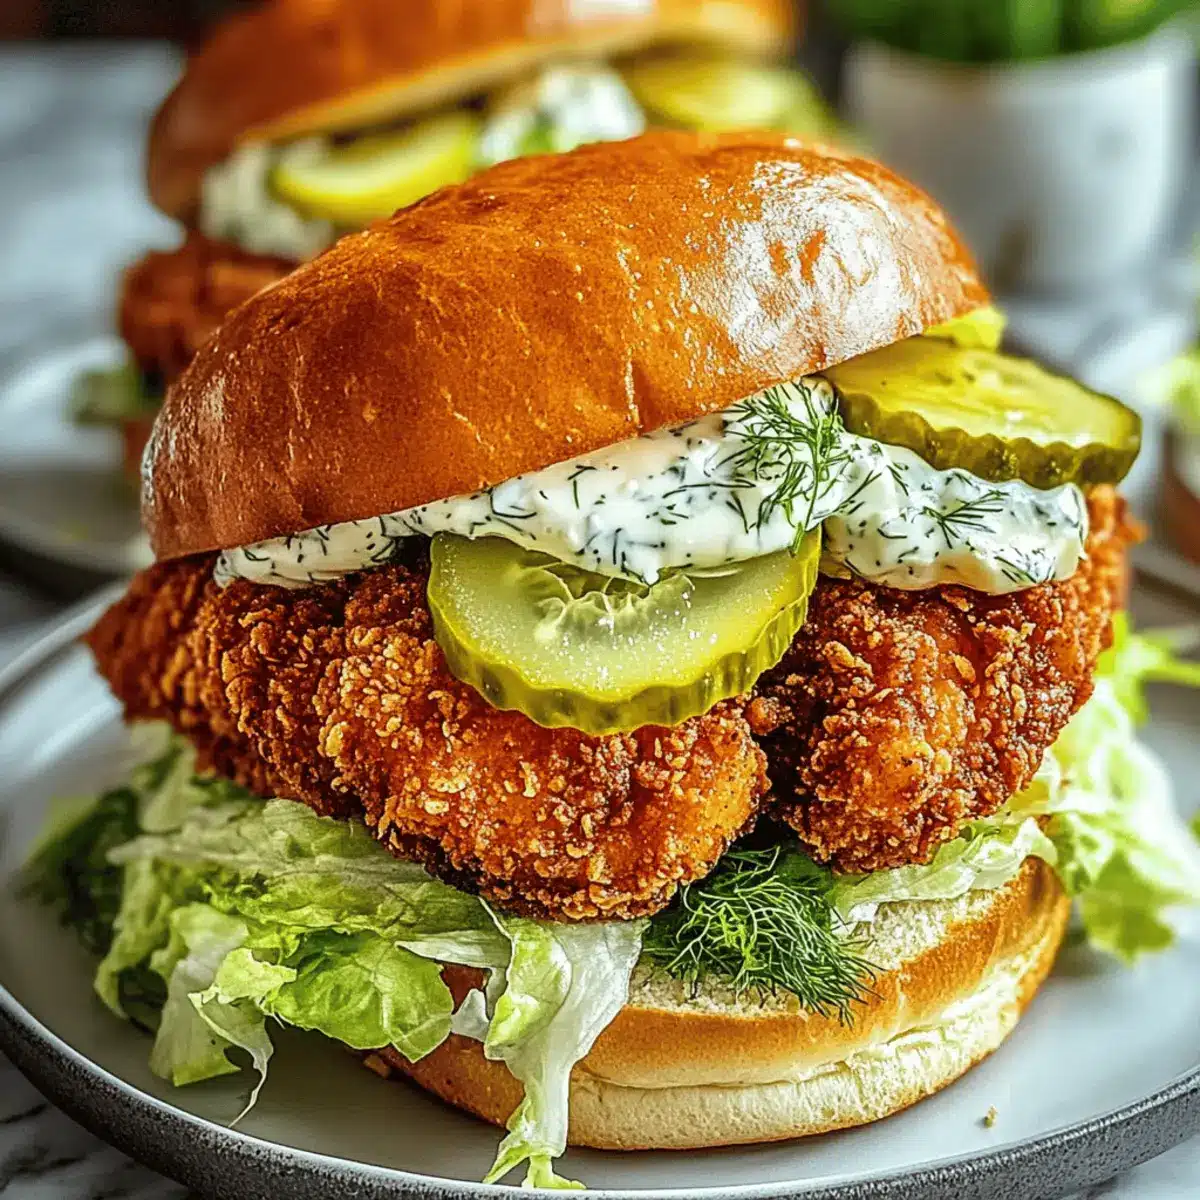
Spread a generous layer of dill mayo on both halves of each toasted bun. On the bottom half, add a handful of shredded lettuce followed by the freshly fried chicken. Top with dill pickle slices for that tangy flavor that complements the richness of the chicken and mayo perfectly.
Step 10: Serve Immediately
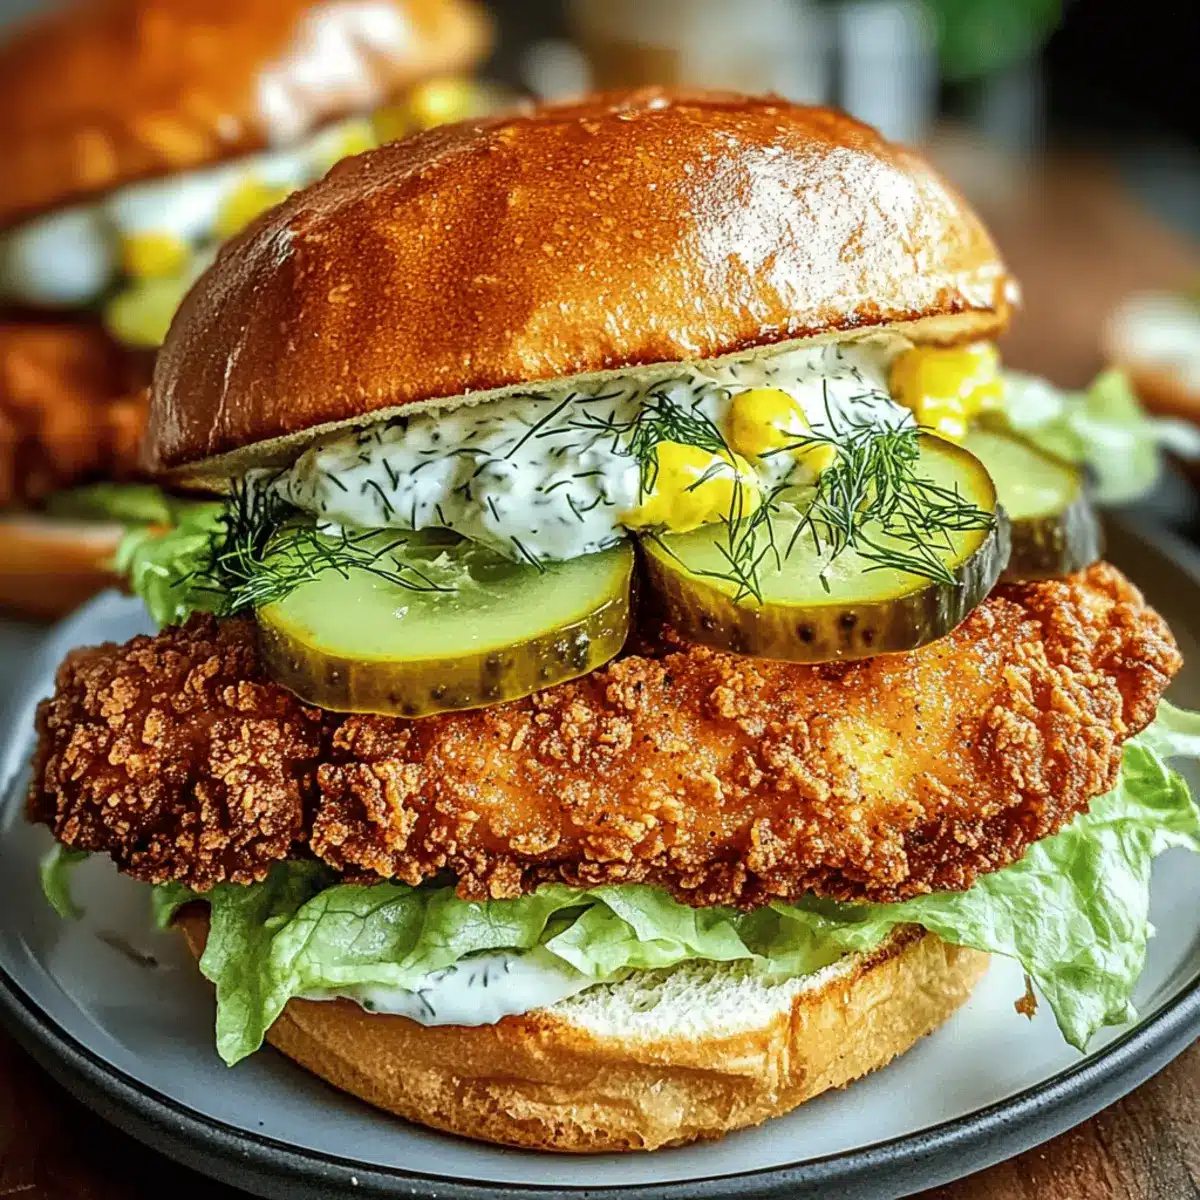
Serve your Crispy Dill Chicken Sandwiches warm to fully appreciate the crispy texture and rich flavors. Enjoying it right away ensures that the sandwich remains delightful and satisfying, making for a fantastic lunch or dinner that pleases everyone at the table!
Make Ahead Options
These Crispy Dill Chicken Sandwiches are perfect for meal prep enthusiasts! You can prepare the chicken and coat it with the breadcrumbs up to 24 hours in advance, storing it in an airtight container in the refrigerator. This helps maintain its crispy texture when fried fresh before serving. Additionally, the dill mayo can be made up to 3 days ahead and kept refrigerated to allow the flavors to meld beautifully. When you’re ready to enjoy, simply fry the prepped chicken and toast the buns right before serving. This way, you’ll have the same delicious, restaurant-quality results with minimal effort, perfect for busy weeknights!
Expert Tips for Crispy Dill Chicken Sandwich
-
Pound Evenly: Ensure that chicken is pounded to an even ½ inch thickness for uniform cooking, preventing any dry spots in your Crispy Dill Chicken Sandwich.
-
Don’t Overcrowd the Pan: Fry in batches if necessary, as overcrowding can lower the oil temperature and result in soggy breading instead of that perfect crunch.
-
Taste the Flour Mixture: Before coating, taste the flour blend for seasoning—adding enough salt and spices ensures flavorful chicken.
-
Let Oil Heat: Make sure the vegetable oil is hot enough (around 350°F) before frying. This ensures a crispy golden-brown coating while keeping the chicken tender inside.
-
Serve Fresh: Enjoy your Crispy Dill Chicken Sandwich immediately for the best flavor and texture. If making ahead, store components separately and assemble just before serving.
Variations & Substitutions for Crispy Dill Chicken Sandwich
Feel free to get creative and customize your Crispy Dill Chicken Sandwich with these tasty ideas!
- Thighs Instead of Breasts: Swap chicken breasts for thighs for even juicier pieces and a deeper flavor.
- Gluten-Free Crust: Substitute panko breadcrumbs with crushed cornflakes or gluten-free breadcrumbs for a crispy texture.
- Creamy Avocado: Add sliced avocado for a creamy addition that balances the crunchiness of the fried chicken.
- Zesty Tomato: Layer on fresh tomatoes for a juicy burst of flavor to elevate your sandwich.
- Spicy Kick: Mix in a teaspoon of cayenne pepper with the flour for those who love a touch of heat.
- Swap Buns: Use whole grain or gluten-free buns instead of brioche for a healthier twist on this sandwich.
- Herb Alternatives: Experiment with different herbs in the mayo, such as tarragon or basil, to give it your unique spin.
- Coleslaw Add-on: Top your sandwich with tangy coleslaw for an extra crunch that adds flavor and texture!
By modifying your sandwich in these ways, you can create your own unique experience. For another flavorful chicken dish, check out our Flavor Packed Chicken or try the Korean Spicy Chicken for a change of pace!
How to Store and Freeze Crispy Dill Chicken Sandwich
Fridge: Store leftover chicken in an airtight container for up to 3 days. Keep the panko-coated chicken separate from the mayonnaise and veggies to maintain crispiness.
Freezer: For longer storage, freeze the fried chicken alone by wrapping it tightly in plastic wrap or aluminum foil. It will keep well for up to 3 months.
Reheating: To reheat frozen chicken, bake at 375°F (190°C) for 20-25 minutes until heated through and crispy again. Avoid microwaving, as it may make the coating soggy.
Make-Ahead: Prepare the dill mayo and vegetables in advance, storing them separately in the fridge to make assembling the crispy dill chicken sandwich quick and easy on busy days.
What to Serve with Crispy Dill Chicken Sandwich
Elevate your meal experience with complementary sides that enhance the vibrant flavors of your sandwich.
-
Sweet Potato Fries: These crispy, sweet treats offer a delightful contrast to the savory chicken, adding a hint of caramelization that perfectly balances the dish.
-
Tangy Coleslaw: A refreshing slaw brings a crunch and tang to the meal, providing a bright flavor that complements the richness of dill mayo.
-
Cucumber Salad: Crisp cucumbers tossed in a light vinaigrette provide cool, hydrating bites that enhance the sandwich’s zesty note while offering a refreshing crunch.
-
Roasted Brussels Sprouts: These savory, caramelized veggies add depth and a touch of bitterness, perfectly offsetting the sandwich’s flavors while offering a nutritious boost.
-
Pasta Salad: A creamy or vinegar-based pasta salad can serve as a hearty counterpart, delivering a satisfying, filling option that pairs well with the crispy chicken.
-
Lemonade or Iced Tea: A cool, refreshing drink, iced tea or lemonade, has a balancing acidity that complements the sandwich’s rich flavors while keeping the meal light and enjoyable.
For dessert, consider a slice of lemon meringue pie to echo that bright, zesty flavor—perfect after a delightful Crispy Dill Chicken Sandwich!

Crispy Dill Chicken Sandwich Recipe FAQs
What type of chicken is best for the sandwich?
I recommend using chicken breasts for the Crispy Dill Chicken Sandwich, as they provide a tender and juicy texture. If you’re looking for a bit more juiciness, chicken thighs are a fantastic alternative. Just be sure to adjust the cooking time slightly, as thighs may require a minute or two longer.
How do I store leftover fried chicken?
Store any leftover fried chicken in an airtight container in the fridge for up to 3 days. To keep the chicken crunchy, avoid stacking it too tightly, and separate it from the mayo and veggies. If stored properly, you can enjoy that crispy texture again when reheated.
Can I freeze the fried chicken?
Absolutely! To freeze the chicken, wrap each piece tightly in plastic wrap or aluminum foil and place them in a freezer-safe bag. You can store the fried chicken for up to 3 months. When you’re ready to enjoy it again, bake the frozen pieces at 375°F (190°C) for about 20-25 minutes, and they’ll come out crispy and delicious.
Why is my chicken not crispy?
Several factors can affect the crispiness of your chicken. First, ensure the oil is hot enough before frying—around 350°F (175°C) is ideal. Second, avoid overcrowding the pan; frying in batches will help maintain the right temperature and crust formation. Lastly, make sure that the chicken is well-coated and pounded evenly for consistent cooking.
Is there a dietary alternative for the dill mayo?
Certainly! For a healthier option, you can replace mayonnaise with plain yogurt. Just mix it with fresh dill and lemon juice to keep all that delightful flavor for your Crispy Dill Chicken Sandwich. If you’re looking for a vegan alternative, try a mixture of cashew cream and dill instead, which can mimic that creamy texture wonderfully.
How should I handle allergies with the ingredients?
If anyone has allergies, consider substituting with allergen-free alternatives. For instance, if avoiding gluten, swap out regular breadcrumbs for gluten-free panko. Always check labels for potential allergens in ingredients like mayonnaise or store-bought bread. It’s always best to consult with guests on their specific dietary needs for a wonderful and safe meal!
Crispy Dill Chicken Sandwich for a Flavorful Lunch Treat
Ingredients
Equipment
Method
- Slice chicken breasts in half horizontally and pound each piece to about ½ inch thick.
- In a shallow dish, combine flour, salt, pepper, garlic powder, onion powder, and dried dill, then whisk together.
- In a separate bowl, whisk together eggs and milk until smooth.
- Place panko breadcrumbs in a third dish for coating the chicken.
- Coat each chicken piece in the flour mixture, dip in the egg wash, and finally press into the panko breadcrumbs.
- Heat vegetable oil in a skillet over medium-high until it reaches 350°F, then fry chicken pieces for 4-5 minutes on each side until golden brown.
- Mix mayonnaise, fresh dill, and lemon juice in a small bowl to create the dill mayo.
- Toast brioche buns until golden.
- Assemble each sandwich with a layer of dill mayo, shredded lettuce, fried chicken, and dill pickle slices.
- Serve sandwiches warm for best flavor and texture.
Leave a Reply