
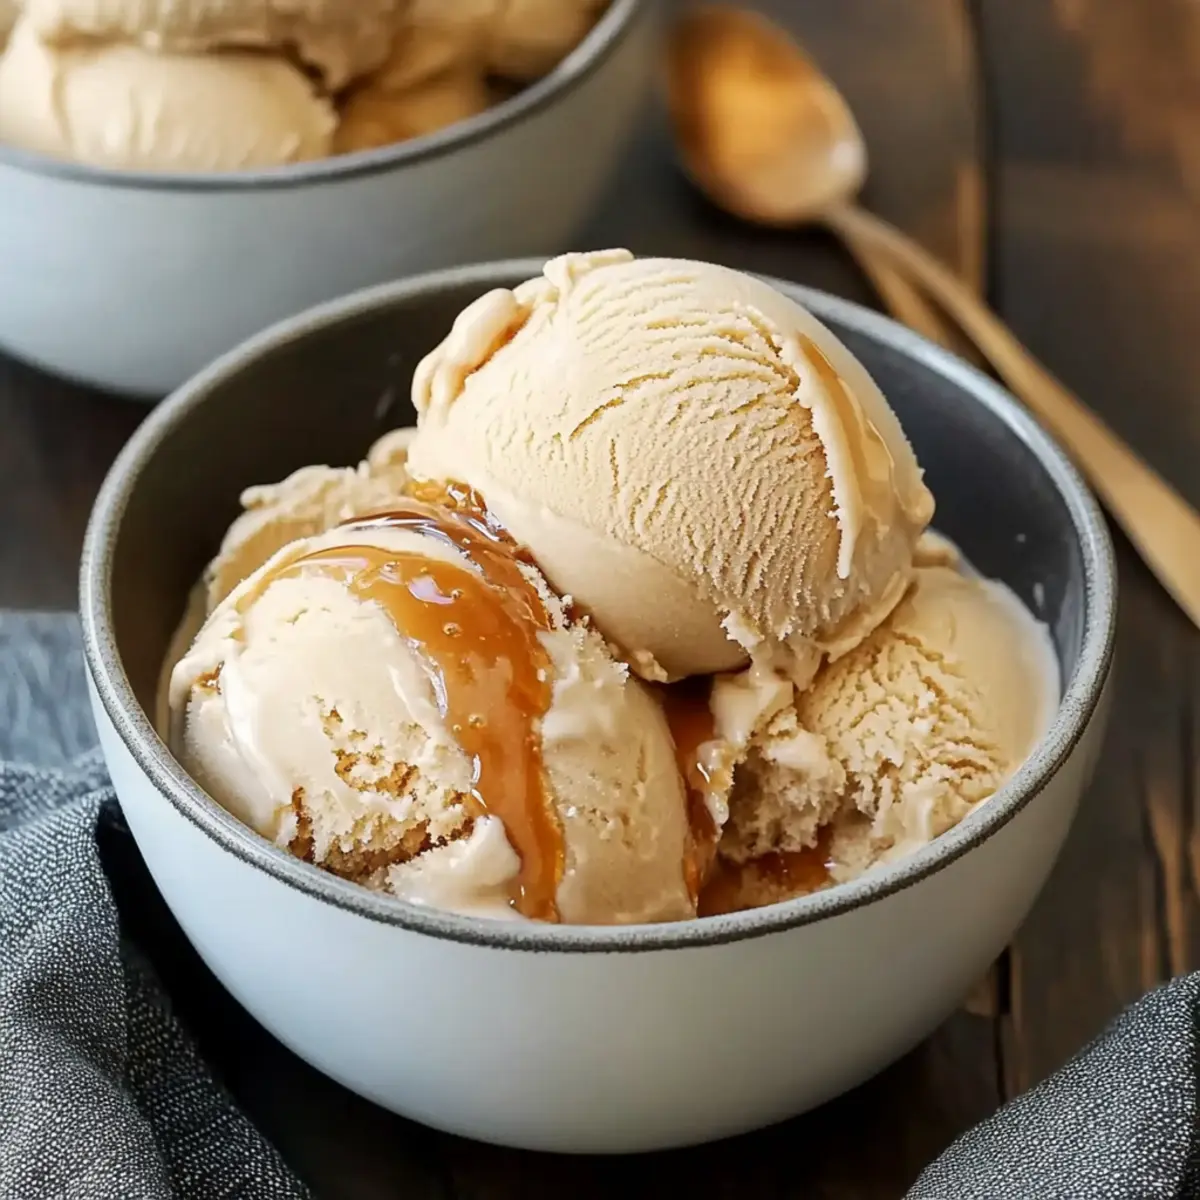
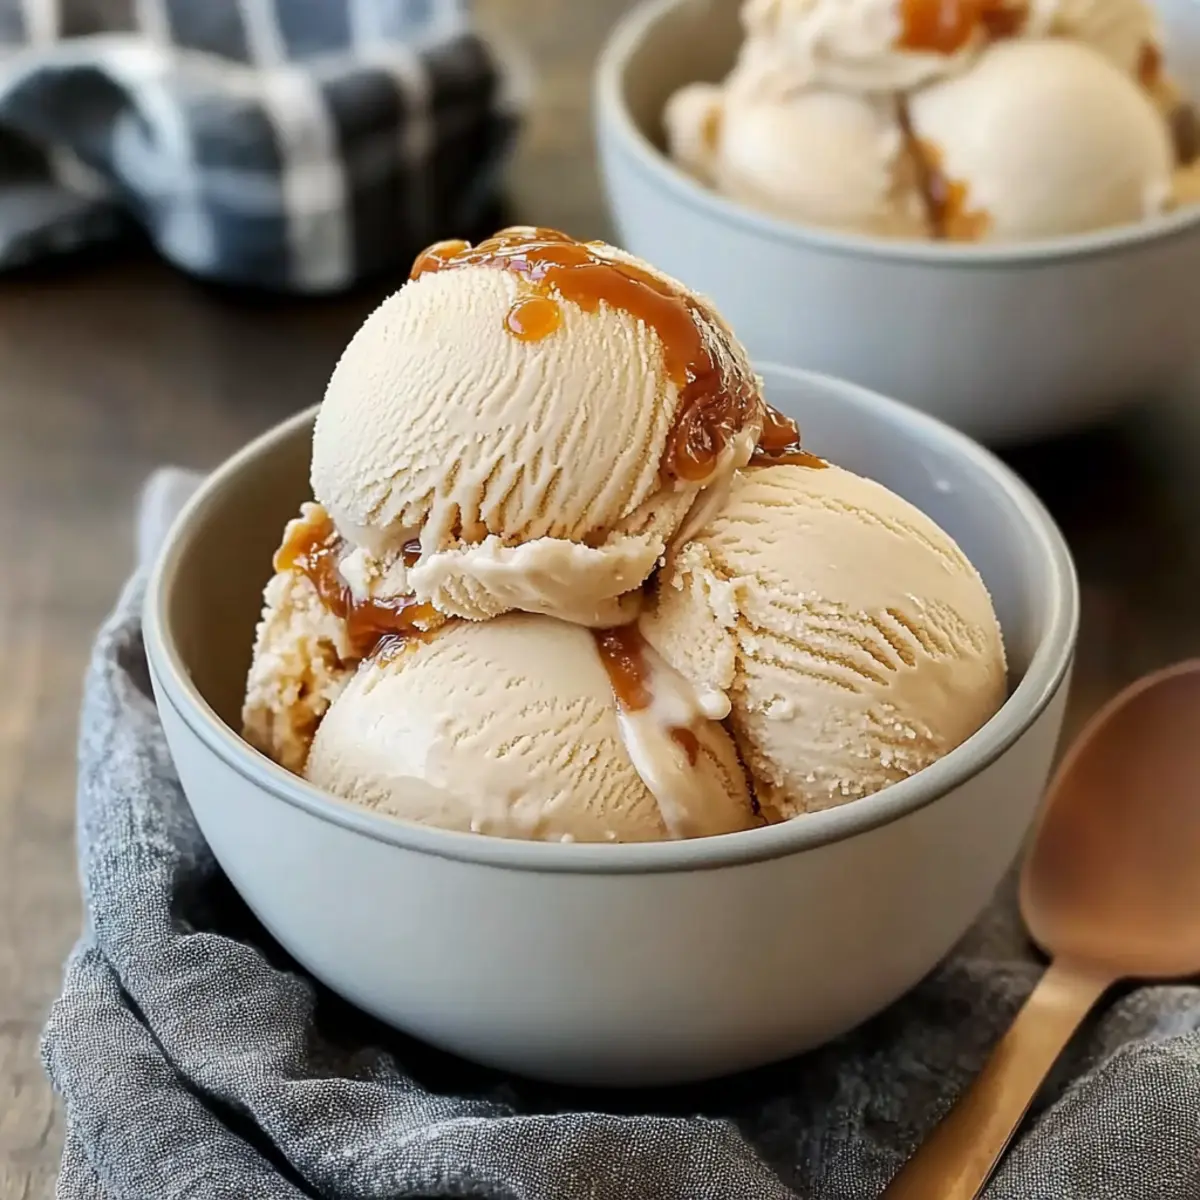
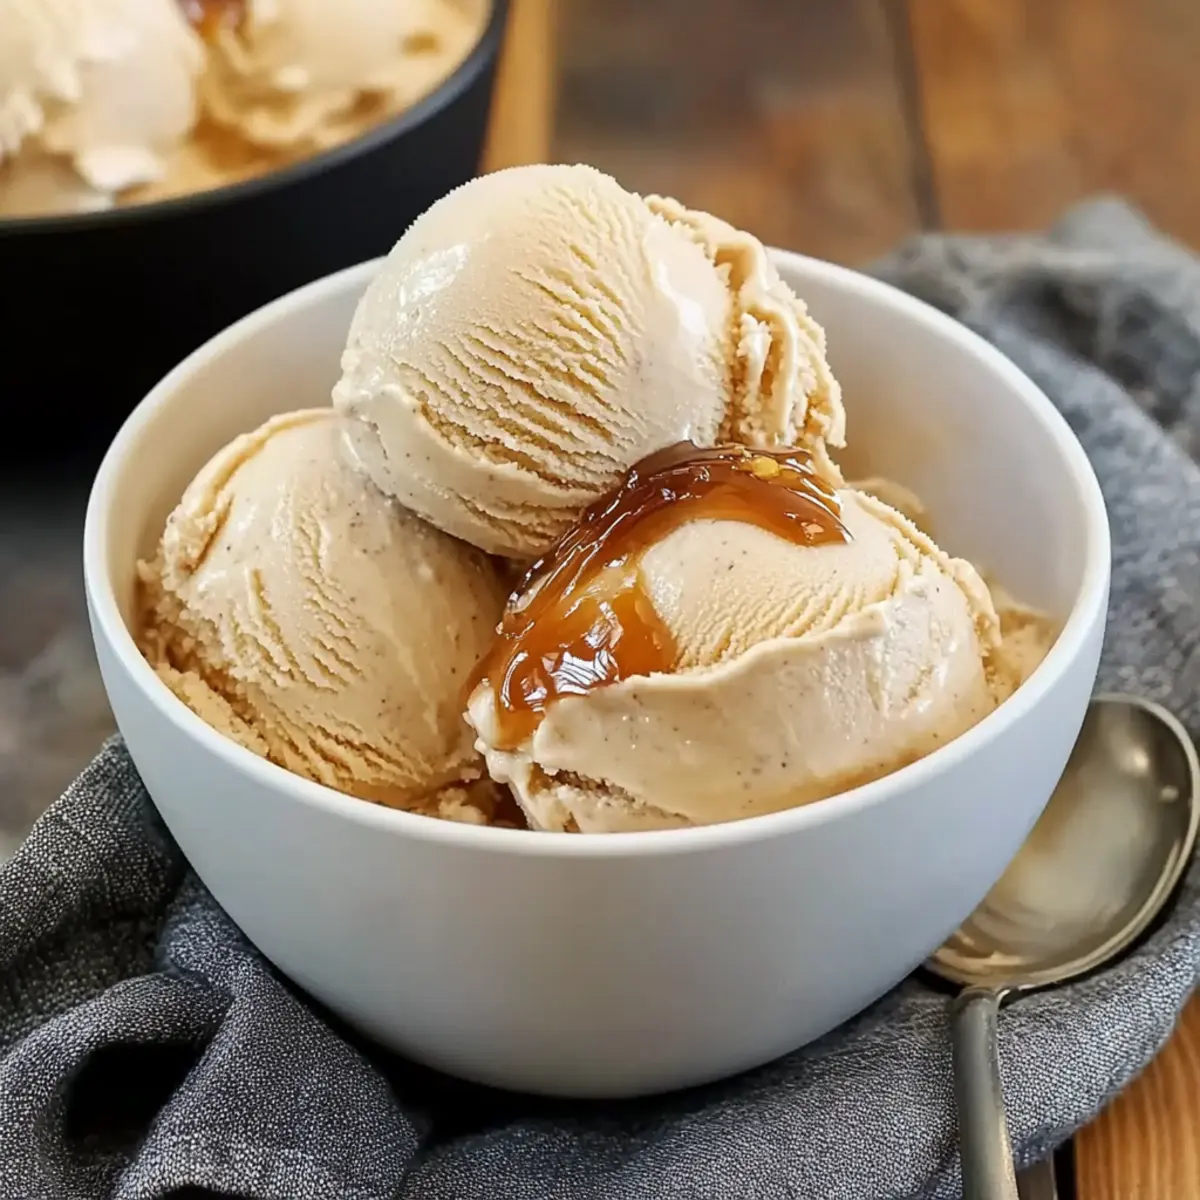
As the sun sets, the scent of caramel wafts through the air, mingling with laughter and warm memories. My latest culinary adventure led me straight to the kitchen, where I embarked on creating the perfect Salted Caramel Ice Cream. This dreamy treat marries the sweet and salty flavors that make dessert truly special. Not only is it a delightful twist to beat the heat, but it also offers the charm of homemade goodness, transforming any occasion into a celebration. With easy-to-follow steps and the option to make it vegan, this recipe caters to everyone’s cravings. So, are you ready to scoop your way into a world of rich, creamy bliss? Let’s dive in!
Why is Homemade Ice Cream Special?
Indulgence Awaits: You’ll love the richness that comes from whipping up this salted caramel ice cream yourself—it’s an unparalleled treat!
Easy Steps: This recipe features simple steps, making it accessible for both beginners and seasoned chefs.
Personalize Your Creation: Mix in your favorite flavors like crushed pretzels or chocolate, ensuring your treat is one-of-a-kind.
Vegan Option: The flexibility to make it vegan means no one has to miss out on that creamy goodness!
Crowd-Pleasing Dessert: Perfect for gatherings, this ice cream is a surefire way to delight friends and family. For another fantastic treat, check out my Salted Honey Pie or treat yourself to a refreshing Salted Maple Cinnamon drink!
Salted Caramel Ice Cream Ingredients
For the Caramel Sauce
• Sugar – Sweetness and caramelization base; make sure to cook until golden amber for best flavor.
• Butter – Adds richness and smoothness to the caramel; use unsalted for better control over salt levels.
• Heavy Cream – Provides a creamy texture and enhances flavor; substitute with coconut cream for a vegan option.
• Salt – Enhances the caramel flavor and adds complexity; adjust to taste; use flaky sea salt for a gourmet touch.
For the Custard Base
• Egg Yolks – Contributes to the custard base, giving richness and a creamy mouthfeel; pasteurized eggs can be used for safety.
• Milk – Balances richness and helps create a smooth custard; use whole milk for best results; almond milk can be a dairy-free alternative.
This delicious salted caramel ice cream recipe is sure to bring joy to your kitchen!
Step‑by‑Step Instructions for Salted Caramel Ice Cream
Step 1: Make Caramel Sauce
In a medium saucepan over medium heat, add granulated sugar and let it melt without stirring, swirling occasionally. Cook until it turns a golden amber color, about 8–10 minutes, then stir in unsalted butter until fully melted and smooth. Gradually whisk in heavy cream, allowing the mixture to bubble for a minute, and finally stir in sea salt. Remove from heat and set aside to cool completely.
Step 2: Prepare Custard Base
In a mixing bowl, whisk together egg yolks and sugar until the mixture thickens and turns pale, about 2–3 minutes. In a separate saucepan, heat milk and remaining heavy cream over medium heat until just simmering, watching closely to prevent boiling. Gradually pour the hot milk mixture into the egg yolk mixture, whisking constantly to temper the eggs, then transfer everything back to the saucepan.
Step 3: Thicken Custard
Return the saucepan to medium-low heat and cook the custard, stirring frequently, until it thickens enough to coat the back of a spoon, around 10–12 minutes. Remove from heat and strain the mixture through a fine mesh sieve to eliminate any lumps, ensuring a smooth texture for your salted caramel ice cream. Chill the custard base in the fridge for at least 1 hour, or until completely cool.
Step 4: Churn Ice Cream
Once the custard base is completely chilled, pour it into your ice cream maker and churn according to the manufacturer’s instructions, usually around 20–25 minutes. As the ice cream begins to thicken, gradually drizzle in the cooled caramel sauce to create beautiful ribbons of flavor throughout.
Step 5: Freeze and Store
Transfer your freshly churned salted caramel ice cream to an airtight container, pressing cling film directly on the surface to prevent ice crystals. Freeze for at least 4 hours or until solid. This homemade treat can be stored in the freezer for up to two weeks, allowing you to enjoy its creamy goodness whenever you desire!
Expert Tips for Salted Caramel Ice Cream
-
Chill Everything: Make sure all mixtures, especially the custard base, are thoroughly chilled before churning to prevent iciness in your salted caramel ice cream.
-
Perfect Caramel: Cook the sugar until it reaches a golden amber color for the best flavor; watch carefully to avoid burning.
-
Tempering Eggs Safely: Gradually adding hot milk to the egg yolks prevents curdling; whisk constantly to ensure a smooth custard.
-
Avoid Ice Crystals: Store your ice cream in an airtight container with cling film pressed against the surface; this helps combat ice crystallization.
-
Adjusting Salt Levels: Taste your caramel sauce before adding it to the ice cream; adjusting salt gives a balanced flavor that enhances the overall dessert.
How to Store and Freeze Salted Caramel Ice Cream
Fridge: Store your salted caramel ice cream in the fridge for up to 3 days if you plan to consume it soon; this helps maintain its creamy texture while avoiding freezer burn.
Freezer: For longer storage, transfer to an airtight container and freeze for up to 2 weeks. Press cling film directly on the surface before sealing to prevent ice crystals from forming.
Reheating: If your caramel sauce solidifies, gently reheat it in the microwave or on the stovetop, stirring until smooth before drizzling it over your ice cream.
Serving Tip: Allow the ice cream to sit at room temperature for a few minutes before scooping for easier serving.
What to Serve with Irresistible Salted Caramel Ice Cream
Elevate your dessert experience with delightful pairings that contrast and complement the sweet, salty goodness of this homemade treat.
- Chocolate Brownies: Rich and fudgy, these brownies add a chewy texture that beautifully balances the creamy ice cream.
- Buttery Waffle Cones: The crunchy texture and buttery flavor are the perfect vessels for serving your salted caramel ice cream, enhancing its rich profile.
- Fresh Berries: Tart raspberries or strawberries provide a refreshing contrast, brightening each decadent scoop with a burst of freshness.
- Sea Salt Caramel Sauce: Drizzling more caramel sauce on top elevates the indulgence, offering an extra layer of sweetness that pairs wonderfully with the ice cream.
- Espresso or Coffee: The bold flavors of a robust cup of coffee create a perfect harmony, enhancing the dessert experience with a warm, comforting beverage.
- Spiced Nuts: The crunch and spiciness of mixed nuts offer a delightful contrast, adding another layer of flavor that complements the sweet and salty notes beautifully. Enjoy the texture and warmth they bring to the experience.
These pairing ideas will ensure that your salted caramel ice cream turns any gathering into a truly memorable dessert affair!
Make Ahead Options
These irresistible salted caramel ice cream treats are perfect for meal prep enthusiasts! You can make the caramel sauce up to 3 days in advance, storing it in an airtight container in the refrigerator. The custard base can also be prepared ahead of time; simply chill in the fridge for at least 24 hours. To maintain quality, ensure both components are completely cool before combining, and press cling film directly onto the surface of the custard to prevent any skin from forming. When you’re ready to churn the salted caramel ice cream, just follow the finishing steps, and you’ll have a delicious homemade dessert ready to enjoy with minimal effort!
Salted Caramel Ice Cream Variations
Feel free to explore the depths of flavor by customizing your salted caramel ice cream with these delightful ideas!
-
Vegan Twist: Substitute heavy cream with coconut cream and use dairy-free butter for a creamy, plant-based version.
-
Crunchy Pretzel Delight: Add crushed pretzels to the mix for a playful crunch that perfectly complements the creaminess.
Imagine the surprise that comes with each bite as salty pretzel pieces dance among the sweet caramel!
-
Chocolate Fantasy: Swirl in melted chocolate during the churning process for a richer, decadently chocolatey flavor.
-
Nutty Alternative: Replace caramel with almond butter for a nutty flavor that elevates the classic taste profile.
Almond butter brings a beautiful richness that’s perfect for those who love nutty desserts.
-
Coffee Lover’s Dream: Infuse ground coffee into your custard base for a delightful caffeinated kick that pairs beautifully with the caramel.
-
Spicy Kick: Add a pinch of cayenne pepper or a splash of chili oil to create an unexpected and exciting heat level.
Just a hint of spice can transform your dessert into an exhilarating experience for your taste buds!
-
Tropical Fusion: Use coconut milk instead of regular milk to give your ice cream a tropical, creamy twist. The coconut flavor works wonders with the salted caramel.
-
Fruitful Finish: Fold in diced ripe bananas or strawberries for a fresh and fruity contrast to the rich ice cream.
These variations are a joyful way to explore your taste preferences, allowing you to create a salted caramel indulgence that’s truly your own. For more delightful treats, consider checking out my Bourbon Garlic Cream for a savory twist or enjoy the sweetness of my Caramelized Leek and Mushroom Gruyere Pasta. Now, let your creativity take flight!
Salted Caramel Ice Cream Recipe FAQs
What is the best way to select ripe ingredients for salted caramel ice cream?
Absolutely! The key ingredient here is the heavy cream; choose one that is fresh and has a high fat content (at least 36%) for that luxuriously creamy texture. When selecting butter, opt for high-quality unsalted varieties to have full control over your dessert’s saltiness. For the sugar, granulated white sugar is perfect, and make sure it’s not clumpy or old for the best caramel flavor.
How should I store salted caramel ice cream, and for how long?
For optimal enjoyment, store your salted caramel ice cream in the freezer in an airtight container. This can last for up to 2 weeks, but trust me—it’s usually gone way before that! Ensure you press cling film against the surface of the ice cream before sealing the container to deter ice crystals from forming.
Can I freeze salted caramel ice cream, and what’s the best method?
Yes, indeed! To freeze salted caramel ice cream, first transfer it into an airtight container, making sure it’s properly chilled. Press cling film directly on the surface of the ice cream to keep air out (and avoid ice crystals) and seal it tight. You can enjoy your homemade treat for up to 2 weeks—if it lasts that long!
What are some common troubleshooting tips for making salted caramel ice cream?
Very! If your caramel sauce crystallizes, try adding a splash of water and gently reheating it on the stove while stirring until smooth. For ice cream that’s too icy, ensure your custard base is thoroughly chilled before churning and store it properly in an airtight container to prevent freezer burn. Lastly, if it’s hard to scoop, let it sit out for a few minutes to soften before serving.
Are there any dietary considerations I should be aware of when making salted caramel ice cream?
Of course! If you’re making this delectable dessert for friends or family with dietary restrictions, you can easily adapt the recipe to be vegan by substituting the heavy cream with coconut cream and using dairy-free butter. Also, keep in mind check for allergies related to ingredients like eggs, cream, and salt to ensure everyone can enjoy this treat.

Homemade Salted Caramel Ice Cream Bliss You Can’t Resist
Ingredients
Equipment
Method
- In a medium saucepan over medium heat, add granulated sugar and let it melt without stirring, swirling occasionally. Cook until it turns a golden amber color, about 8–10 minutes.
- Stir in unsalted butter until fully melted and smooth. Gradually whisk in heavy cream, allowing the mixture to bubble for a minute, then stir in sea salt.
- Remove from heat and set aside to cool completely.
- In a mixing bowl, whisk together egg yolks and sugar until thickened and pale, about 2–3 minutes.
- In a separate saucepan, heat milk and remaining heavy cream over medium heat until just simmering. Gradually pour the hot mixture into the egg yolks, whisking constantly.
- Transfer everything back to the saucepan and return to medium-low heat.
- Cook the custard, stirring frequently, until it thickens enough to coat the back of a spoon, around 10–12 minutes.
- Remove from heat and strain the mixture through a fine mesh sieve. Chill the custard base in the fridge for at least 1 hour.
- Once chilled, pour the custard base into your ice cream maker and churn according to the manufacturer's instructions, about 20–25 minutes.
- Gradually drizzle in the cooled caramel sauce to create beautiful ribbons of flavor.
- Transfer the ice cream to an airtight container, pressing cling film against the surface. Freeze for at least 4 hours or until solid.
- Store in the freezer for up to two weeks.
Leave a Reply