
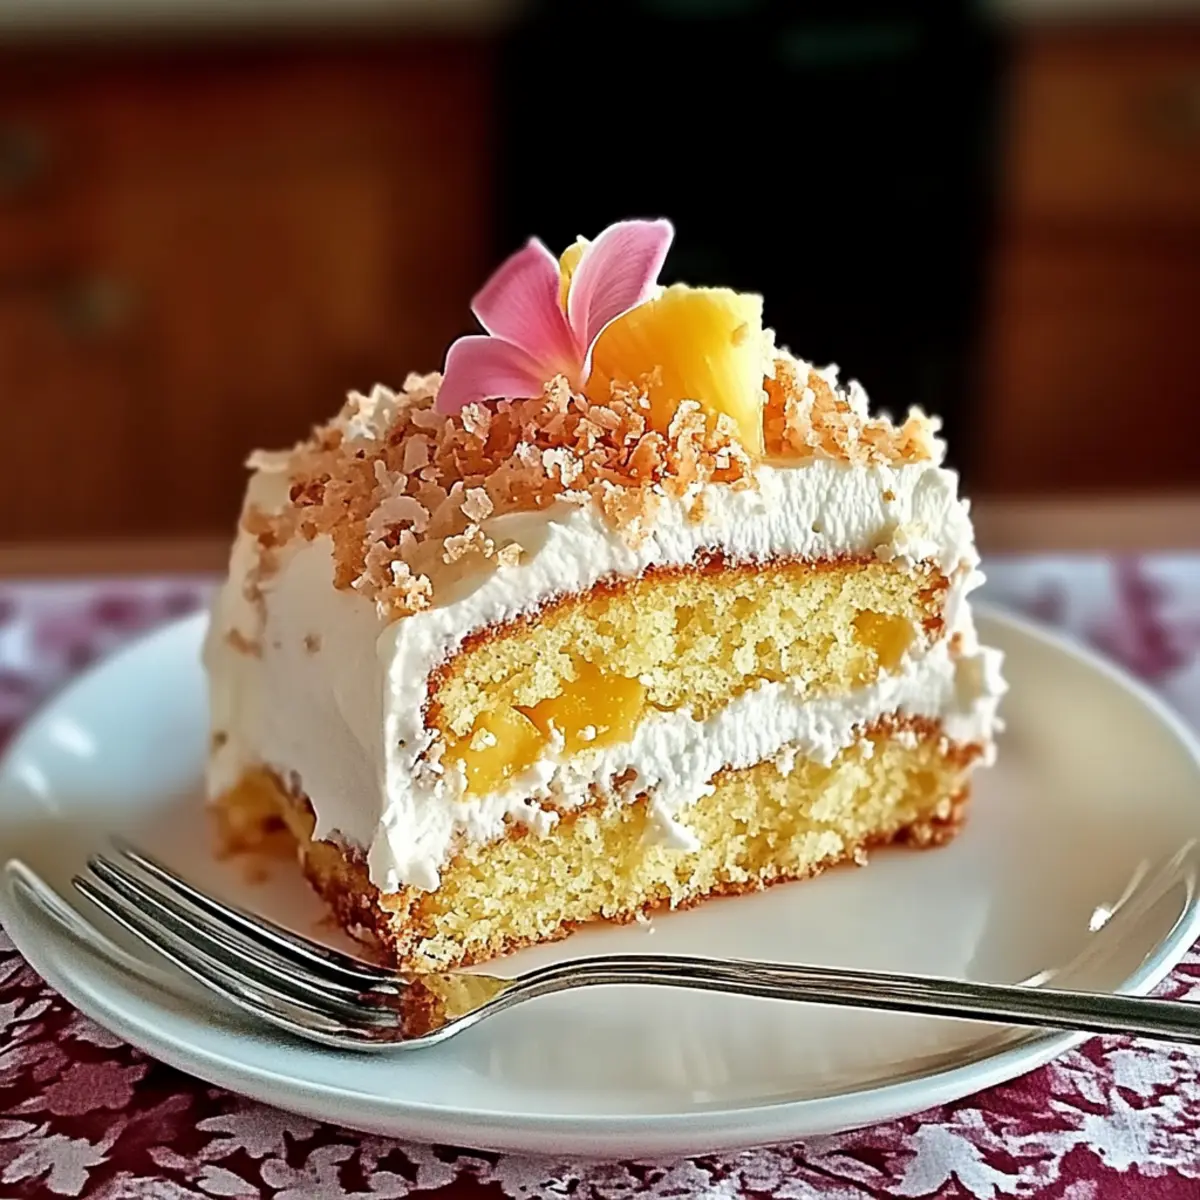
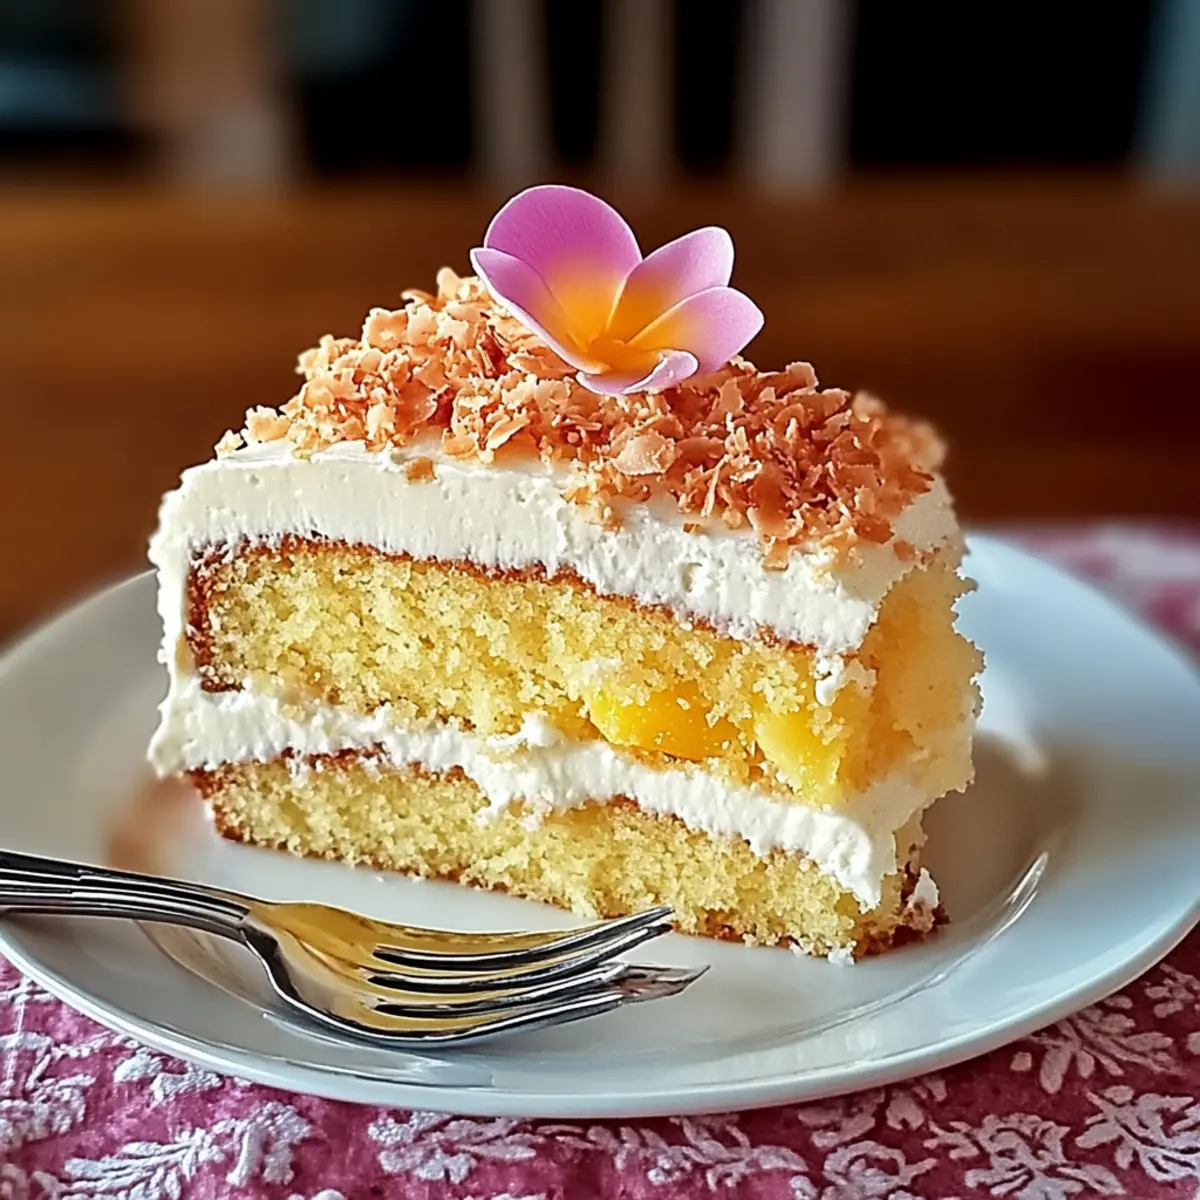
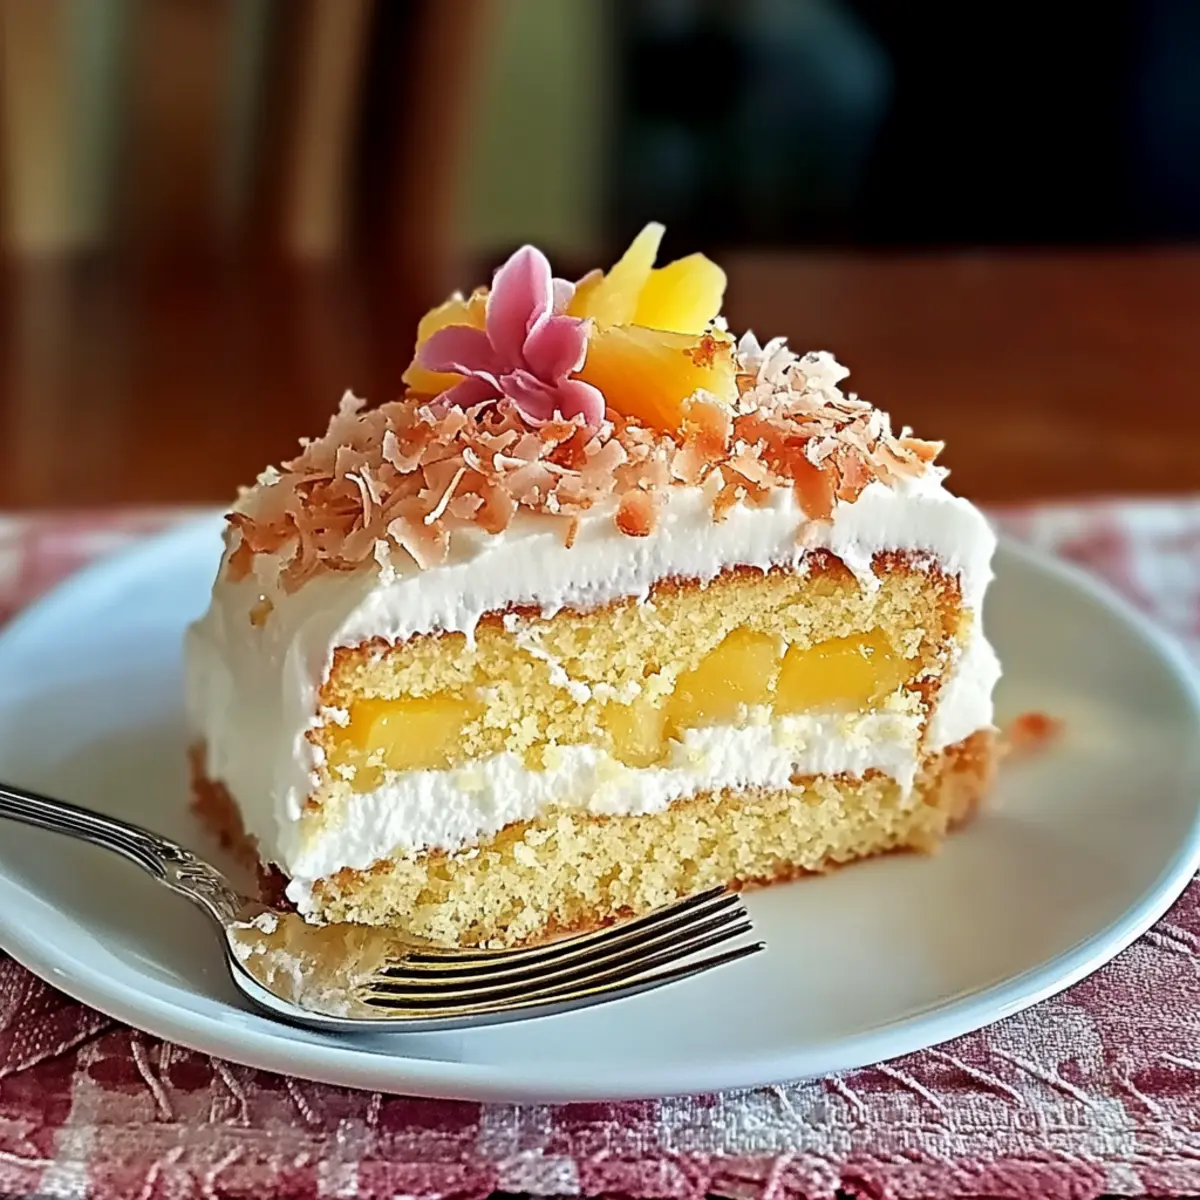
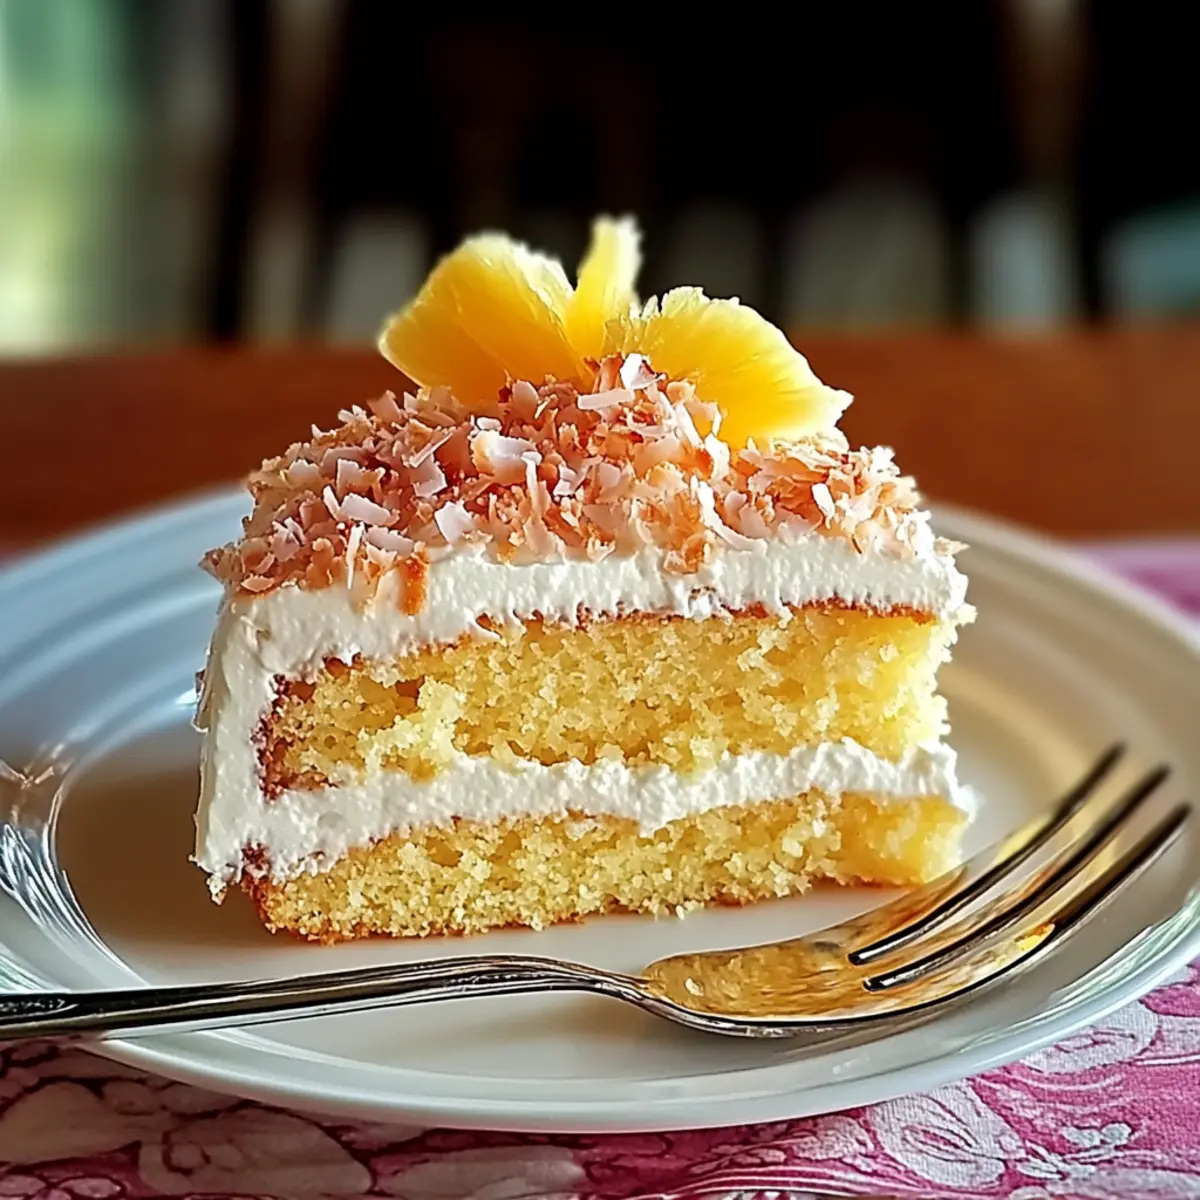
As I sifted through my pantry, inspiration struck—what if I could whisk a slice of paradise right into my kitchen? Enter the Creamy Hawaiian Wedding Cake! This delightful dessert brings the sunshine of tropical islands to your table. With its fluffy layers lightened by pineapple and adorned with silky cream cheese frosting, it’s perfect for summer gatherings or any occasion that calls for celebration. Not only is it a feast for the eyes, but it’s also a crowd-pleaser that can easily be modified to suit gluten-free diets. Imagine serving up a slice of this luscious cake, where each bite envelops you in sweet, sunny joy. So, are you ready to escape to the tropics with every forkful? Let’s dive into the recipe!
Why is this cake a tropical delight?
Tropical flavors burst through every slice of this Creamy Hawaiian Wedding Cake! Easy to make, the recipe requires minimal effort for maximum flavor, bringing tropical vibes to your kitchen in no time. Versatile enough for any celebration, it’s perfect for backyard BBQs, birthdays, or enchanting summer soirées. For an extra twist, pair it with a fresh fruit salad or a scoop of vanilla ice cream—they make delightful accompaniments! Plus, with simple gluten-free substitutions available, it’s an inclusive treat that everyone can enjoy. Get ready to impress your guests with this luscious dessert!
Creamy Hawaiian Wedding Cake Ingredients
• Here’s everything you need for your tropical treat!
For the Cake
- Yellow Cake Mix – Provides the cake structure; substitute with a gluten-free mix for a gluten-free option.
- Crushed Pineapple (40 oz) – Adds natural sweetness and moisture; important to drain and reserve juice.
For the Frosting
- Instant Vanilla Pudding Mix (3.4 oz) – Contributes to the creamy texture of the frosting.
- Cold Milk (2 cups, ≥2% fat) – Combines with the cream cheese and pudding mix for a smooth blending.
- Cream Cheese (8 oz, softened) – Adds richness to the frosting; for best results, let it come to room temperature.
- Whipping Cream (2 cups) – Creates a light and airy texture in the frosting.
- Sugar (3 tablespoons) – Sweetens the whipped cream; adjust to taste.
For the Topping
- Toasted Coconut (1 cup) – Adds flavor and texture to this delightful creamy Hawaiian Wedding Cake.
Step‑by‑Step Instructions for Creamy Hawaiian Wedding Cake
Step 1: Prep Pineapple
Begin by draining the 40 oz of crushed pineapple in a fine mesh strainer, ensuring you reserve the juice for later use. Let the pineapple sit for a few minutes to remove excess moisture, which will help in keeping your Creamy Hawaiian Wedding Cake light and fluffy. This step is essential for achieving the perfect balance of sweetness and texture.
Step 2: Make Cake
Preheat your oven to 350°F (175°C) and grease a 9×13-inch baking pan. In a large mixing bowl, prepare the yellow cake mix according to package instructions, using the reserved pineapple juice instead of water. Pour the batter into the prepared pan, smoothing the top, and bake for approximately 30 minutes, or until the cake is golden brown and springs back when lightly pressed.
Step 3: Cool Cake
Once the cake is baked, remove it from the oven and allow it to sit in the pan for about 10 minutes. Carefully transfer it to a wire rack to cool completely. Cooling is crucial for ensuring your Creamy Hawaiian Wedding Cake maintains its fluffy texture and prevents the frosting from melting when applied.
Step 4: Poke Cake
When the cake has cooled completely, grab a skewer or fork and poke holes all over the surface at approximately 1-inch intervals. This step allows the reserved pineapple juice to seep into the cake, creating moisture throughout. Your cake will be tender and delicious, enhancing the tropical flavors of the Creamy Hawaiian Wedding Cake.
Step 5: Layer Pineapple
Take the drained pineapple and spread it evenly over the top of the cooled cake, making sure to fill in the holes you just poked. This juicy layer will infuse the cake with delightful pineapple flavor, making each bite a tropical delight. Allow the cake to absorb the pineapple for about 5-10 minutes before the next step.
Step 6: Whip Cream
In a large mixing bowl, pour in the 2 cups of cold whipping cream and add 3 tablespoons of sugar. Using an electric mixer, beat the mixture on medium speed until medium-stiff peaks form, which should take about 3-5 minutes. This whipped cream will be the fluffy base for the frosting, bringing an airy texture to your Creamy Hawaiian Wedding Cake.
Step 7: Mix Cream Cheese
In another mixing bowl, beat 8 oz of softened cream cheese until smooth. Gradually add in 2 cups of cold milk, mixing until fully incorporated. It’s important to ensure the cream cheese is at room temperature for a creamy consistency that blends perfectly without lumps.
Step 8: Add Pudding
Sprinkle the 3.4 oz package of instant vanilla pudding mix over the cream cheese and milk mixture. Beat for an additional 2 minutes until the mixture becomes fluffy and thick. This will create the luscious frosting that will crown your Creamy Hawaiian Wedding Cake with delightful richness.
Step 9: Combine Mixtures
Gently fold the whipped cream into the cream cheese mixture using a spatula. Employing a folding motion ensures that the airiness of the whipped cream is retained, giving your frosting a light and creamy consistency. This combined frosting will be delectably smooth and perfect for spreading on your cake.
Step 10: Frost Cake
Using a spatula, spread the creamy frosting evenly over the pineapple layer. Be generous with your frosting to ensure every slice of the Creamy Hawaiian Wedding Cake is decadent and satisfying. Smooth the top to your liking, allowing the irresistible frosting to shine through.
Step 11: Chill
Finally, cover the cake with plastic wrap or foil and refrigerate for at least 1 hour. Chilling allows the flavors to meld beautifully, enhancing the tropical taste experience. When you’re ready to serve, take a moment to enjoy the sight of your stunning Creamy Hawaiian Wedding Cake before slicing.
How to Store and Freeze Creamy Hawaiian Wedding Cake
Fridge: Store your cake in an airtight container in the refrigerator for up to 3-4 days. This helps keep the creamy frosting fresh and the cake moist.
Freezer: To freeze, wrap individual slices in plastic wrap followed by foil. They can be stored in the freezer for up to 2 months. Thaw in the refrigerator before serving for optimal flavor and texture.
Reheating: If desired, you can gently warm individual slices in the microwave for 10-15 seconds. This makes the flavors pop even more before enjoying your Creamy Hawaiian Wedding Cake!
Make Ahead Options
These Creamy Hawaiian Wedding Cakes are perfect for busy home cooks looking to save time on celebrations! You can prepare the yellow cake up to 24 hours in advance; simply bake and let it cool completely before wrapping it in plastic wrap. Additionally, the pineapple layer can be placed on the cake and refrigerated up to 3 days ahead of time without compromising flavor. For the frosting, whip the cream and mix it with cream cheese and pudding blend just before serving to keep its airy texture. Storing the cake in an airtight container will maintain its freshness, ensuring each slice is just as delicious when ready to indulge!
Creamy Hawaiian Wedding Cake Variations
Embrace your creativity and customize the Creamy Hawaiian Wedding Cake with these tantalizing twists and substitutions!
- Gluten-Free: Substitute yellow cake mix with a gluten-free mix to ensure everyone can enjoy this tropical treat. Just make sure to check for suitable pudding mix!
- Lighter Frosting: Use low-fat cream cheese and reduce the sugar for a healthier frosting option that doesn’t compromise on flavor.
- Tropical Fruits: Add diced mango or papaya for an extra burst of tropical flavor, making each slice a delightful surprise.
- Coconut Cream: Replace half the whipping cream with coconut cream for a rich, coconutty flavor that pairs beautifully with the pineapple.
- Nuts Galore: Incorporate chopped macadamia nuts into the frosting or as a topping for a delightful crunch and nutty twist.
- Spicy Kick: Add a pinch of cayenne or a splash of rum to the frosting for a surprising hint of warmth that excites the taste buds.
- Lemon Zest: Mix in lemon zest into the batter or frosting for a zesty uplift that complements the tropical vibes.
- Layer Cake: Instead of a poke cake, layer the cake and frosting in round pans for a stunning centerpiece dessert masterpiece.
If you’re excited to discover more delicious treats, don’t miss out on my recipes for Cajun Chicken Pasta or Chocolate Raspberry Cake—they’re sure to bring joy to your table!
Expert Tips for the Best Creamy Hawaiian Wedding Cake
- Room Temperature Cream Cheese: Make sure your cream cheese is softened to room temperature for a smooth and creamy frosting. Cold cream cheese can create lumps, affecting the overall texture.
- Correct Cooling Time: Always let your cake cool completely before poking holes; this prevents it from collapsing and ensures that your Creamy Hawaiian Wedding Cake maintains its shape.
- Properly Drain Pineapple: Do not skip draining the crushed pineapple! This step is crucial to avoid a soggy cake and to maintain the perfect balance of flavor and moisture.
- Store Properly: If there are leftovers, store the cake in an airtight container in the refrigerator to keep it fresh for 3-4 days. This helps retain its lovely creamy texture and tropical essence.
- Whipping Cream Consistency: When whipping cream, stop once you reach medium-stiff peaks. Over beating can result in a grainy texture, so be attentive during this step for the best results!
What to Serve with Creamy Hawaiian Wedding Cake
Let the vibrant flavors and textures of this tropical delight inspire your full meal experience.
- Fresh Fruit Salad: A medley of ripe fruits complements the cake’s sweetness while offering a refreshing crunch.
- Coconut Rice: Creamy coconut rice echoes the cake’s tropical essence, making it a delightful side that feels like an island getaway.
- Grilled Pineapple: Caramelized, juicy slices of grilled pineapple enhance the cake’s pineapple notes for a beautifully cohesive dessert experience.
- Vanilla Ice Cream: A scoop of velvety vanilla ice cream adds a creamy touch that enriches every bite of the cake.
- Mojito Mocktail: The minty freshness of a mojito mocktail balances the cake’s sweetness, making it a refreshing beverage pairing.
- Toasted Macadamia Nuts: Sprinkle some toasted macadamia nuts on top or serve alongside for a delightful crunch, enhancing the tropical vibes.
- Lemonade: The tartness of homemade lemonade provides a lovely counterpoint to the cake’s rich frosting, creating a perfect balance.
- Chocolate Tarts: For chocolate lovers, individual chocolate tarts add an element of indulgence to your dessert spread, creating a tempting buffet.
Creamy Hawaiian Wedding Cake Recipe FAQs
How do I select the best crushed pineapple for the cake?
Absolutely! Look for crushed pineapple that is packed in juice rather than syrup, as juice enhances the natural sweetness without adding unnecessary sugar. Ensure there are no dark spots all over the can, which might indicate spoilage or poor quality. If using fresh pineapple, opt for ripe fruit that yields slightly to pressure when squeezed.
What is the best way to store leftover Hawaiian Wedding Cake?
I recommend storing any leftover Creamy Hawaiian Wedding Cake in an airtight container in the refrigerator. This keeps it fresh for up to 3-4 days. Another great tip is to place parchment paper between the cake and the lid to prevent sticking to the frosting, preserving that lovely creamy texture.
Can I freeze slices of Hawaiian Wedding Cake?
Very! To freeze, wrap individual slices tightly in plastic wrap, then in foil to prevent freezer burn. These can be stored in the freezer for up to 2 months. When you’re ready to enjoy, simply thaw in the refrigerator for a few hours or overnight for the best flavor and texture.
What should I do if my cake is too dense?
If your Creamy Hawaiian Wedding Cake turns out denser than expected, it may be due to overmixing the batter or not allowing the cake to cool adequately before poking holes. Always mix just until combined and ensure complete cooling in the pan before proceeding with the recipe. This helps maintain that fluffy texture you want in every bite!
Are there any dietary considerations for this recipe?
Absolutely! For those with gluten sensitivities, you can easily substitute the yellow cake mix with a gluten-free mix, making it accessible for everyone at your gathering. Additionally, be mindful of food allergies with the cream cheese and pudding mix; there are dairy-free alternatives available that work wonderfully.
How long should I chill the cake before serving?
After frosting, refrigerate your cake for at least 1 hour. This chilling time allows the flavors to meld beautifully, enhancing the tropical experience that makes the Creamy Hawaiian Wedding Cake so special. If you can, let it chill longer—it only gets better!
Tropical Bliss: Creamy Hawaiian Wedding Cake Recipe
Ingredients
Equipment
Method
- Drain the crushed pineapple in a fine mesh strainer and reserve the juice. Let it sit to remove excess moisture.
- Preheat your oven to 350°F (175°C) and grease a 9x13-inch baking pan.
- Prepare the yellow cake mix according to package instructions using the reserved pineapple juice instead of water. Pour the batter into the prepared pan and bake for approximately 30 minutes.
- Once baked, remove from the oven and allow it to cool in the pan for about 10 minutes. Then transfer to a wire rack to cool completely.
- Poke holes all over the cooled cake using a skewer or fork, allowing the reserved pineapple juice to seep into the cake.
- Spread the drained pineapple evenly over the top of the cake, filling in the holes.
- In a large mixing bowl, whip the cold whipping cream and sugar until medium-stiff peaks form.
- In another bowl, beat the softened cream cheese until smooth. Gradually mix in the cold milk until well combined.
- Add the instant vanilla pudding mix to the cream cheese mixture and beat for an additional 2 minutes.
- Gently fold the whipped cream into the cream cheese mixture.
- Spread the creamy frosting evenly over the pineapple layer on the cake.
- Cover the cake with plastic wrap or foil and refrigerate for at least 1 hour before serving.
Leave a Reply