
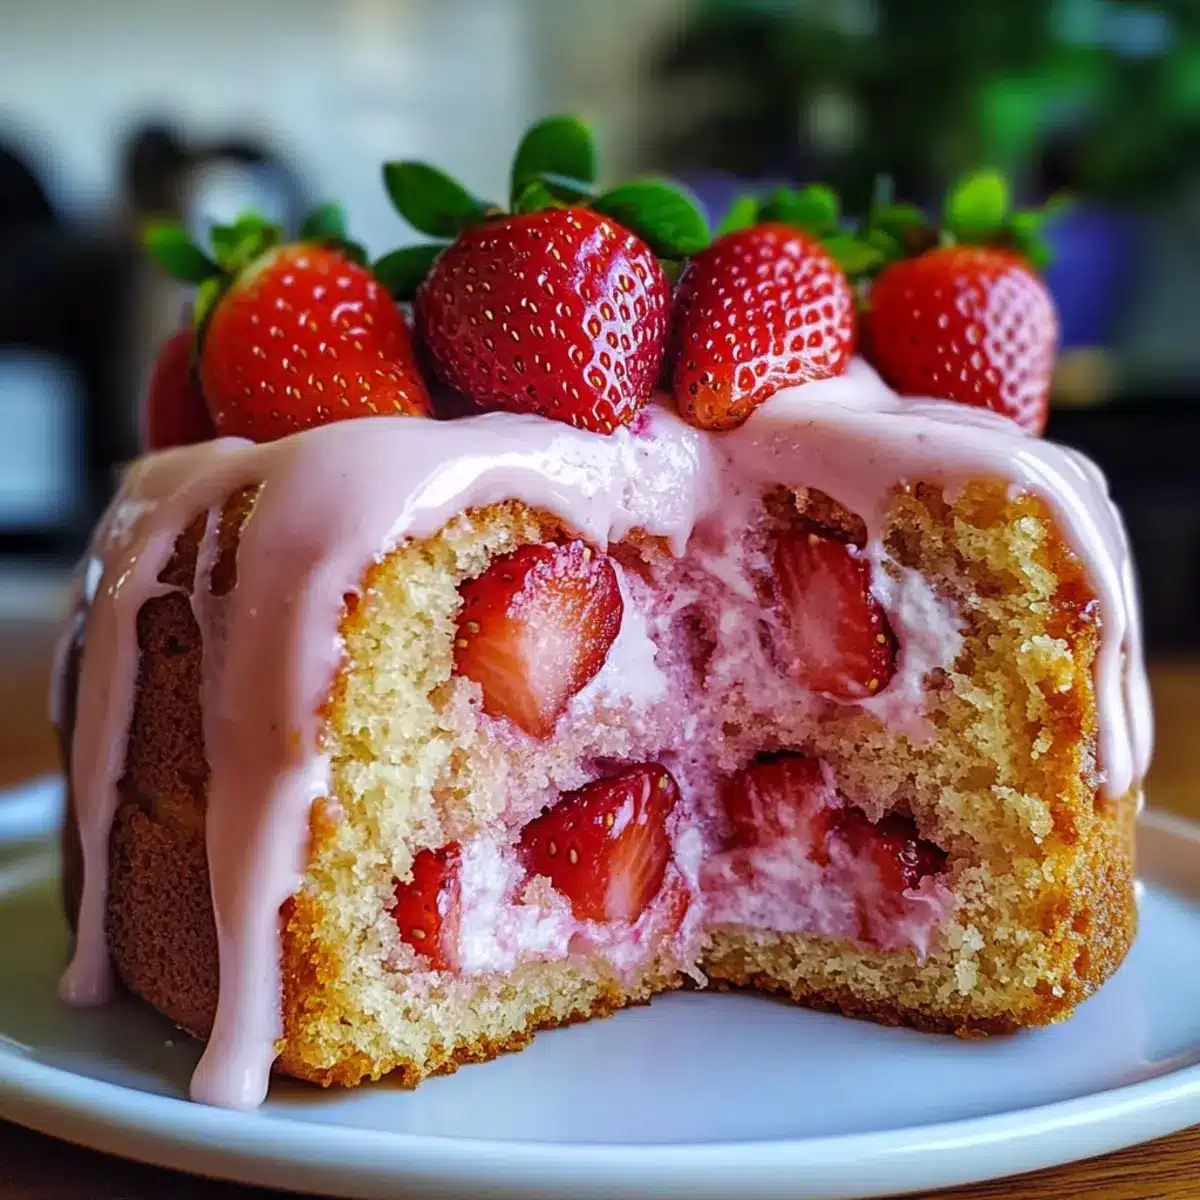
As the scent of warm vanilla and ripe strawberries wafts through my kitchen, there’s something undeniably comforting about creating a Sweet Strawberry Honeybun Cake. This delightful dessert combines a buttery, fluffy texture with a creamy strawberry icing that will make your taste buds dance. Bringing together fresh strawberries not only adds natural sweetness but also offers a vibrant pop of color, perfect for any gathering. Imagine cutting into a slice and revealing the layers of joy within, making it an instant crowd-pleaser and a delightful homemade option for anyone tired of fast food. Plus, with gluten-free variations and a high-protein twist with Greek yogurt, this recipe ensures everyone can partake in the deliciousness. Are you ready to whip up this summer-inspired treat that’s bound to become a family favorite? Let’s dive in!
Why is Strawberry Honeybun Cake a Must-Try?
Irresistible Flavors: The combination of sweet strawberries and rich icing elevates this cake to a new level of deliciousness.
Crowd-Pleasing: Perfect for gatherings, this cake is sure to impress family and friends at any occasion.
Texture Perfection: Each slice reveals a fluffy crumb with a creamy icing that adds just the right amount of indulgence.
Versatile Options: Whether you opt for gluten-free flour or add Greek yogurt for a protein boost, customizing your cake is a breeze.
Effortless Baking: With simple instructions and common ingredients, you can whip up this beauty in no time!
Why settle for fast food when you can create this showstopper at home? Don’t miss exploring other delightful recipes like the Chocolate Mousse Cake or the refreshing Chocolate Raspberry Cake.
Strawberry Honeybun Cake Ingredients
• Get ready to bake a delightful Strawberry Honeybun Cake that will have everyone asking for seconds!
For the Cake
- All-Purpose Flour – Provides structure; can be swapped with gluten-free flour for a gluten-free version.
- Granulated Sugar – Adds sweetness; alter only if modifying sweetness levels.
- Baking Powder – Acts as a leavening agent; ensure freshness for optimal results.
- Salt – Enhances flavor; use kosher or sea salt for the best taste.
- Unsalted Butter – Adds moisture and richness; can replace with vegan butter for a dairy-free option.
- Large Eggs – Acts as a binding agent; no direct substitutes except for flax eggs in vegan versions.
- Sour Cream – Contributes moisture; substitute with Greek yogurt for a protein boost.
- Vanilla Extract – Enhances flavor; opt for pure vanilla for superior taste.
For the Icing
- Powdered Sugar – Provides sweetness; essential for a creamy icing consistency.
- Cream Cheese – Base for creamy icing; can use vegan cream cheese as a dairy-free alternative.
- Heavy Cream – Helps achieve the desired icing texture; substitute with coconut cream for non-dairy versions.
- Strawberry Extract – Offers intense strawberry flavor; can swap with real strawberries for a fresher taste.
Step‑by‑Step Instructions for Strawberry Honeybun Cake
Step 1: Preheat and Prepare
Preheat your oven to 350°F (180°C) and prepare two 9-inch round cake pans by greasing them with butter or lining them with parchment paper. This will ensure that your Strawberry Honeybun Cake releases easily after baking. Set the pans aside while you mix the dry ingredients.
Step 2: Mix Dry Ingredients
In a medium bowl, whisk together the all-purpose flour, baking powder, and salt until well combined. This is crucial for evenly distributing the leavening agent and enhancing the cake’s texture. Once combined, set the dry ingredients aside as you move on to the wet mixture.
Step 3: Cream Butter and Sugar
In a large mixing bowl, beat the softened unsalted butter and granulated sugar together using an electric mixer on medium speed until the mixture is light and fluffy, about 3-5 minutes. This step adds air to the mixture, which will make your Strawberry Honeybun Cake airy and moist.
Step 4: Incorporate Eggs and Flavor
Add the large eggs one at a time, mixing well after each addition to ensure they are fully integrated. Then, mix in the sour cream and pure vanilla extract until smooth. This combination not only enhances the flavor profile but also adds moisture that keeps the cake deliciously tender.
Step 5: Combine Wet and Dry Mixtures
Gradually add the flour mixture to the wet ingredients, mixing on low speed just until combined; be careful not to overmix. The batter should be smooth and silky, a sign that your Strawberry Honeybun Cake will turn out perfectly fluffy.
Step 6: Divide and Smooth
Divide the cake batter evenly between the two prepared pans, smoothing the tops with a spatula. Make sure the batter is level in each pan to ensure even baking. Slide the pans into the preheated oven and set your timer for 30 minutes.
Step 7: Bake to Perfection
Bake the cakes for about 30 minutes, or until a toothpick inserted into the center comes out clean. Keep an eye on them near the end to avoid overbaking, which can dry out your Strawberry Honeybun Cake. Once done, remove the pans from the oven.
Step 8: Cool the Cakes
Let the cakes cool in the pans for about 10 minutes before carefully transferring them to a wire rack. Allow them to cool completely; cooling is essential to prevent the icing from melting when added to the cake layers.
Step 9: Prepare the Icing
For the creamy strawberry icing, beat together the cream cheese and butter in a mixing bowl until smooth. Gradually add in the powdered sugar, mixing well, followed by the vanilla and strawberry extracts. This will create a delightful and flavorful icing that pairs perfectly with your cake.
Step 10: Adjust Icing Consistency
Incorporate the heavy cream into the icing mixture, whisking until you achieve your desired consistency. It should be creamy yet spreadable, perfect for frosting each layer of your Strawberry Honeybun Cake without falling off.
Step 11: Assemble the Cake
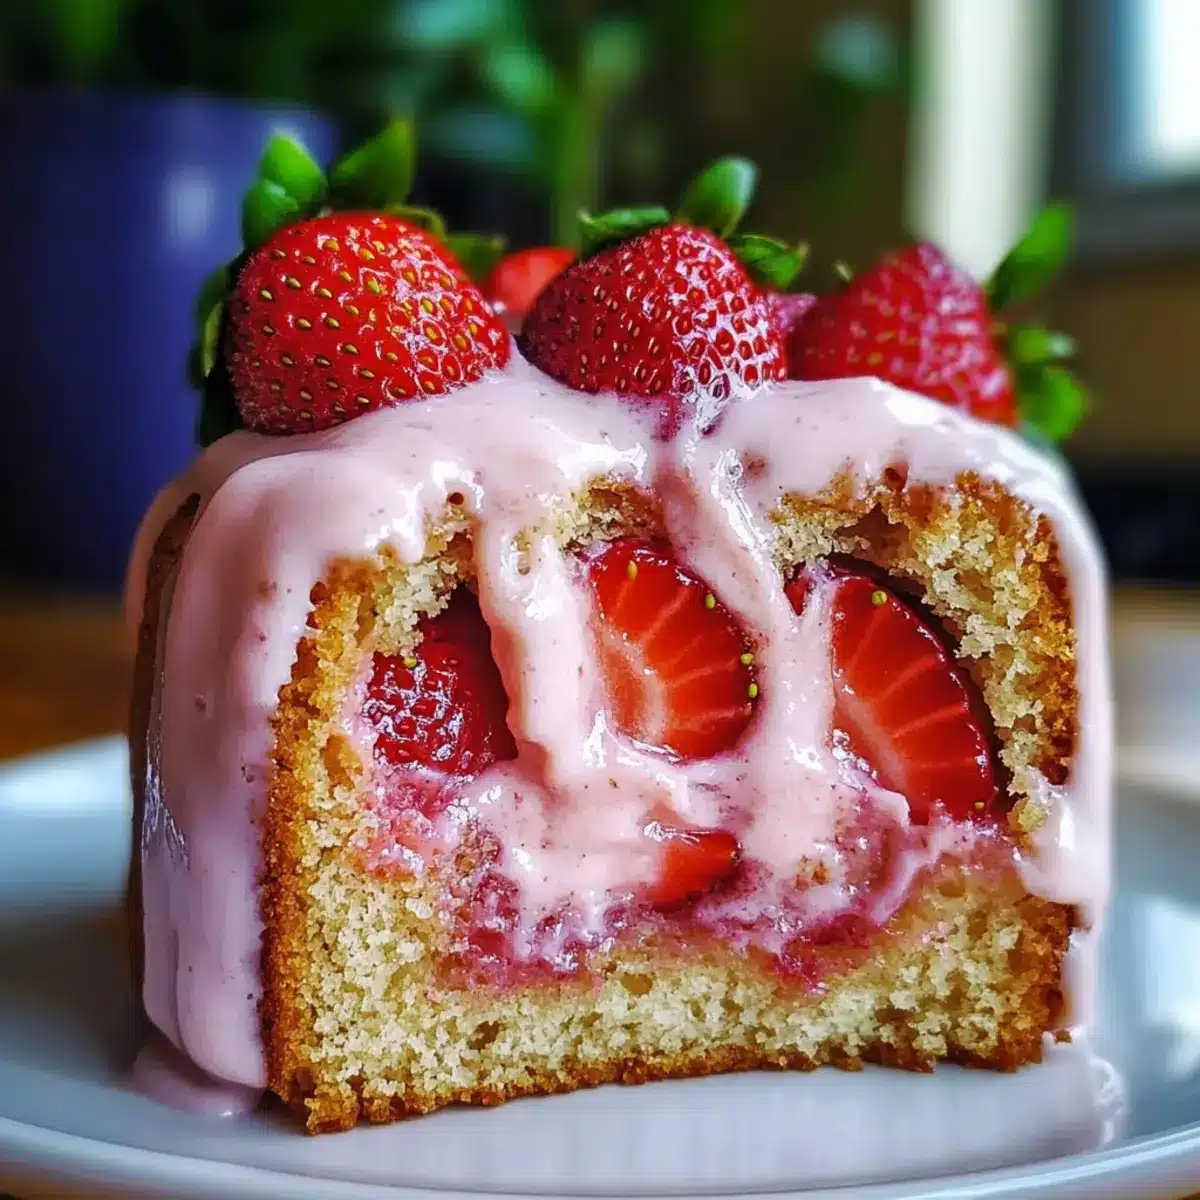
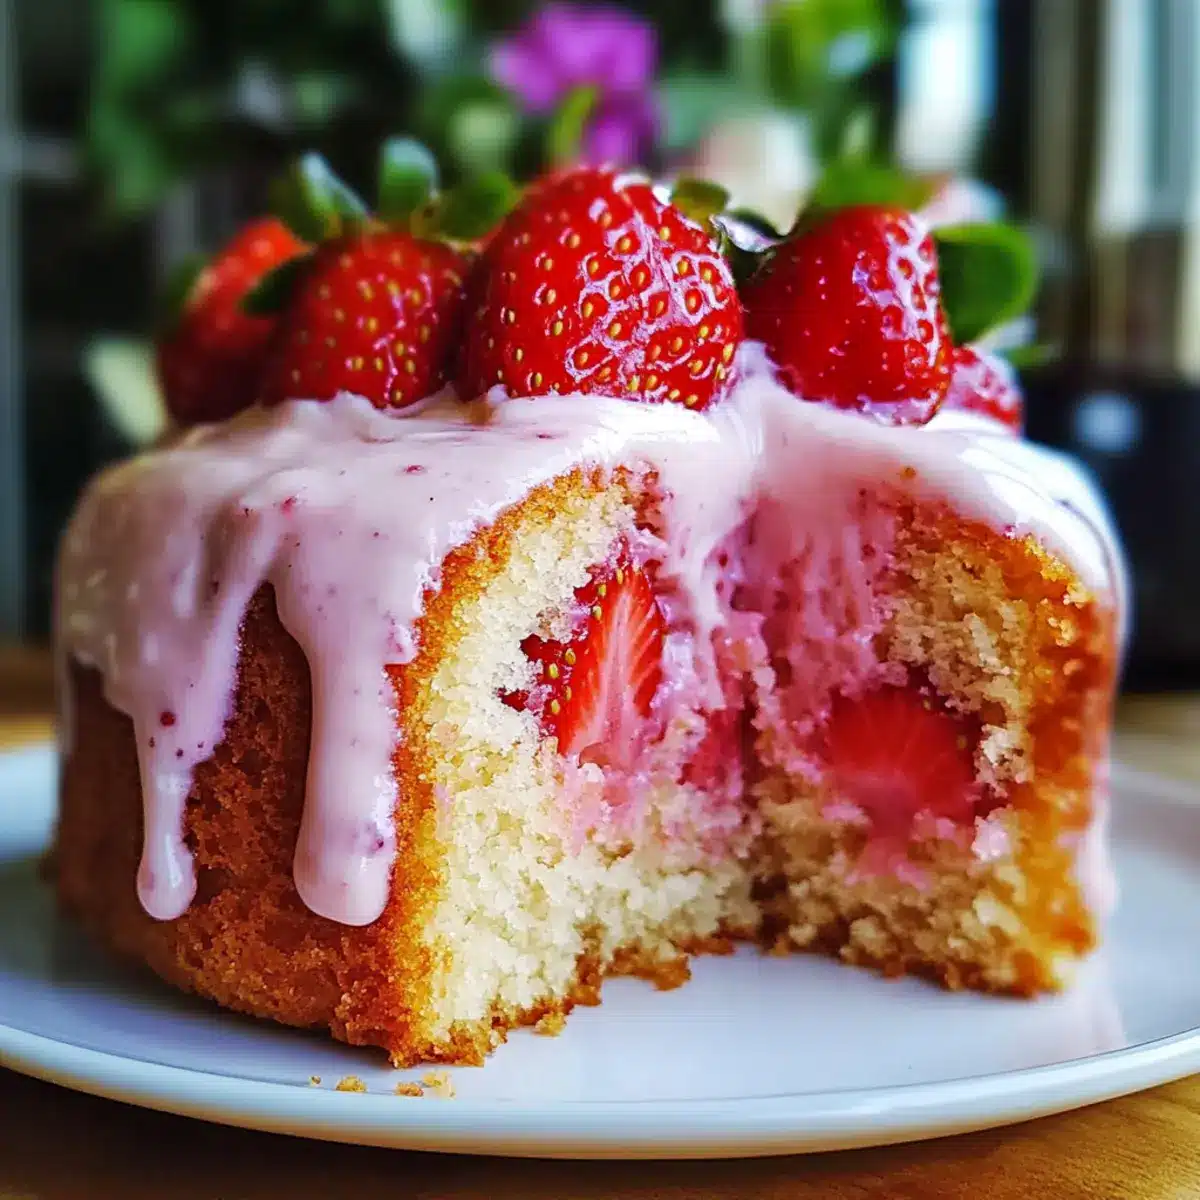
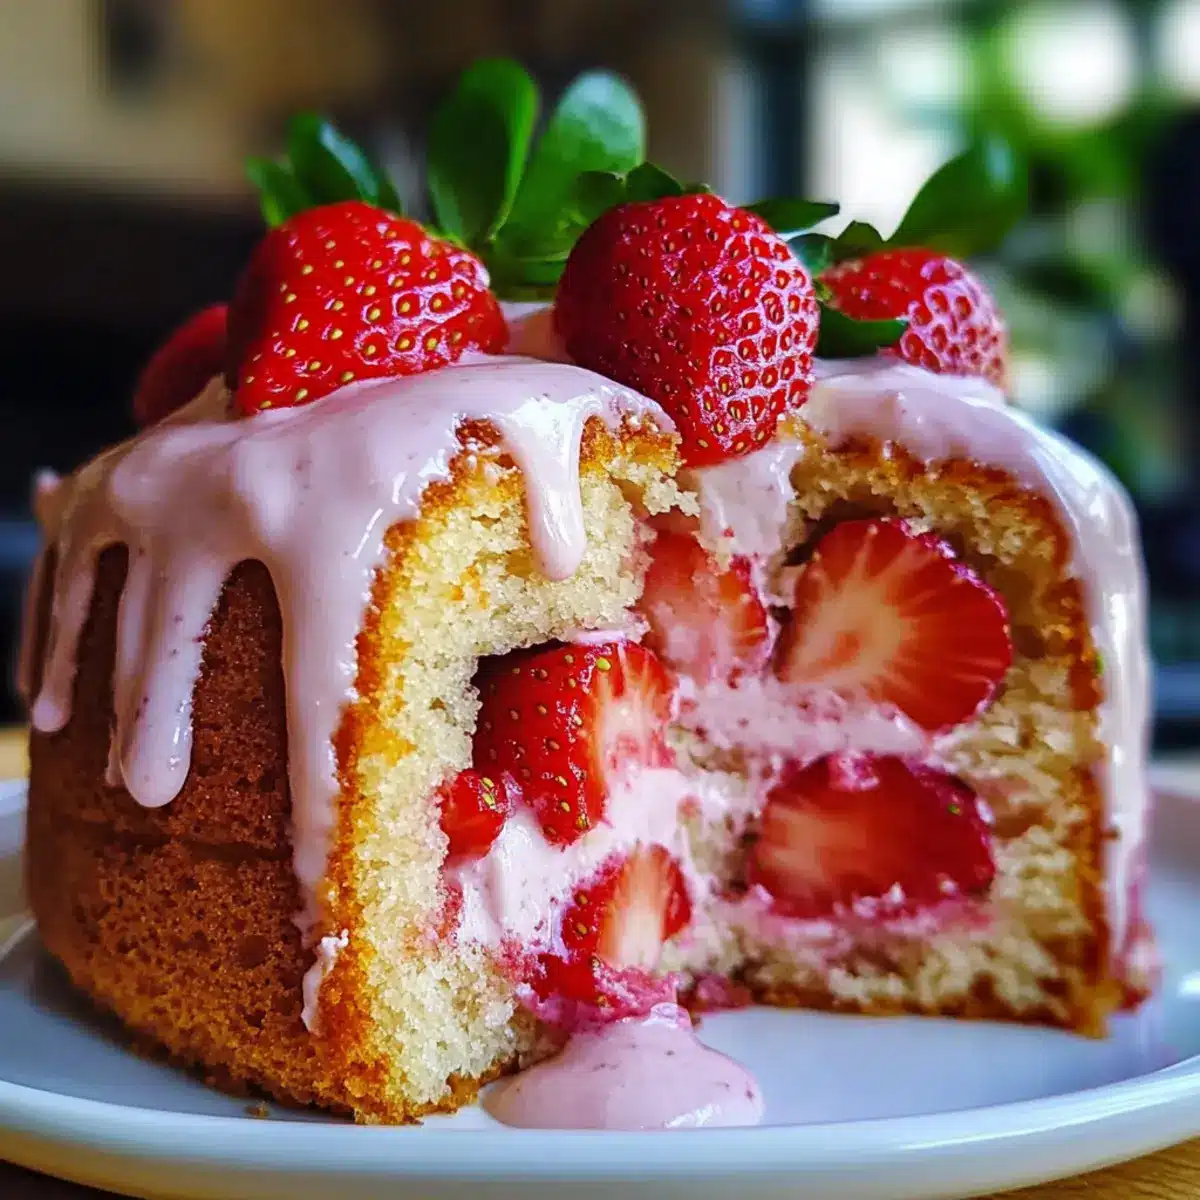
To assemble your cake, place one layer on a serving plate and spread a generous amount of strawberry icing on top. Carefully place the second layer on top, then frost the top and sides of the entire cake. Take your time to create a beautiful finish, showcasing the creamy goodness.
Step 12: Serve and Savor
Once assembled, your Strawberry Honeybun Cake is ready to slice and serve! Consider garnishing with fresh strawberries or a sprinkle of powdered sugar for an added touch. Enjoy the delicious blend of flavors with family and friends!
How to Store and Freeze Strawberry Honeybun Cake
-
Fridge: Store any leftover Strawberry Honeybun Cake in an airtight container in the refrigerator for up to 5 days. Reheat slices in the microwave for a few seconds if desired.
-
Freezer: For long-term storage, tightly wrap the cake in plastic wrap and place it in a freezer-safe bag. It will stay fresh for up to 2 months, perfect for unexpected cravings!
-
Thawing: To enjoy frozen cake, transfer it to the fridge the night before serving to thaw gently. This preserves its moisture and keeps the icing creamy.
-
Make-Ahead: This cake can be made ahead of time! You can store it in the fridge wrapped well for up to 3 days before serving, ensuring you’re always ready for a sweet treat.
Expert Tips for Strawberry Honeybun Cake
-
Cool Completely: Ensure the cake layers are completely cool before icing to prevent melting; this preserves the beautiful frosting.
-
Mixing Madness: Avoid overmixing the batter once you add the flour; this keeps your Strawberry Honeybun Cake light and fluffy.
-
Fresh Flavor: Use fresh strawberries in the icing for a burst of flavor; a teaspoon of lemon zest will add a refreshing twist.
-
Icing Consistency: Gradually add powdered sugar to the icing mixture for a smooth texture; this prevents it from becoming too stiff.
-
Gluten-Free Greatness: Substitute all-purpose flour with a gluten-free blend to easily accommodate those with dietary restrictions.
What to Serve with Strawberry Honeybun Cake
Nothing completes a delightful dessert like the perfect companions to enhance your Strawberry Honeybun Cake experience.
-
Fresh Strawberries: Bright and juicy, they echo the cake’s fruity notes and add a refreshing contrast to the creamy icing.
-
Whipped Cream: Light and airy, this classic topping enhances the richness of the cake while providing an indulgent, silky finish.
-
Vanilla Ice Cream: A scoop of creamy vanilla ice cream creates a delightful temperature contrast, melting into the warm cake for a decadent treat.
-
Mint Leaf Garnish: A touch of fresh mint brightens the presentation and adds a burst of herbal freshness that cuts through the sweetness.
-
Coffee or Tea: Enjoying a slice with a warm cup of coffee or fragrant tea elevates the experience, offering a comforting pairing that warms the soul.
-
Lemonade or Iced Tea: For a refreshing twist, serve the cake with homemade lemonade or iced tea to balance the sweetness with a zesty sip.
-
Chocolate Drizzle: A light drizzle of chocolate sauce adds a rich, luxurious layer, elevating the flavors with a delightful contrast to the strawberry sweetness.
Bringing these elements together will not only enhance the dining experience but also ensure that every bite is a celebration of flavors!
Strawberry Honeybun Cake Variations
Get ready to make this delightful recipe uniquely yours with these simple swaps and twists!
- Gluten-Free: Substitute all-purpose flour with a gluten-free flour blend. You’ll still get that fluffy texture everyone loves!
- Protein-Packed: Replace sour cream with Greek yogurt for a deliciously creamy layer that packs a nutritious punch.
- Berry Swap: Swap strawberries for raspberries or blueberries to change up the flavor profile and enjoy new berry combinations.
- Citrusy Burst: Add a teaspoon of lemon zest to the batter for a refreshing twist that brightens the cake’s overall flavor.
- Vegan Twist: Use plant-based butter and vegan cream cheese for the icing to cater to dairy-free diets without sacrificing taste.
- Nutty Crumble: Sprinkle chopped nuts, like almonds or pecans, between the layers of cake for an unexpected crunch and added texture.
- Choco-Delight: Drizzle melted dark chocolate over the frosting for a delightful chocolate-strawberry combo that sweetens the indulgence even more.
- Spicy Kick: Add a pinch of cayenne pepper to the icing for a surprising heat that balances perfectly with the sweetness.
Feeling inspired? Check out the Pistachio Mushroom Cheesecake for more creative desserts that tempt the taste buds!
Make Ahead Options
Preparing the Strawberry Honeybun Cake ahead of time is a wonderful way to save time and delight your loved ones with minimal effort! You can bake the cake layers up to 3 days in advance. Once completely cooled, wrap them tightly in plastic wrap and refrigerate to maintain their moistness. The creamy strawberry icing can be made ahead up to 24 hours as well; just store it in an airtight container in the fridge. When you’re ready to serve, simply frost the layers and assemble the cake, ensuring a delightful dessert that tastes just as fresh and delicious as if it were made that day. Enjoy the convenience while delighting everyone with this scrumptious treat!
Strawberry Honeybun Cake Recipe FAQs
What kind of strawberries should I use for the best flavor?
Absolutely use fresh, ripe strawberries for the best flavor! Look for strawberries that are bright red with a slight sheen and firm texture. Avoid any with dark spots or mushiness, as these indicate overripeness. If you can, opt for strawberries during their peak season for the sweetest flavor.
How should I store leftover Strawberry Honeybun Cake?
Store any leftover Strawberry Honeybun Cake in an airtight container in the refrigerator for up to 5 days. If you’d like to enjoy it slightly warm, simply reheat slices in the microwave for a few seconds. This keeps every bite moist and delicious!
Can I freeze the Strawberry Honeybun Cake?
Yes, you can! To freeze, tightly wrap the cooled cake in plastic wrap and place it in a freezer-safe bag. It will stay fresh for up to 2 months. When you’re ready to enjoy it, transfer the cake to the fridge the night before serving, allowing it to thaw gently. This method helps maintain its moisture and the creamy top.
What can I do if my icing is too thick?
No worries! If your icing turns out too thick, gradually add a little bit of heavy cream (about a tablespoon at a time) until it reaches your desired spreadable consistency. Stir gently to combine until creamy. This ensures your icing is easy to work with and deliciously smooth!
Are there any dietary considerations for this recipe?
Definitely! This Strawberry Honeybun Cake can be made gluten-free by substituting all-purpose flour with a gluten-free flour blend. You can also boost the protein content by using Greek yogurt instead of sour cream. If you or your guests have dairy allergies, try using vegan butter and cream cheese alternatives for a delightful dairy-free version!
How can I tell when the cake is fully baked?
Check for doneness by inserting a toothpick into the center of the cake. If it comes out clean or with just a few crumbs attached, it’s done! Additionally, the edges of the cake should start to pull away from the sides of the pans. Be careful not to overbake, as this can lead to a dry cake.
Delicious Strawberry Honeybun Cake with Creamy Icing Bliss
Ingredients
Equipment
Method
- Preheat your oven to 350°F (180°C) and prepare two 9-inch round cake pans by greasing them with butter or lining with parchment paper.
- In a medium bowl, whisk together the all-purpose flour, baking powder, and salt until well combined.
- In a large mixing bowl, beat the softened unsalted butter and granulated sugar together until light and fluffy, about 3-5 minutes.
- Add the large eggs one at a time, mixing well after each addition. Mix in the sour cream and vanilla extract until smooth.
- Gradually add the flour mixture to the wet ingredients, mixing on low speed just until combined.
- Divide the cake batter evenly between the two prepared pans, smoothing the tops with a spatula.
- Bake the cakes for about 30 minutes, or until a toothpick inserted comes out clean. Remove from the oven.
- Let the cakes cool in the pans for about 10 minutes before transferring to a wire rack to cool completely.
- For the icing, beat together the cream cheese and butter until smooth. Gradually add in the powdered sugar, mixing well.
- Incorporate the heavy cream, whisking until you achieve your desired icing consistency.
- To assemble your cake, place one layer on a serving plate and spread strawberry icing on top. Place the second layer on top and frost the top and sides.
- Once assembled, slice and serve your Strawberry Honeybun Cake, optionally garnishing with fresh strawberries.
Leave a Reply