
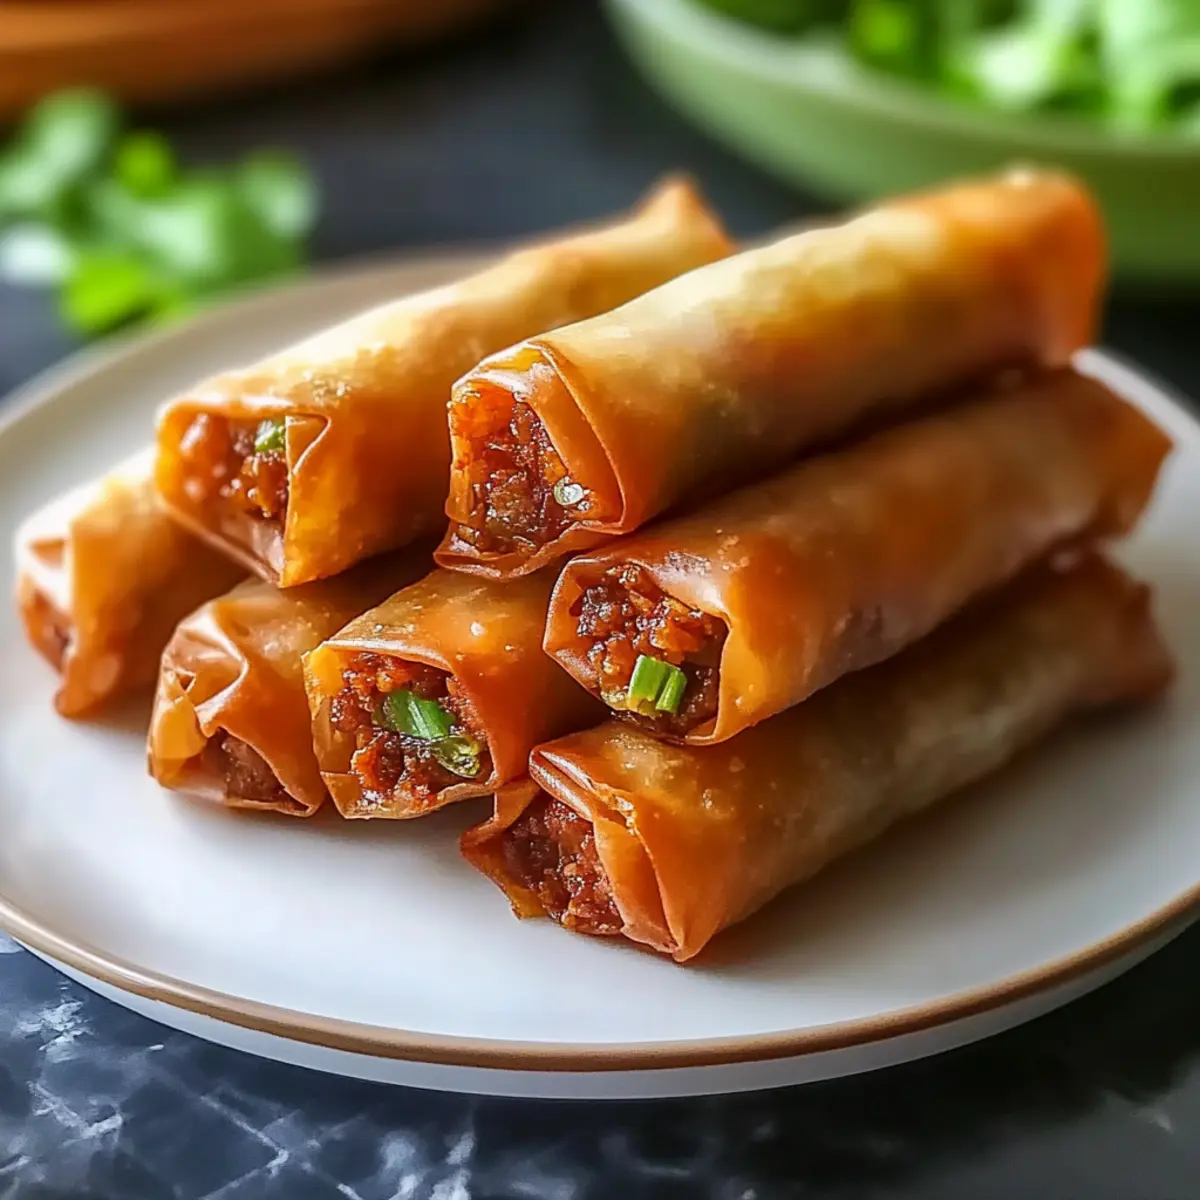
As I stood over the sizzling pan, the tantalizing aroma of frying delicate wrappers filled the kitchen, whisking me away to bustling streets of the Philippines. Crispy Filipino Lumpia is more than just a snack; it’s a beloved tradition that’s perfect for sharing at gatherings or indulging during quiet moments at home. With its perfectly crisp exterior and savory filling of ground pork and fresh veggies, it’s a dish that brings joy and nostalgia in every bite. Best of all, this recipe is quick and easy to prepare, making it a fantastic option for anyone seeking a delightful homemade treat. Plus, it’s easily customizable—add your favorite veggies or swap out the protein for a gluten-free twist using tamari. So, are you ready to roll up your sleeves and dive into a crispy adventure?
Why You’ll Love Crispy Filipino Lumpia
Crispy, Flavorful Perfection: Each bite delivers a delightful crunch, thanks to the golden, crispy wrappers.
Quick and Easy: In just a few simple steps, you can whip up a batch of these delicious rolls, perfect for last-minute gatherings.
Customizable Delight: Get creative! Whether you prefer ground chicken or a veggie-packed filling, this recipe adapts to your taste.
Nostalgic Treat: Transport yourself to the bustling streets of the Philippines with this beloved street food.
Crowd-Pleaser: Serve these at parties and watch them disappear; everyone loves a good lumpia!
Dipping Options: Pair with sweet chili sauce or try alternatives like Parmesan Sweet Potato for a unique twist.
Crispy Filipino Lumpia Ingredients
For the Filling
• Ground Pork – The primary protein providing richness and flavor; substitute with ground chicken or beef for alternative tastes.
• Cabbage – Adds crunch and moisture to the filling; finely shredded for even texture.
• Carrot – Brings sweetness and color to the filling; finely chopped for optimal mixing.
• Onion – Contributes depth and aromatic flavor; must be chopped for even distribution.
• Garlic – Enhances flavor with a savory punch; minced to release its full aroma.
• Soy Sauce – Provides umami and saltiness; use tamari for a gluten-free version.
• Salt – Essential for seasoning; adjust to personal taste.
• Black Pepper – Adds heat and enhances overall flavor; adjust to personal preference.
• Garlic Powder – For an extra layer of garlic flavor; may be adjusted to taste.
For the Wrapper & Sealing
• Lumpia Wrappers – Thin wrappers vital for creating crispy rolls; avoid thick wrappers for better texture.
• Egg – Used for sealing the lumpia; beaten for proper adhesion.
For Frying
• Oil for Frying – Necessary for achieving a crispy texture; canola or vegetable oil is recommended.
For Dipping
• Sweet Chili Sauce – Ideal for dipping, providing a sweet and slightly spicy complement; alternatives include banana ketchup or a vinegar-garlic-chili dip.
Step‑by‑Step Instructions for Crispy Filipino Lumpia
Step 1: Prepare the Filling
In a large mixing bowl, combine the ground pork, finely shredded cabbage, chopped carrot, diced onion, minced garlic, soy sauce, salt, black pepper, and garlic powder. Use your hands or a spatula to mix thoroughly for about 3–4 minutes until all ingredients are evenly distributed. The mixture should be well-blended, with no clumps remaining, helping to create a savory filling for the Crispy Filipino Lumpia.
Step 2: Assemble the Lumpia
Lay a lumpia wrapper on a clean surface in a diamond orientation. Spoon approximately 2 tablespoons of the filling onto the bottom corner of the wrapper, shaping it into a log. Fold the bottom corner over the filling, tuck in the sides snugly, and roll it up tightly to form a log shape. Seal the edge with a brush of beaten egg, ensuring it’s securely closed. Repeat this process until all wrappers and filling are used.
Step 3: Heat the Oil
In a deep pan or heavy-bottomed pot, pour enough canola or vegetable oil to reach a depth of at least 2 inches. Heat the oil over medium-high heat until it reaches 350°F (175°C). To gauge the temperature, drop a small piece of wrapper into the oil; it should bubble and sizzle immediately. This step ensures that your Crispy Filipino Lumpia will achieve that desired crunch when fried.
Step 4: Fry the Lumpia
Once the oil is hot, carefully add the lumpia, working in batches if necessary to avoid overcrowding the pan. Fry each batch for 3–4 minutes, turning occasionally until they are golden brown and crispy all around. Watch closely to prevent burning, and adjust the heat if needed. When perfectly crispy, use a slotted spoon to remove the lumpia and drain them on paper towels to remove excess oil.
Step 5: Serve and Enjoy
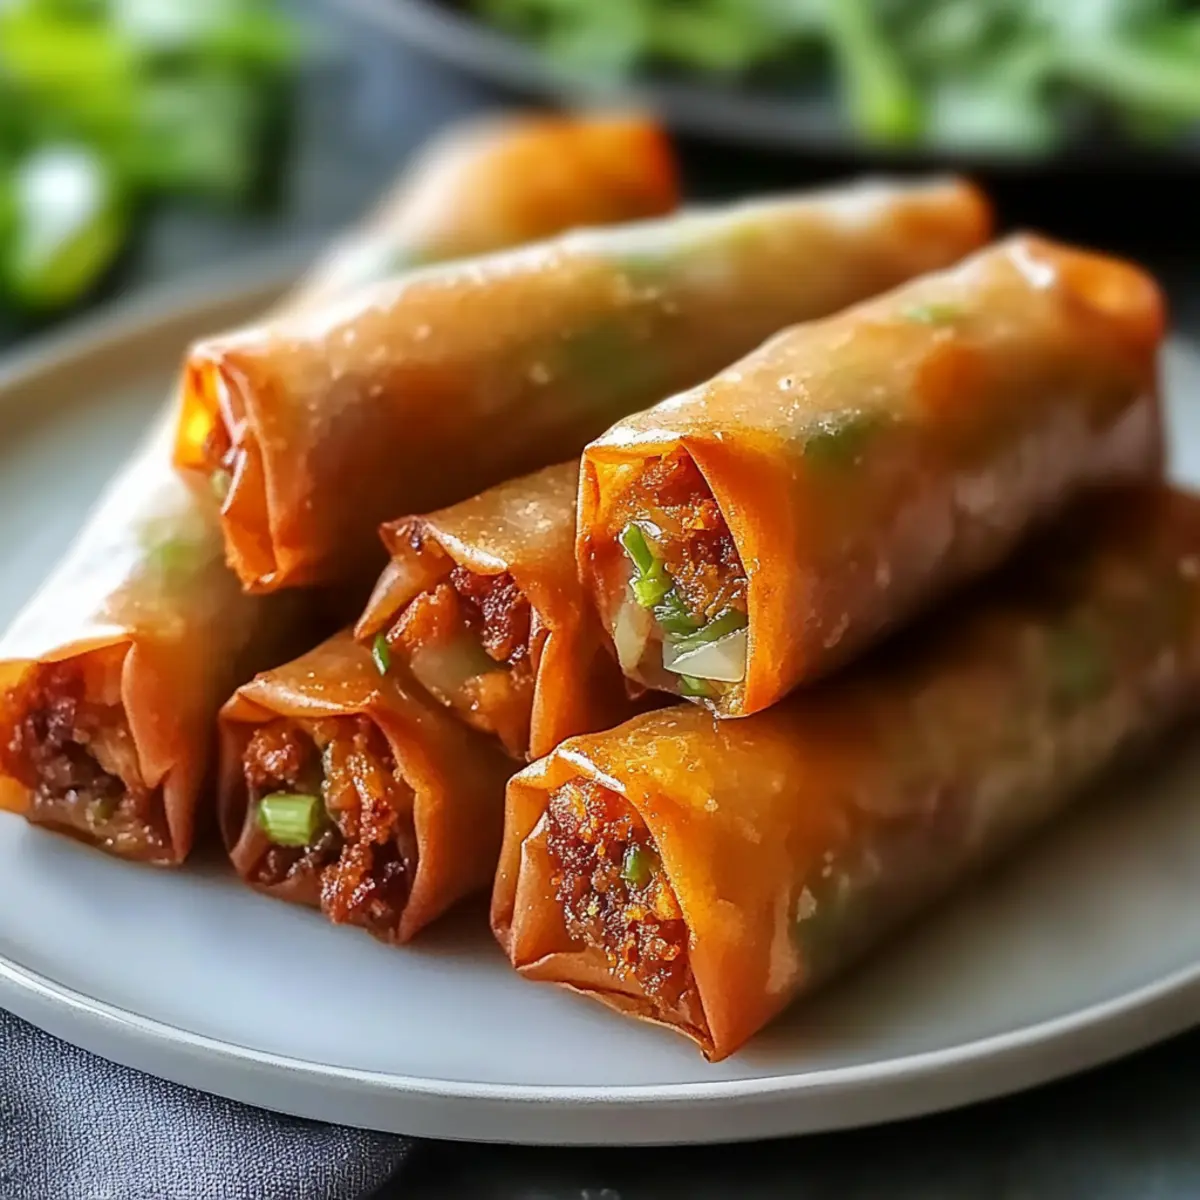
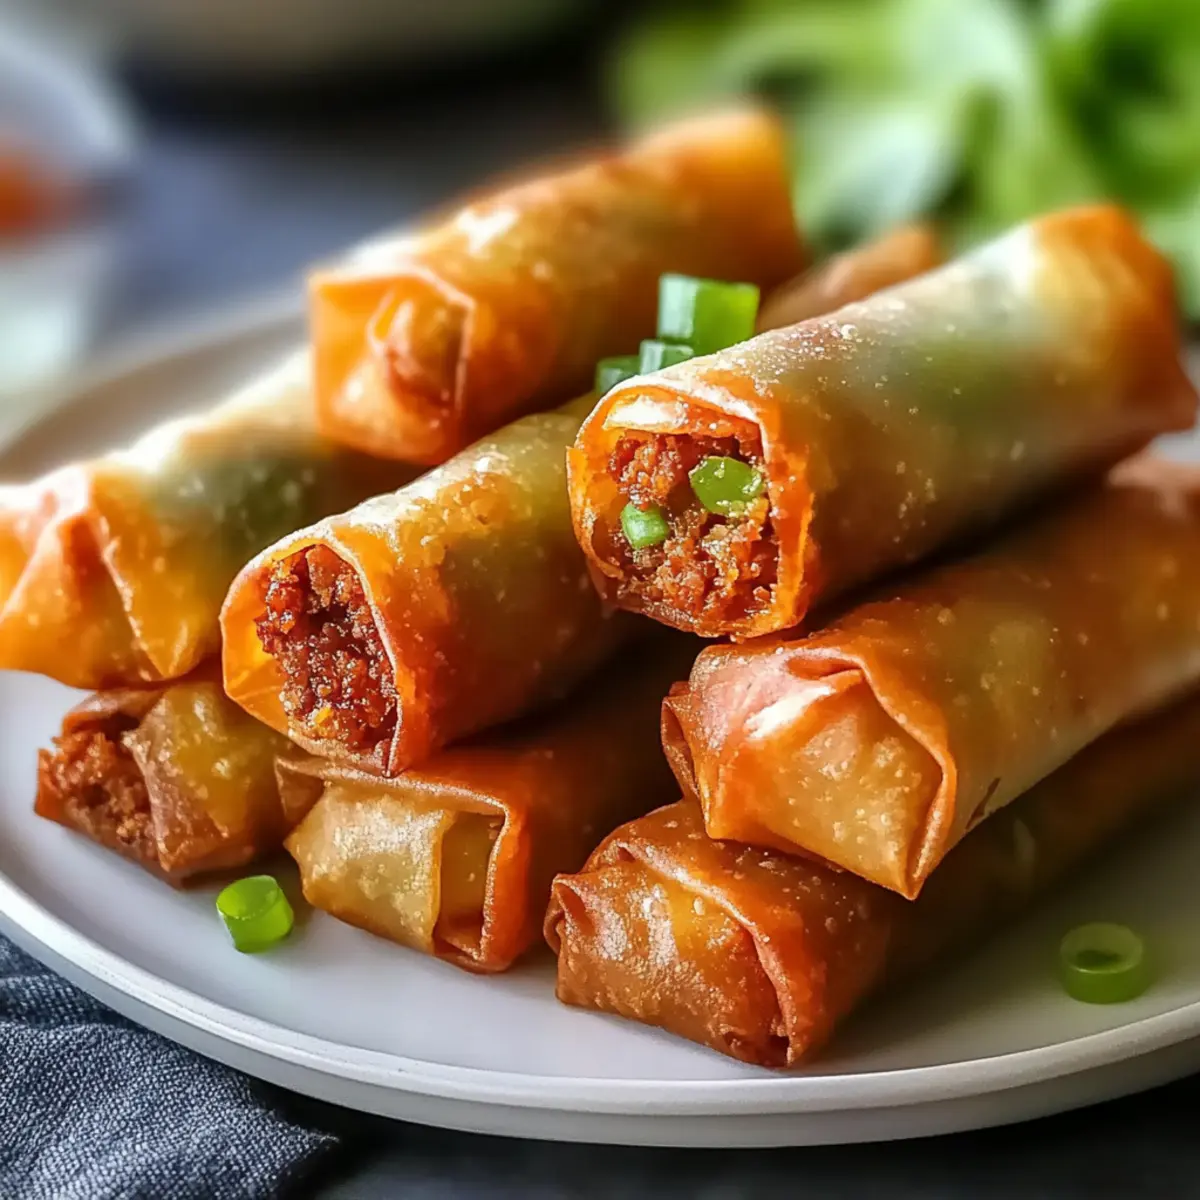
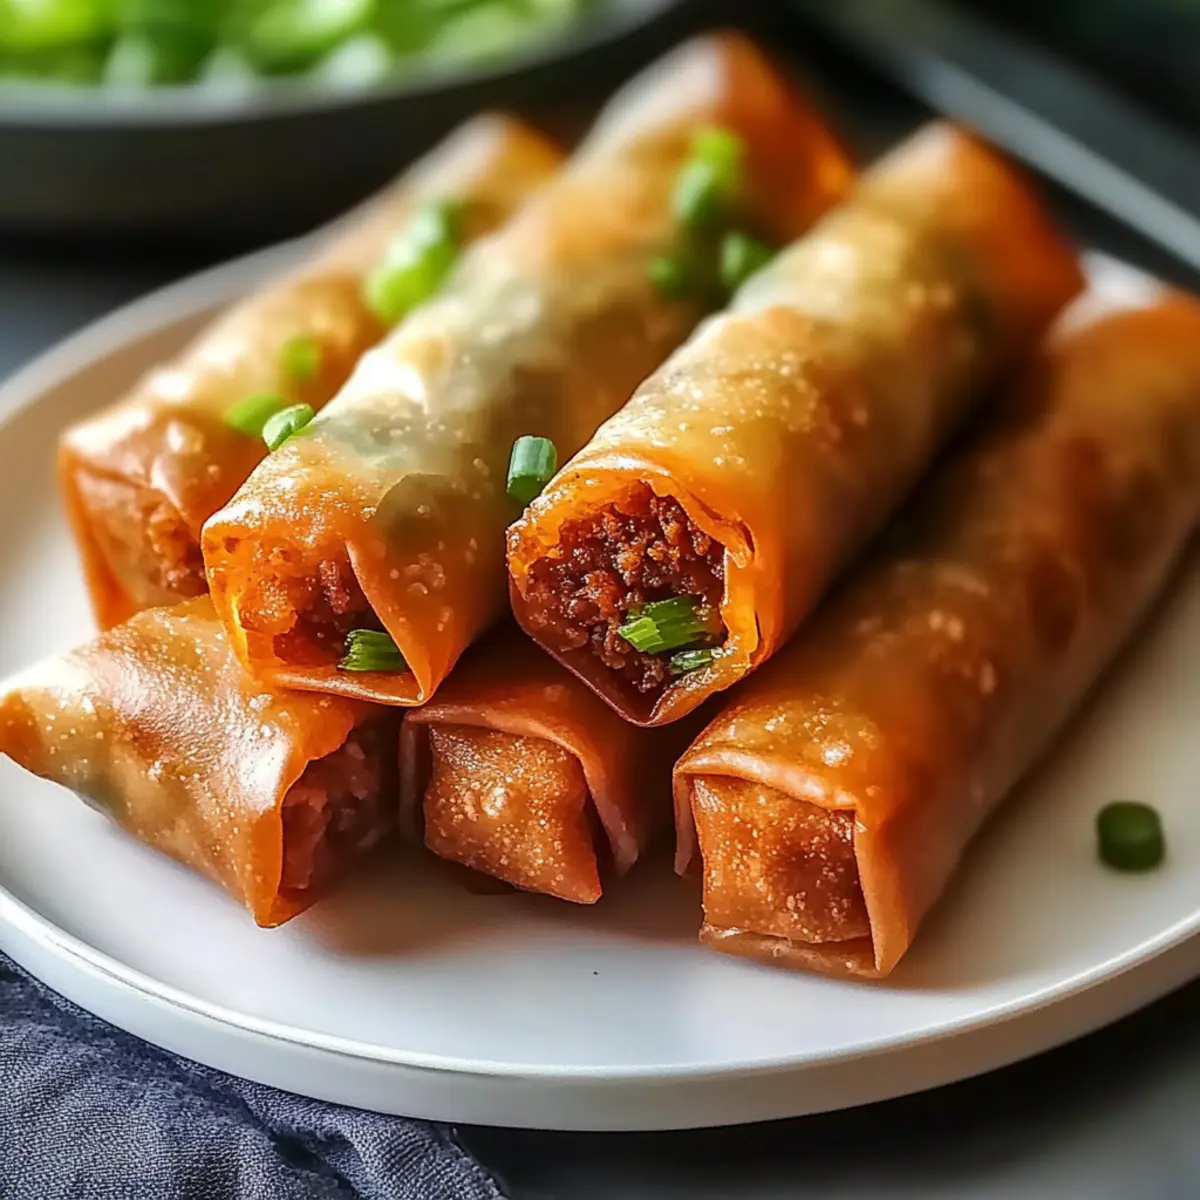
Once the lumpia are drained and slightly cooled, transfer them to a serving platter. Serve hot alongside sweet chili sauce or your choice of dipping sauce. The Crispy Filipino Lumpia should have a beautifully crisp exterior and a savory filling that bursts with flavor, making them perfect for sharing with family and friends.
What to Serve with Crispy Filipino Lumpia
Transform your meal into a delightful feast with these perfect pairings that complement the crispy, savory goodness of homemade lumpia.
-
Sweet Chili Sauce: A classic choice, this sweet and slightly spicy dip elevates the crispiness of the lumpia, adding a burst of flavor with every bite.
-
Asian Slaw: This fresh side salad, made with crunchy cabbage and a tangy dressing, adds a vibrant contrast to the rich filling of the lumpia. The crunchiness keeps the meal light and appetizing.
-
Steamed Jasmine Rice: Fluffy rice provides a comforting base, offering a neutral flavor that pairs well with the savory spices of the lumpia. Add a sprinkle of fresh herbs for an aromatic twist.
-
Fruit Salad: A refreshing medley of mangoes, pineapples, and bananas can balance the savory notes of the dish, making every bite a flavorful journey through exciting textures and tastes.
-
Coconut Milk Rice: Cooked in coconut milk, this rich and creamy rice adds an indulgent touch to the meal, perfectly complementing the crispy Filipino lumpia’s filling.
-
Iced Green Tea: This light beverage’s subtle flavor will quench your thirst while cleansing the palate, making it an ideal accompaniment to enjoy with your crispy treat.
-
Banana Ketchup: For a unique Filipino twist, serve alongside this sweet ketchup; it offers a delightful contrast to the savory lumpia, enhancing the overall experience.
-
Lemonade: Refreshing and zesty, a tall glass of lemonade brings a bright and tangy element, beautifully balancing the dish’s richness.
These pairings will elevate your dining experience, ensuring that every bite of crispy Filipino lumpia is as delicious as the last!
How to Store and Freeze Crispy Filipino Lumpia
Fridge: Store cooked lumpia in an airtight container in the refrigerator for up to 3 days. Reheat in the oven or air fryer to restore crispiness.
Freezer: Uncooked lumpia can be frozen for up to 3 months. Place them on a tray to freeze individually first; then transfer to freezer bags for easy storage.
Reheating: To reheat previously cooked lumpia, place them in an oven preheated to 375°F (190°C) for about 10-15 minutes, ensuring they regain their crunch.
Room Temperature: If serving at room temperature, limit exposure to about 2 hours to ensure freshness and safety. With proper storage, enjoy the delightful experience of crispy Filipino lumpia at any time!
Expert Tips for Crispy Filipino Lumpia
• Wrapper Care: Cover lumpia wrappers with a damp cloth while you assemble to prevent them from drying out and cracking during assembly.
• Oil Temperature: Maintain your frying oil temperature between 325°F and 350°F for crispy perfection. Use a thermometer for accuracy and adjust the heat as needed.
• Avoid Overfilling: Be cautious not to overfill your wrappers; excess filling can cause them to burst, ruining your crispy lumpia.
• Proper Sealing: Ensure each lumpia is sealed well with beaten egg to prevent it from unfolding during frying.
• Reheat Wisely: For leftover crispy Filipino lumpia, reheat them in an oven or air fryer to maintain their crunchiness instead of using a microwave.
Crispy Filipino Lumpia Variations
Embrace your culinary creativity by customizing these delightful lumpia to suit your taste preferences and dietary needs!
-
Dairy-Free: Swap the beaten egg with a mixture of cornstarch and water for sealing; your lumpia will still hold together beautifully.
-
Gluten-Free: Use tamari instead of regular soy sauce to enjoy a gluten-free variation without sacrificing taste.
-
Vegetarian: Replace the ground pork with finely diced mushrooms or tofu to create a delicious plant-based filling that everyone can enjoy.
-
Spicy Twist: Add diced jalapeños or a sprinkle of chili flakes into the filling for an extra kick of heat, igniting your taste buds in every bite.
-
Extra Crunch: Mix in some thinly sliced water chestnuts for an additional crunch in the filling, enhancing the texture of your lumpia.
-
Asian Flavors: Incorporate shredded bok choy, bean sprouts, or scallions into the filling for an exciting flavor boost, inspired by other Asian cuisines.
-
Sweet Surprise: Add a spoonful of sugar or grated cooked sweet potato to the filling for a touch of sweetness that balances savory flavors perfectly.
-
Herb Infusion: Combine fresh herbs like cilantro or basil into the filling for a refreshing twist that elevates the traditional lumpia experience.
For more delectable pairing options, consider serving these with a side of Bang Bang Salmon for an unforgettable meal!
Make Ahead Options
Preparing Crispy Filipino Lumpia ahead of time can greatly simplify your meal planning, especially on busy days! You can assemble the lumpia and refrigerate them for up to 24 hours before frying them. Just keep them covered with a damp cloth to prevent the wrappers from drying out. Alternatively, if you wish to store them longer, freeze uncooked lumpia on a tray for up to 3 months; just remember to transfer them to a freezer bag once frozen. When you’re ready to enjoy, simply fry them from frozen for about 4-5 minutes, adding an extra minute for the perfect golden crunch. This way, you’ll have delicious lumpia on hand, ready to serve at a moment’s notice!
Crispy Filipino Lumpia Recipe FAQs
What is the best way to select ripe vegetables for the filling?
Absolutely! When selecting vegetables like cabbage and carrots, look for fresh, vibrant colors without any dark spots or blemishes. The cabbage should feel crisp, and the carrots should be firm. If possible, go for organic options to enhance flavor and nutrition!
How should I store cooked lumpia, and how long will they last?
Cooked lumpia can be stored in an airtight container in the refrigerator for up to 3 days. Just ensure they are completely cooled before sealing. To reheat and maintain that delicious crispiness, pop them in the oven at 375°F (190°C) for about 10-15 minutes!
Can I freeze uncooked lumpia, and what’s the best method?
Yes! Freezing uncooked lumpia is a wonderful way to prepare ahead of time. First, lay them flat on a baking tray and freeze until solid—this prevents them from sticking together. Then, transfer the frozen lumpia to freezer bags and store them for up to 3 months. To cook from frozen, fry them directly without thawing, adding a couple of extra minutes to the cooking time.
What should I do if my lumpia wrappers crack while rolling?
Very! If your wrappers crack, it could be due to them drying out. Keep them covered with a damp cloth as you work, which helps maintain moisture. If a wrapper does break, you can use pieces of another wrapper to reinforce it, or simply take your time and ensure the filling is not too wet!
Are there any dietary considerations for making lumpia?
Of course! If you’re looking for gluten-free options, use tamari instead of regular soy sauce. Also, for allergy concerns, ensure you check the labels of all store-bought ingredients, like the lumpia wrappers and sauces, as these can contain allergens. If you’re introducing this dish to pets or people with allergies, always consult a professional prior to serving.
What’s a good dipping sauce for crispy Filipino lumpia?
Many people love to pair lumpia with sweet chili sauce, which provides a perfect balance of sweetness and spice. You can also try banana ketchup for a unique Filipino twist or a simple vinegar-garlic-chili dip for a zesty kick! Experiment with flavors and find your favorite combination!
Crispy Filipino Lumpia: Homemade Delight for Every Occasion
Ingredients
Equipment
Method
- In a large mixing bowl, combine the ground pork, finely shredded cabbage, chopped carrot, diced onion, minced garlic, soy sauce, salt, black pepper, and garlic powder. Mix thoroughly for about 3–4 minutes until all ingredients are evenly distributed.
- Lay a lumpia wrapper on a clean surface in a diamond orientation. Spoon approximately 2 tablespoons of the filling onto the bottom corner of the wrapper and shape it into a log. Fold the bottom corner over the filling, tuck in the sides snugly, and roll it up tightly. Seal the edge with a brush of beaten egg.
- In a deep pan or heavy-bottomed pot, heat enough oil over medium-high heat until it reaches 350°F (175°C). Drop a small piece of wrapper into the oil to test; it should bubble.
- Carefully add the lumpia to the hot oil, frying in batches as necessary. Fry each batch for 3–4 minutes, turning occasionally until golden brown and crispy.
- Remove the lumpia with a slotted spoon and drain them on paper towels. Serve hot with sweet chili sauce or your choice of dipping sauce.
Leave a Reply