
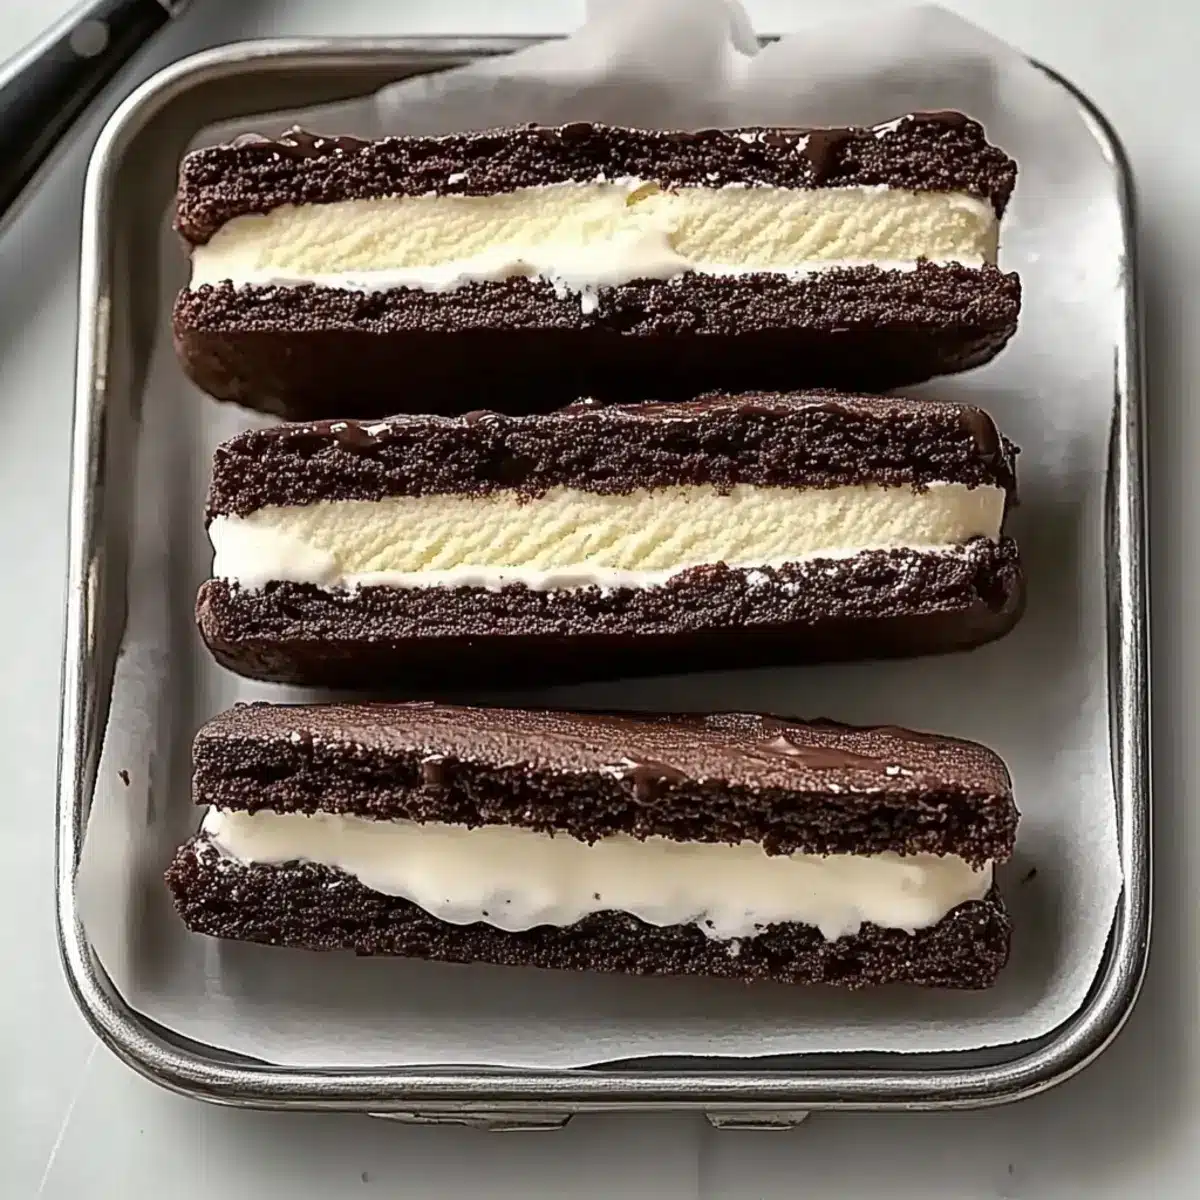
The summer sun beats down, and the craving for something cool and sweet kicks in. That’s when I whip up the Ultimate Soft & Chewy Ice Cream Sandwiches—my go-to summer delight that brings joy to both young and old! Each bite features soft, tender cookies precisely crafted to maintain their chewy goodness even after freezing, while you can customize them with your favorite ice cream flavors. What’s more, they’re a fantastic way to ditch the store-bought alternatives that can never capture that homemade magic. And believe me, assembling these sandwiches is a breeze, making them the ideal treat for gatherings or just a well-deserved dessert at home. Ready to unlock your inner dessert artist and impress your friends? Let’s dive into this delicious recipe!

Why Make Your Own Ice Cream Sandwiches?
Delightful Customization: These ice cream sandwiches let you choose your favorite flavors and toppings, ensuring every bite delights your taste buds. Simple Assembly: With easy-to-follow steps, you can whip these up in no time—perfect for last-minute summer gatherings. Nostalgic Treat: Reminiscent of childhood summers, they bring a sense of joy that’s often missed with store-bought options. Versatile Pairings: Enjoy them with a side of fresh berries or a glass of iced coffee for the ultimate treat. Plus, if you’re looking for more creamy adventures, check out my Cajun Chicken Pasta or Garlic Parmesan Chicken for your next meal!
Ice Cream Sandwich Ingredients
-
For the Cookies
-
All-Purpose Flour – Provides structure to the cookies; can use gluten-free flour blend for a gluten-free option.
-
Cocoa Powder – Contributes to the rich chocolate flavor; ensure freshness for the best results.
-
Baking Powder – Helps cookies rise, giving them a light and fluffy texture.
-
Kosher Salt – Enhances flavor by balancing the sweetness.
-
Butter – Adds richness and a chewy texture; substitute with plant-based butter for a dairy-free alternative.
-
Light Brown Sugar & Granulated Sugar – Adds sweetness and moisture; brown sugar deepens the flavor.
-
Egg – Binds the ingredients together; for a vegan option, use a flax egg.
-
For the Ice Cream Filling
-
Heavy Whipping Cream – Ensures a rich and creamy base for the ice cream filling.
-
Sweetened Condensed Milk – Sweetens and enriches the mixture; keeps it creamy when frozen.
-
Vanilla Extract – Adds depth of flavor to both the cookies and the ice cream filling.
This delightful recipe for Ice Cream Sandwiches allows ample room for creativity—so gather your ingredients and let’s make some summer magic!
Step‑by‑Step Instructions for Ultimate Soft & Chewy Ice Cream Sandwiches
Step 1: Prepare Ice Cream Filling
Start by whipping the heavy cream in a mixing bowl until stiff peaks form—this should take about 3-4 minutes with a hand mixer. In a separate bowl, combine sweetened condensed milk, vanilla extract, and a pinch of salt. Gently fold a portion of the whipped cream into this mixture until just combined, then fold in the remaining whipped cream. Pour this fluffy mixture into a lined baking pan and freeze for at least 3 hours until firm.
Step 2: Make Cookie Dough
In a medium bowl, whisk together the all-purpose flour, cocoa powder, baking powder, and kosher salt. In a large mixing bowl, beat the butter and both types of sugar using a stand mixer on medium speed until the mixture is creamy and light, about 2-3 minutes. Add the egg and vanilla extract, mixing until blended, then gradually add the dry ingredients to avoid overmixing, which will keep your cookies soft and chewy.
Step 3: Chill Cookies
Once your cookie dough is well combined, lightly flour your work surface and roll out the dough to about 1/8-inch thickness. Using a sharp knife or cookie cutter, cut the dough into rectangles that will serve as the base for your ice cream sandwiches. Place the cutouts on a parchment-lined baking sheet and chill in the refrigerator for 25 to 30 minutes to firm up, which helps them hold their shape while baking.
Step 4: Bake Cookies
Preheat your oven to 350°F (175°C). Once cooled, take the cookie dough rectangles out of the fridge and arrange them on the baking sheet, spacing them about an inch apart. Bake in the preheated oven for 8 to 10 minutes, or until the edges look firm and the centers are soft but set. Allow them to cool completely on the baking sheet before moving to a wire rack for further cooling.
Step 5: Assemble Sandwiches
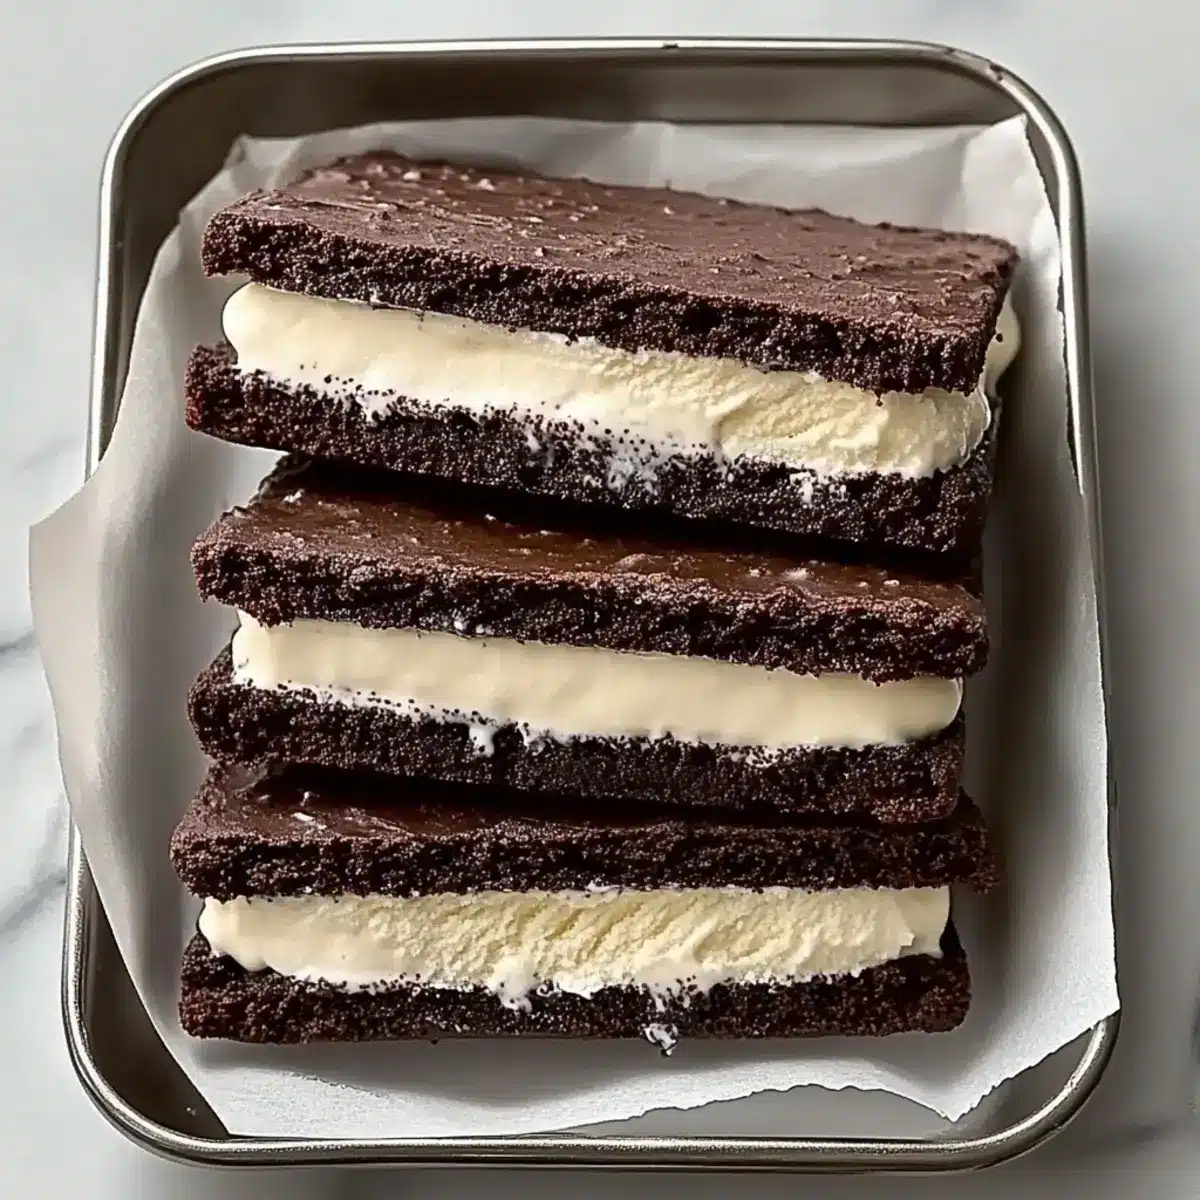
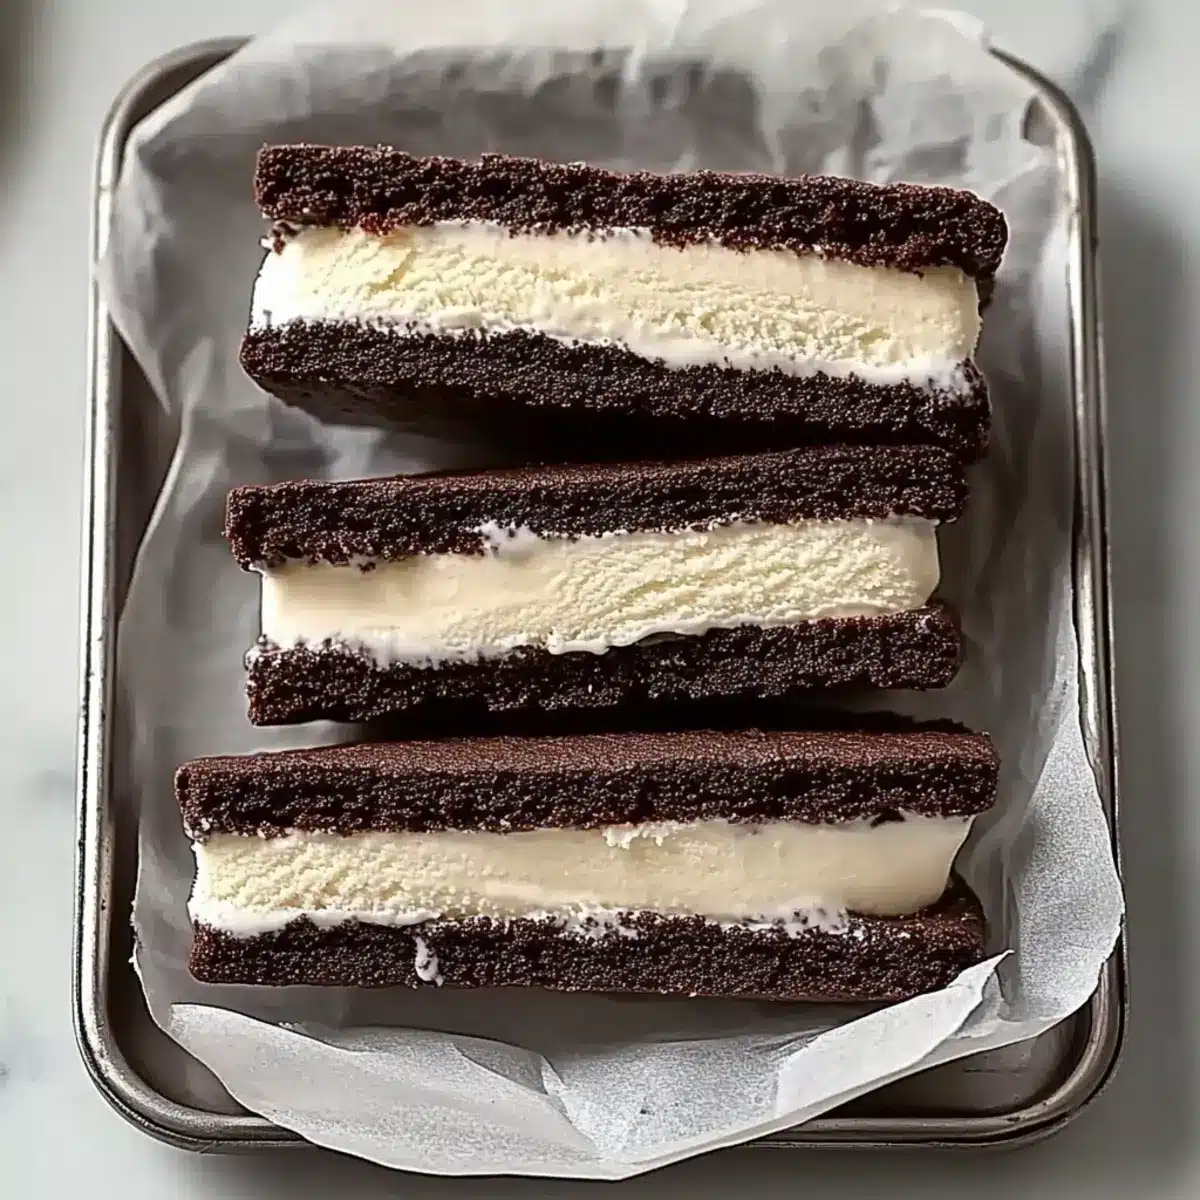
To build your delicious ice cream sandwiches, remove the frozen ice cream filling from the pan and use a sharp knife to cut it into rectangles that match the cookies. Take one cookie and carefully place a rectangle of ice cream in the center, then top it with another cookie. Gently press them together, ensuring the ice cream is evenly distributed. Wrap each sandwich in plastic wrap and return them to the freezer for at least 8 hours to firm up completely.
Step 6: Serve and Enjoy
After the sandwiches have set, they are ready to be enjoyed! Pull them out of the freezer, unwrap, and serve them cold. They make for a delightful summer treat that everyone will love, so feel free to share or keep these homemade ice cream sandwiches all to yourself!
Ice Cream Sandwiches Variations & Substitutions
Feel free to get creative with your ice cream sandwiches—they’re a canvas for your unique flavor combinations and textures!
- Flavor Twists: Infuse your ice cream filling with different flavors, like strawberry or caramel, for a fruity or indulgent experience.
- Nutty Crunch: Mix in chopped nuts (walnuts or almonds) into your ice cream filling for a delightful crunch.
- Cookie Swaps: Try using oatmeal or snickerdoodle cookies instead of classic chocolate for a surprising twist.
- Extra Creamy: For a richer ice cream filling, replace some of the heavy cream with mascarpone cheese for an Italian delight.
- Spiced Up: Add a pinch of cinnamon or nutmeg to your cookie dough for a warm, cozy flavor that pairs well with vanilla ice cream.
- Dairy-Free Delight: Replace the butter with coconut oil and use almond or oat milk in your ice cream for a scrumptious dairy-free version.
- Frozen Fruit: Add crushed berries or banana slices directly into the ice cream mixture for a fruity explosion.
- Chocolate Lover’s Dream: Drizzle melted chocolate over the assembled sandwiches before wrapping them up for an extra layer of sweetness.
For even more creamy inspiration, take a look at my delicious Protein Beef Pasta or give the comforting Creamy Beef and Shells a try!
What to Serve with Ultimate Soft & Chewy Ice Cream Sandwiches
Nothing beats the refreshing flavors of summer like these delightful treats that invite a playful and satisfying dining experience.
-
Fresh Berries: The sweetness and slight tartness of raspberries or strawberries enhance the dessert’s overall flavor, offering a perfect contrast. These vibrant fruits add a touch of color and freshness to your plate.
-
Chocolate Sauce: A drizzle of warm chocolate sauce elevates the sweetness while adding a rich chocolaty depth. It also makes for Instagram-worthy presentations that will charm your guests.
-
Iced Coffee: The smooth, cold notes of iced coffee create a lovely balance with the sweetness of the sandwiches. This pairing is essential for those lazy summer afternoons filled with laughter.
-
Mint Gelato: Enjoy a refreshing burst of flavor with a scoop of mint gelato alongside your sandwiches. Its creaminess and coolness perfectly complement the chewy texture of the cookies.
-
Coconut Macaroons: These chewy, sweet treats harmonize beautifully with ice cream sandwiches, adding a tropical flair. Their textured sweetness rounds out the dessert options with an extra layer of indulgence.
-
Fruit Punch: A cold glass of fruit punch adds brightness to the experience, making it enjoyable for kids and adults alike. The fruity flavors will bring a complete summer vibe to your dessert table.
-
Nutty Trail Mix: This crunchy, salty mix by the side provides a delightful texture contrast. It’s a fun way to snack between bites of your sweet treats, keeping everyone satisfied and cheerful.
-
Vanilla Milkshake: A classic pairing, the creamy vanilla shake complements the ice cream sandwiches and takes your dessert indulgence to a whole new level. It’s like having a sundae and a sandwich in one!
-
Homemade Lemonade: Refreshing and zesty, a glass of homemade lemonade cuts through the sweetness, giving a rejuvenating finish to your sweet dessert. Enjoying these together will spark childhood memories of hot summer days.
-
Chocolate Chip Cookies: For the ultimate dessert stations, serve alongside freshly baked chocolate chip cookies to enhance the double-dessert experience that everyone will love.
Make Ahead Options
These Ultimate Ice Cream Sandwiches are a fantastic choice for meal prep, as you can streamline your efforts for those busy days! You can make the ice cream filling up to one week in advance, storing it in an airtight container in the freezer to maintain its creamy texture. Additionally, the cookie dough can be prepared and kept in the refrigerator for up to 3 days prior to baking. Once baked, allow the cookies to cool completely before assembling the sandwiches; they can be frozen individually for up to 2 months. When you’re ready to serve, simply assemble the sandwiches by placing the pre-cut ice cream between the cookies and freeze again for at least 8 hours. This way, you’ll have delicious, homemade treats ready at a moment’s notice!
How to Store and Freeze Ice Cream Sandwiches
Fridge: Store ice cream sandwiches wrapped in plastic or foil for up to 3 days for optimal freshness.
Freezer: For longer storage, keep individually wrapped sandwiches in the freezer for up to 2 months. This prevents sticking and maintains proper texture.
Reheating: If you’ve made the ice cream filling ahead of time, you can freeze it for up to 1 week before assembling with cookies for your ice cream sandwiches.
Avoid Melting: Make sure to freeze the assembled sandwiches for at least 8 hours to ensure they hold up when you bite into them!
Expert Tips for Ice Cream Sandwiches
-
Cool Cookies Completely: Always allow your cookies to cool fully before assembly. Warm cookies can melt the ice cream, resulting in a messy treat.
-
Avoid Overmixing Dough: Stir the cookie dough just until combined. Overmixing can lead to tough cookies, so keep that tenderness intact for your ice cream sandwiches!
-
Uniform Ice Cream Portions: Use a large spoon or an ice cream scoop for even portions of ice cream. This makes sandwiching easier and ensures every bite is twice as delightful!
-
Creative Flavor Combinations: Don’t hesitate to experiment with different ice cream flavors and toppings. Unique combinations elevate your ice cream sandwiches to a whole new level of deliciousness!
-
Wrap for Freshness: When you’re storing your ice cream sandwiches, wrap them in plastic or foil. This prevents sticking and keeps them fresh in the freezer for enjoyable treats anytime.
-
Freeze Longer for Perfect Texture: For the best texture, let your assembled ice cream sandwiches freeze for at least 8 hours. This ensures they hold together perfectly when it’s time to enjoy!
Ultimate Soft & Chewy Ice Cream Sandwiches Recipe FAQs
What type of flour should I use for the cookies?
You can use all-purpose flour for a classic cookie structure. If you need a gluten-free option, I recommend using a gluten-free flour blend that’s designed for baking. This ensures that your cookies still have that soft and chewy texture we all love!
How should I store my ice cream sandwiches?
To maintain their freshness, wrap each ice cream sandwich in plastic wrap or foil before storing them in the freezer. They can last up to 2 months frozen, but I suggest consuming them within a month for the best flavor and texture!
Can I freeze the ice cream filling separately?
Absolutely! You can freeze the ice cream filling for up to a week before assembling your sandwiches. Just ensure you store it in an airtight container. When you’re ready to make the sandwiches, allow it to sit at room temperature for a few minutes to soften slightly before cutting!
What should I do if my cookies spread too much while baking?
If you notice that your cookies are spreading more than desired, it could be due to warm dough. To troubleshoot, try chilling your cookie dough for a little longer before rolling it out. Additionally, make sure your oven is at the correct temperature—use an oven thermometer if needed. Keeping your baking sheets cool can also help maintain cookie shape during baking!
Can I make these ice cream sandwiches dairy-free?
Yes, you can definitely customize this recipe to make it dairy-free! Substitute the butter with plant-based butter, use a flax egg instead of a chicken egg, and choose a dairy-free ice cream alternative for the filling. These substitutions will still yield delicious results without compromising on flavor!
How long can I keep my homemade ice cream sandwiches in the fridge?
If you’re planning to eat them soon, you can store your ice cream sandwiches in the fridge wrapped tightly for up to 3 days. However, for longer enjoyment, it’s best to keep them in the freezer to avoid melting and maintain that delightful chewy texture!
Irresistibly Soft Ice Cream Sandwiches You Can Customize
Ingredients
Equipment
Method
- Whip heavy cream in a mixing bowl until stiff peaks form (3-4 minutes). In a separate bowl, combine sweetened condensed milk, vanilla extract, and a pinch of salt. Gently fold whipped cream into the mixture until just combined. Pour into a lined baking pan and freeze for at least 3 hours until firm.
- In a medium bowl, whisk together flour, cocoa powder, baking powder, and salt. In a large bowl, beat butter and sugars until creamy (2-3 minutes). Add egg and vanilla; mix until blended. Gradually add dry ingredients.
- Chill the cookie dough on a floured surface, rolling to 1/8-inch thickness. Cut into rectangles and chill in the refrigerator for 25-30 minutes.
- Preheat oven to 350°F (175°C). Place chilled rectangles on a baking sheet and bake for 8-10 minutes until edges are firm and centers are soft. Cool completely.
- Cut frozen ice cream filling into rectangles. Assemble sandwiches by placing a rectangle of ice cream between two cookies. Wrap in plastic wrap and freeze for at least 8 hours.
- Once set, unwrap and serve cold. Enjoy your homemade ice cream sandwiches!
Leave a Reply