
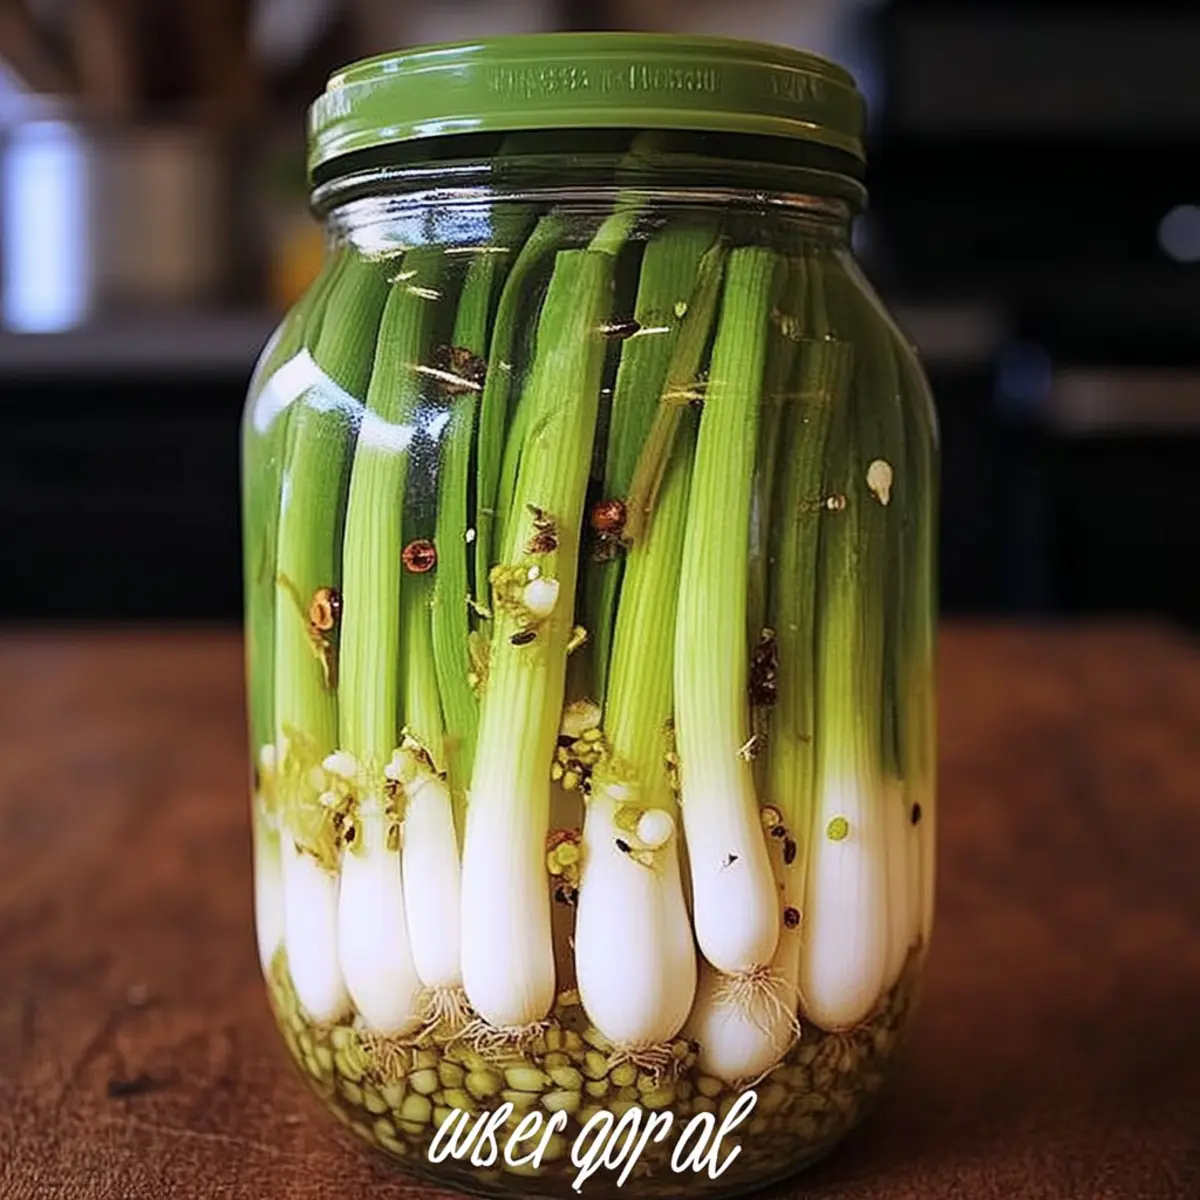
In a bustling kitchen brimming with summer’s bounty, I found myself staring at a bunch of vibrant green spring onions, each one promising a fresh flavor that could elevate any dish. That’s when I decided to whip up some Spring Onion Quick Pickles! This easy recipe is not just a way to preserve a precious harvest; it transforms humble ingredients into a zesty condiment that’s perfect for salads, sandwiches, or just snacking straight from the jar. With quick prep and vibrant crunch, these pickles are not only a fantastic addition to your meals but also a delightful way to enjoy the season’s flavors for weeks to come. So, are you ready to add a tangy twist to your table? Let’s dive into the recipe!
Why Are Quick Pickles So Irresistible?
Freshness at its finest: Quick Pickles with Spring Onions provide a burst of flavor straight from your garden. Versatile and easy to make, they enhance everything from burgers to salads—perfect for your next barbecue. Minimal prep time means you can whip them up in a flash, saving you from boring meals. Crisp and crunchy, these pickles bring a delightful texture that will keep you reaching for more. Plus, they’re a fantastic way to experiment, so try adding radishes or jalapeños for a creative twist! Ready to elevate your dishes? Let’s get pickling!
Spring Onion Quick Pickle Ingredients
-
For the Brine
-
Mild Pickling Vinegar – Provides the essential tanginess for vibrant pickles; feel free to substitute with white, rice, or champagne vinegar.
-
Water – Balances the brine’s acidity to create the perfect flavor profile.
-
Cane or Turbinado Sugar – Adds a touch of sweetness to offset the vinegar’s tartness, making every bite harmonious.
-
Sea Salt – Enhances the flavor and helps preserve the spring onions for that ideal crunch.
-
For the Pickles
-
Green Spring Onions (20-30) – The star ingredient; select firm, fresh onions to ensure a crispy texture in your quick pickles.
-
Peppercorn, Mustard Seeds, Dill Seeds, Coriander – These spices contribute depth and character to your Spring Onion Quick Pickle; don’t hold back on exploring variations!
-
Garlic (1 clove) – Infuses a delightful, bold flavor into the brine, elevating the overall taste of your pickle jar.
Enjoy the journey of pickling with these simple ingredients, and savor the satisfying crunch of your homemade spring onion quick pickles!
Step‑by‑Step Instructions for Spring Onion Quick Pickle
Step 1: Prepare the Brine
In a medium saucepan, combine 1 cup of mild pickling vinegar, 1 cup of water, 2 tablespoons of cane sugar, and 1 tablespoon of sea salt. Heat the mixture over medium heat, stirring occasionally until the sugar and salt dissolve completely, which should take about 3-5 minutes. Remove the saucepan from heat and allow the brine to cool to room temperature, giving your Spring Onion Quick Pickle the perfect tangy base.
Step 2: Clean the Spring Onions
While the brine cools, take 20-30 green spring onions and lightly wash them under cool running water to remove any dirt. Trim off any wilted outer layers, then cut the onions to fit snugly inside a quart jar, ensuring that they remain whole. This step is crucial, as fresh, crisp spring onions will yield a more delicious pickle.
Step 3: Add the Spices
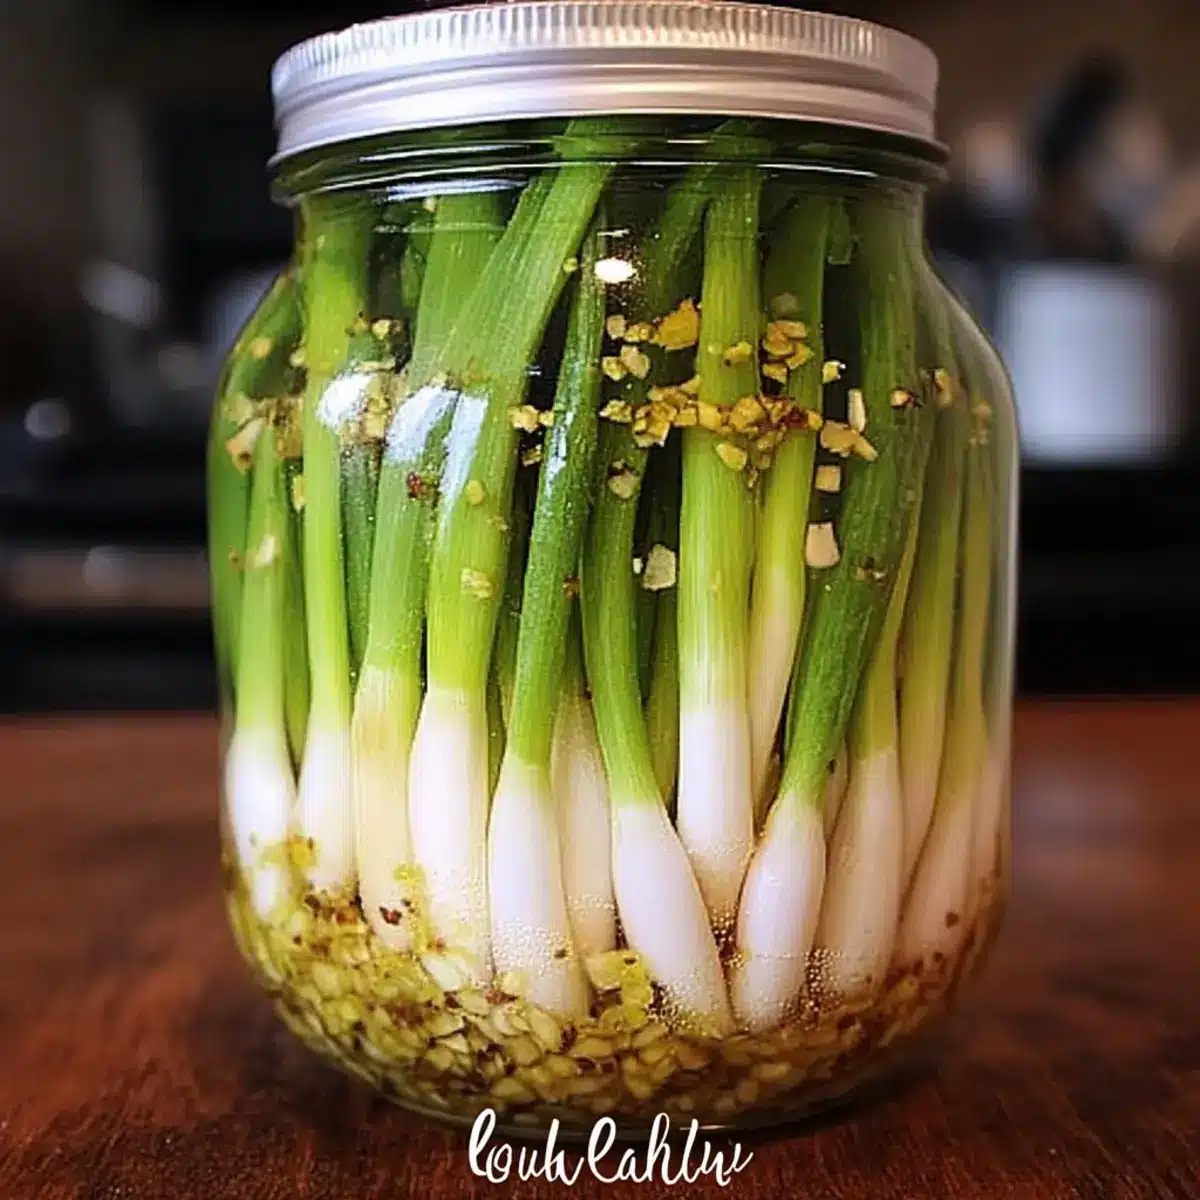
Once your jar is ready, add a mix of dry spices to the bottom. Combine 1 teaspoon each of peppercorns, mustard seeds, dill seeds, and coriander seeds, creating a flavorful bed for your pickles. These spices will enhance the taste of your Spring Onion Quick Pickle and add depth to the brine as it infuses flavor over time.
Step 4: Pack the Onions
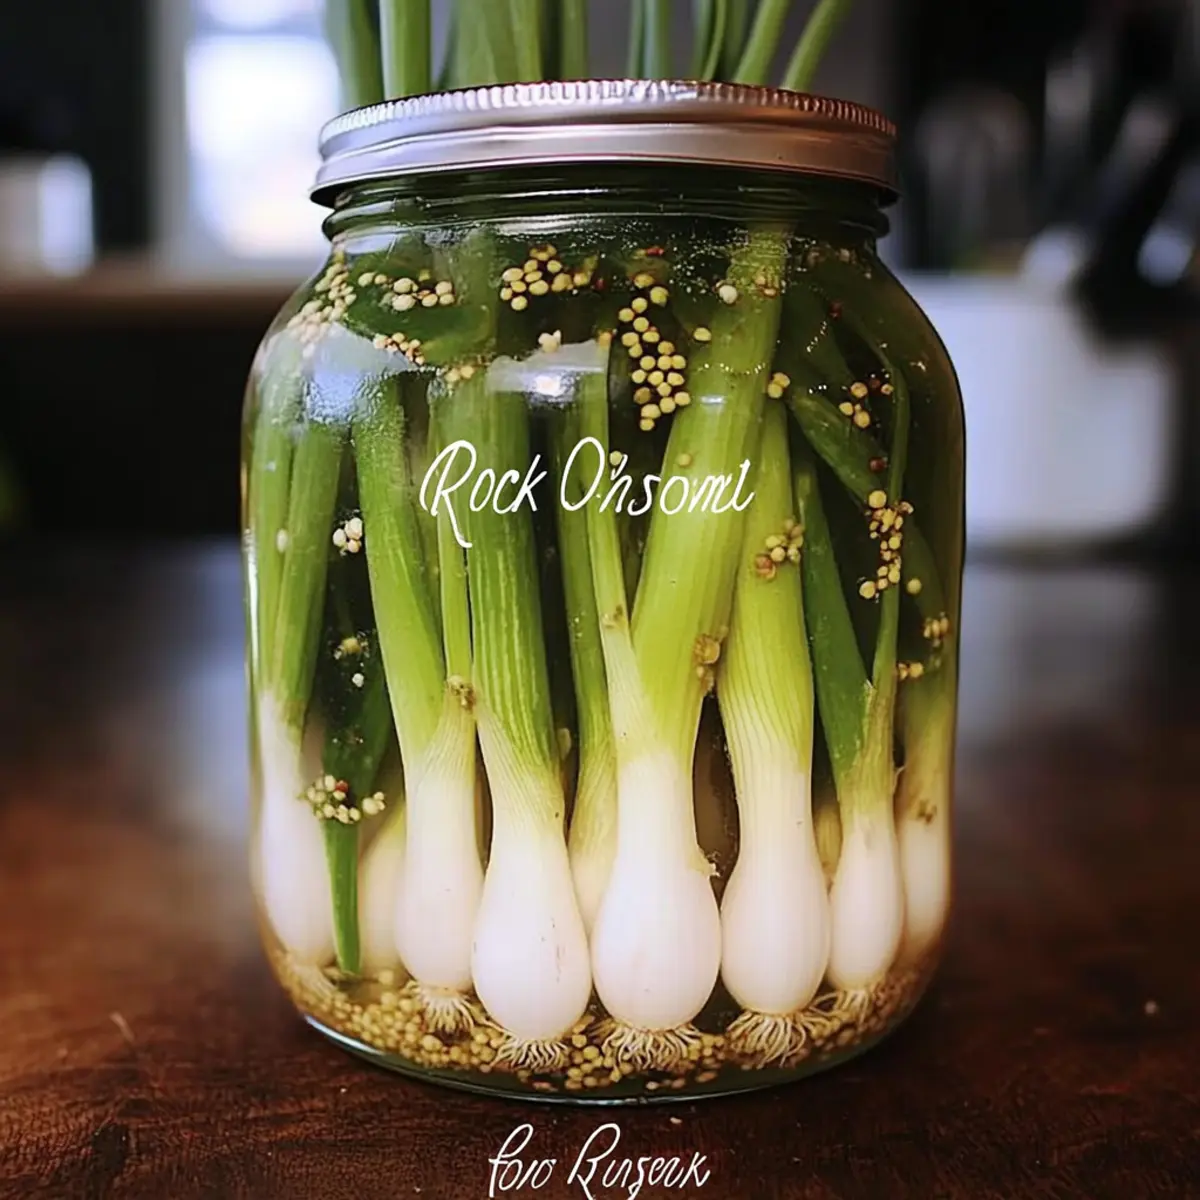
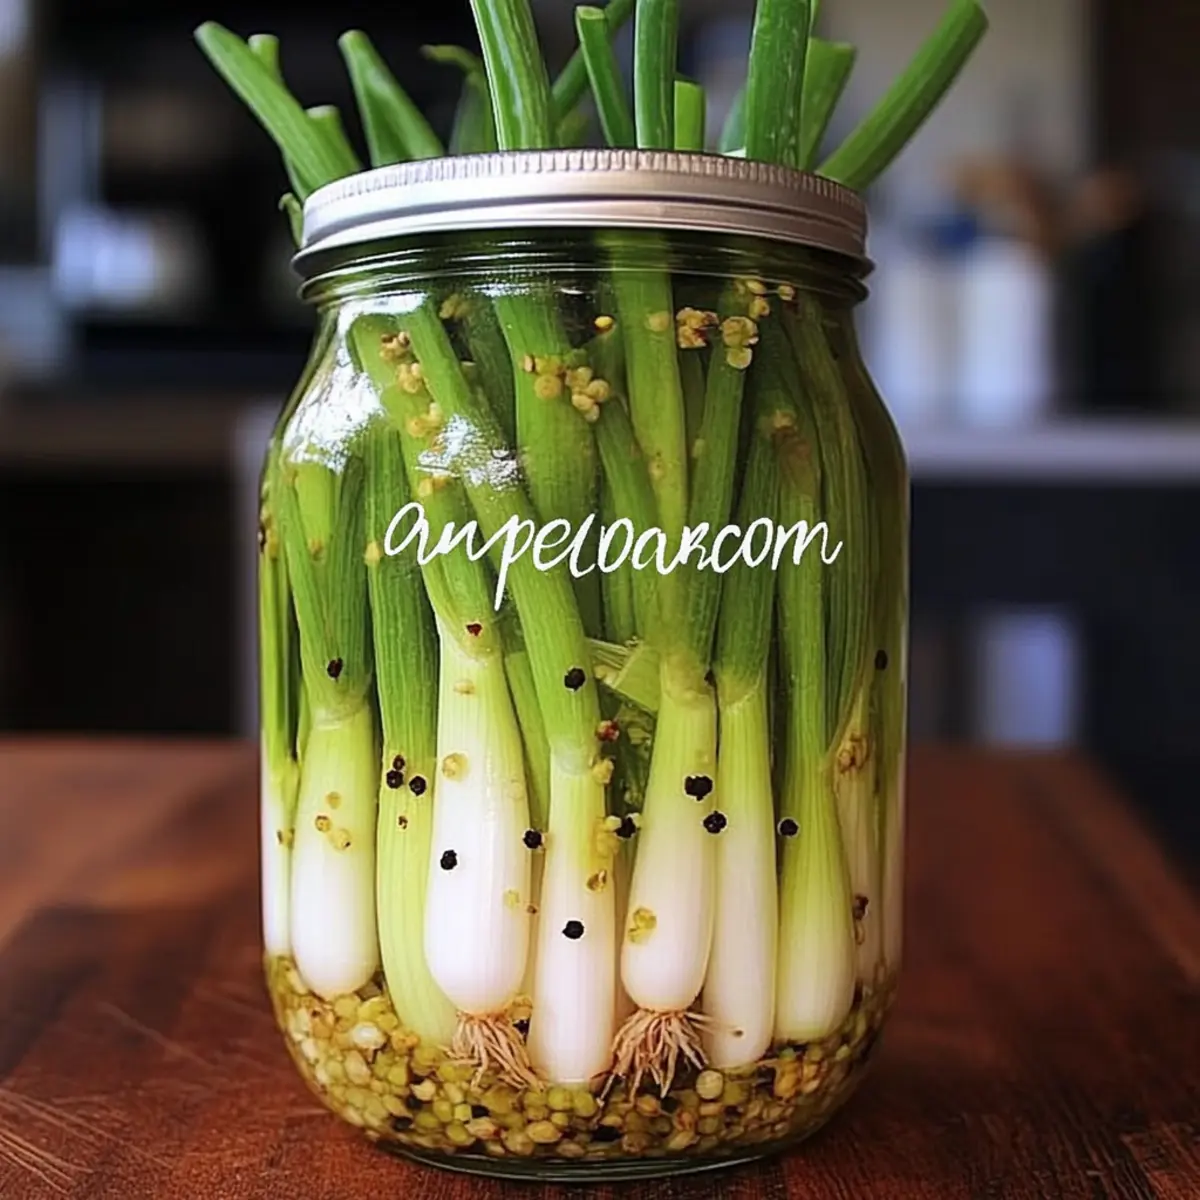
Carefully place the trimmed spring onions vertically into the prepared jar, packing them snugly to avoid any gaps. Position the onions so they are standing upright, maximizing their crispness and ensuring that they soak up the brine evenly. This step is vital for keeping your Quick Pickled Spring Onions crunchy and full of flavor.
Step 5: Pour the Brine
Once the brine has cooled, pour it generously over the spring onions in the jar. Ensure that the onions are fully submerged in the liquid, which will help them pickle evenly. If needed, gently tap the jar on the counter to release any trapped air bubbles, ensuring that all the onions have access to the delicious brine.
Step 6: Seal and Refrigerate
Place a vinegar-safe lid on the jar—avoid using metal lids to prevent any reaction with the vinegar. Refrigerate the jar immediately after sealing. Allow the flavors to meld in your Spring Onion Quick Pickle for about 2-3 days, giving them time to soak up the brine and become irresistibly tangy.
Step 7: Enjoy Your Pickles
After 2-3 days in the fridge, your Spring Onion Quick Pickles will be ready to enjoy! Their crunchiness and vibrant flavor will enhance any dish, from salads to sandwiches. For the best experience, consume the pickles within two weeks for optimal freshness and flavor.
How to Store and Freeze Spring Onion Quick Pickles
Fridge: Store your Spring Onion Quick Pickles in the refrigerator for up to 2 weeks. Ensure the jar is tightly sealed to keep the pickles crisp and fresh.
Airtight: Use an airtight container if you’ve transferred them from the original jar. This maintains the flavor and prevents any contamination from other foods in the fridge.
Avoid Freezing: It’s best not to freeze Spring Onion Quick Pickles, as freezing can alter their crispy texture and make them soggy upon thawing.
Reheating: If you prefer them warm, add the pickles to dishes like stir-fries or salads just before serving, but avoid heating the entire jar to preserve their crunch.
Expert Tips for Spring Onion Quick Pickle
-
Vinegar-Safe Lids: Always use a vinegar-safe lid to prevent any metal reaction that could ruin the flavor of your Spring Onion Quick Pickle.
-
Pack Tightly: Make sure to snugly pack the spring onions in the jar. This helps them retain their crispness and ensures even pickling.
-
Cool Before Pouring: Allow the brine to cool completely before pouring it over the onions. Pouring hot brine directly can lead to a mushy texture.
-
Flavor Development: For the best flavor, let your pickles sit in the fridge for at least 2-3 days; this allows the brine to thoroughly infuse the spring onions.
-
Storage Tips: Enjoy your pickles within two weeks for peak freshness and crunch. Keeping them longer can affect their texture and flavor.
What to Serve with Quick Pickled Spring Onions
Elevate your meal with vibrant sides that harmonize beautifully with those crunchy, tangy delights!
- Crispy Fish Tacos: The zing of pickled onions pairs perfectly with the rich flavors of crispy fish, balancing each bite with refreshing zest.
- Classic Coleslaw: Creamy coleslaw serves as a creamy counterpart, complementing the tangy crunch of the pickles and bringing a satisfying texture.
- Grilled Chicken Sandwiches: Add a generous layer of quick pickles to your favorite chicken sandwich for an unexpected burst of flavor in every mouthful!
- Tortilla Chips and Guacamole: Dip into a zesty guacamole topped with spring onion pickles for a refreshing twist, bringing an enticing depth to your snack time.
- Quinoa Salad: Toss together a quinoa salad featuring fresh herbs and cherry tomatoes, then garnish with pickled onions for a delightful pop of flavor.
- Charcuterie Board: Include these quick pickles in your charcuterie spread, as their acidity balances the richness of cheeses and cured meats perfectly.
- Tangy Potato Salad: Incorporate quick pickles into your potato salad for an added crunch and tang, elevating this classic dish to a whole new level.
- Sparkling Water or Iced Tea: Refresh yourself with a glass of bubbly water infused with lemon or iced tea, providing a lovely, light beverage that enhances the meal.
Make Ahead Options
Quick Pickled Spring Onions are absolutely perfect for meal prep, saving you precious time during busy weeks! You can prepare the brine (water, vinegar, sugar, and salt) up to 24 hours in advance—just store it in the fridge until you’re ready to assemble. Likewise, you can clean and trim your spring onions ahead of time; simply keep them wrapped in a damp cloth to maintain their crispness. When you’re ready to enjoy your pickles, pack the onions into a jar along with your spices, pour over the prepared brine, seal, and refrigerate for at least 2-3 days before serving. With this make-ahead approach, you’ll have tangy and crunchy Quick Pickled Spring Onions on hand, ready to elevate your meals with minimal effort!
Spring Onion Quick Pickle Variations
Feel free to spice things up and let your creativity shine with these tasty twists on the classic Spring Onion Quick Pickle!
-
Spicy Kick: Add sliced jalapeños to the brine for some heat that will elevate your pickles to the next level of flavor.
-
Mixed Veggies: Incorporate other vegetables like cucumbers or radishes for a colorful and exciting jar of pickles that will delight the senses.
-
Herb Infusion: Experiment with fresh herbs like dill, thyme, or basil to create a unique flavor profile that complements the spring onions deliciously.
-
Sweet & Sour: Swap half of the vinegar with apple cider vinegar for a sweeter tang, perfect if you enjoy a milder, fruitier pickle.
-
Citrus Zest: Add a splash of fresh lemon or lime juice to the brine to brighten up the flavors with a refreshing citrus punch, making each bite tantalizing.
-
Garlic Lovers: Increase the garlic to two cloves or add roasted garlic for a deeper, richer flavor that pairs beautifully with the crunch of the onions.
For more pickling inspiration, check out my recipe for Cheesy French Onion or explore a quick, easy dinner like this Ground Beef Bowl. You might even enjoy a warm bowl of Vegetarian Stew to complement your pickles, enhancing that delightful garden-fresh experience!
Spring Onion Quick Pickle Recipe FAQs
How do I select the best spring onions for pickling?
Absolutely! When picking spring onions, look for firm, crisp stalks with vibrant green tops. Avoid any that are wilted or have dark spots; these can impact the overall flavor and crunchiness of your quick pickles. You want the freshest, brightest ones to ensure a delightful taste in every bite.
What is the best way to store my quick pickles, and how long will they last?
I recommend storing your Spring Onion Quick Pickles in a tightly sealed jar in the refrigerator. They will stay fresh and crunchy for up to 2 weeks. Just be sure to check for any signs of spoilage—if the pickles become soft or develop an off-smell, it’s best to discard them.
Can I freeze Spring Onion Quick Pickles?
No, it’s best to avoid freezing your Spring Onion Quick Pickles. Freezing can compromise their crisp texture, making them soggy once thawed. Enjoy them fresh instead, which keeps that delightful crunch intact!
What should I do if my pickles turn out too soft?
Very! If your pickles end up too soft, the most common reason is that they were exposed to heat during the brining process or not packed tightly enough. For future batches, ensure the brine is completely cooled before pouring over the onions and pack them snugly in the jar to maintain their crunch.
Are there any dietary restrictions I should consider when making quick pickles?
Absolutely! If you have dietary restrictions, be cautious with the spices and sugar. For those with diabetes, you might want to reduce the sugar content or swap it for a sugar alternative. Always read the labels on your vinegar and spices to ensure they don’t contain any allergens. And if you’re picking for a pet pal, keep the pickles away from them, as high salt and vinegar can be harmful to animals.
Crispy Spring Onion Quick Pickle for a Flavorful Crunch
Ingredients
Equipment
Method
- In a medium saucepan, combine the pickling vinegar, water, cane sugar, and sea salt. Heat over medium heat, stirring until dissolved (3-5 minutes), then cool to room temperature.
- Wash the spring onions under cool running water, trim wilted layers, and cut to fit snugly in a quart jar.
- Add peppercorns, mustard seeds, dill seeds, and coriander seeds to the bottom of the jar.
- Pack the trimmed spring onions vertically in the jar.
- Pour the cooled brine over the spring onions, ensuring they are submerged.
- Seal with a vinegar-safe lid and refrigerate for 2-3 days to allow flavors to meld.
- Enjoy your pickles within two weeks for optimal freshness and crunch.
Leave a Reply